Hobbyists who are new to 3D printing and have just started working on their first projects might encounter the problem of a model stuck to their build plate. Follow our instructions on how to remove a 3D print from the bed as easily and quickly as possible, be it PLA, PETG, resin, or other material. You’ll be a pro in no time!
A model that sticks way too hard to the print surface is a common issue. Those who never had to search for the best methods to remove a 3D print from the bed are lucky. Those struggling right now should be very careful when getting the stuck thing off the surface so as not to break the figure and not damage your 3D printer parts.
3D Print Stuck to Bed
It’s the most common to see PETG stuck to a build plate compared to other filaments or resin. This particular 3D printing material is pretty standard among hobbyists with a desktop FDM 3D printer. PETG is strong and offers excellent adhesion of the first layer, but it can also stick to a glass bed, becoming extremely hard to remove.
Sometimes, it’s not the 3D print that is stuck to your 3D printer bed and needs removal, but the filament remains, which you wish to clean from the build plate surface.
Cleaning the platform from any residue before you start creating a new fantastic 3D printed figure is important. Leftovers can cause damage to the bed or cause a failure of future prints.
Read also: New Elegoo Mars 5 Ultra Resin 3D Printer Unboxing and Reviews.
How to Remove a 3D Print from Bed
Several working methods will help you to remove a 3D print from the bed. Choose them depending on your situation, and don’t try a technique if it sounds too risky. Instead, test the next one, which makes you feel more comfortable and confident.
Remember that the best way to remove a 3D print from the bed is one that doesn’t require too much effort on your side and works efficiently for you. Good luck!
Method 1. PEI Coated Spring Steel Build Plate
Switching from your default 3D printer bed to a PEI-coated spring steel build plate (where the first layer is PEI material and the second layer is a flexible steel plate, usually used to make springs and other flexible elements) can be the game changer.
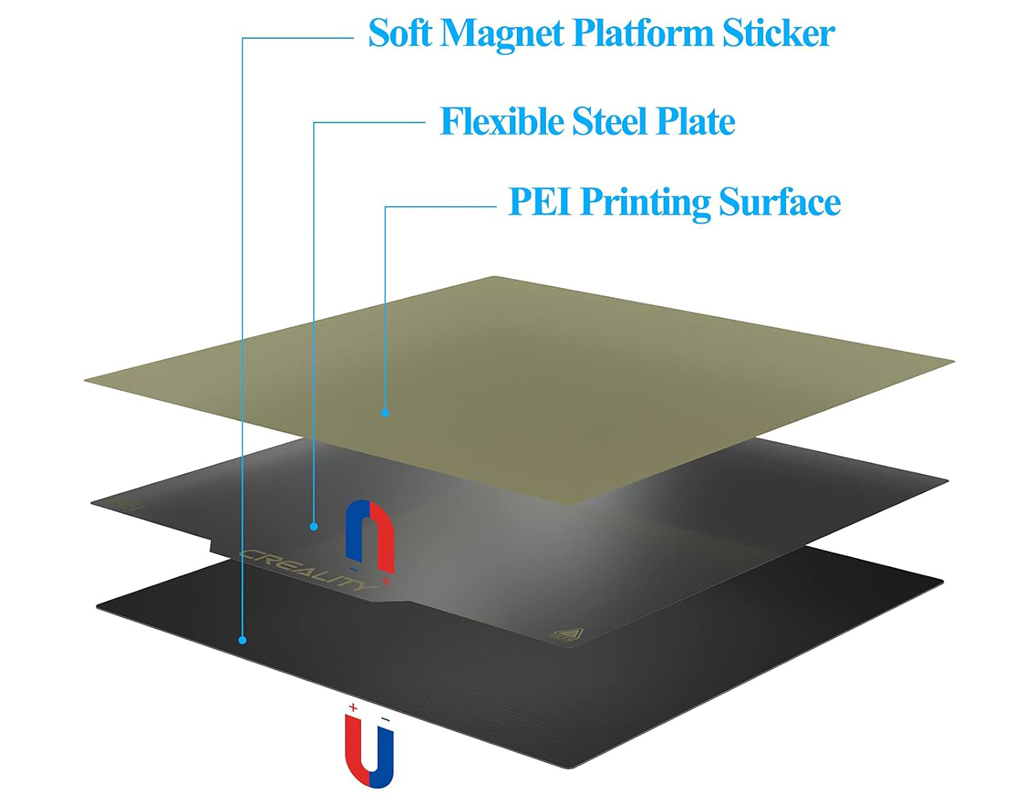
Instead of spending hours and nerves trying to remove a stuck 3D printed figure, all you have to do with such a flexible plate is twist and bend it. You’ll be surprised at how fast and easy each part will come off.
Method 2. Heating the Build Plate
Hobbyists with a heating build plate can try this “3D print lifting off bed” method. Turn on the heat feature in your machine to expand the material and soften the first layers enough to break the bond between your 3D printed figure and printer bed.
If you are among lucky enthusiasts, the heating trick will make your 3D print pop off without any pressure on your end. Just don’t overheat your project. A temperature of approximately 150-158 °F (about 70 °C) is more than enough, and keep track of time because you surely don’t plan to warp or melt the model.
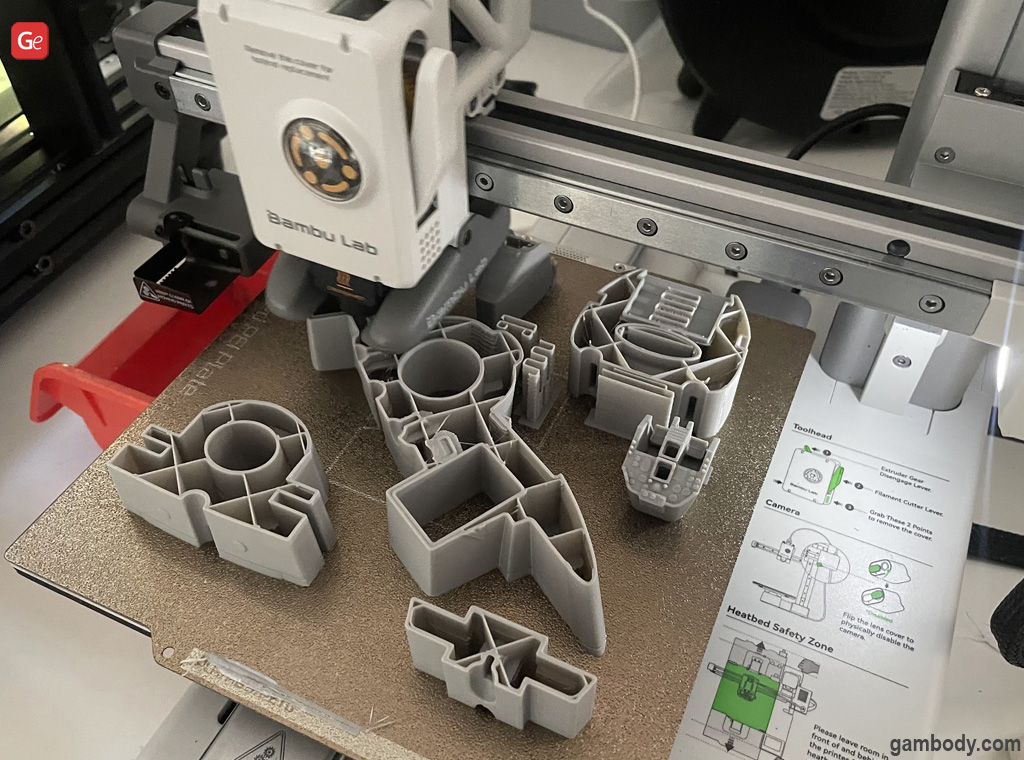
If your 3D printer doesn’t have a heated built plate, you can still achieve a similar effect and try to pop off the figure while removing a 3D print from the bed. Use your hairdryer under the print bed and heat it from underneath. If no pop-off effect is reached, you can use the spatula to remove a stuck 3D print.
Read also: The Best Ender-3 Upgrades to Create Fantastic 3D Prints (V2, Pro, Neo, V3 KE, S1, MAX).
Method 3. Using Scraper (Spatula)
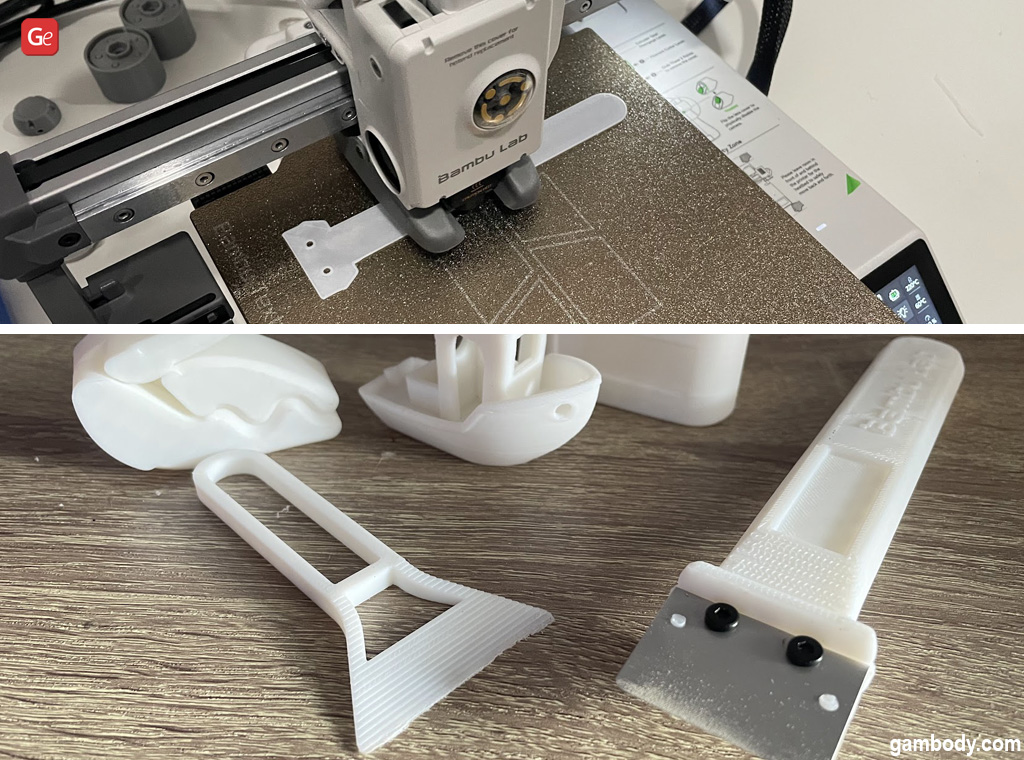
Many 3D printers come with a scraper (spatula) known as the “bed destroyer” among 3D printing enthusiasts. Some hobbyists found a way to use this scraper extra carefully to remove a stuck figure. Do it only if you are super careful and do everything not to damage your print or bed. Try to slowly work around your print’s corners (gently tap using the spatula’s wooden part) until you can remove the model.

In most situations, those using the scraper have a glass bed with a black coating, which Ender-3 is well-known for. These beds are great for the first layers to stick well to them, but often, it’s hard to remove a figure with a big surface area afterward.
Another way to use the spatula is to try to get it underneath the 3D printed figure and lift the model off the build plate surface. The tool will help you to separate the stuck print from the printer bed but you must stay gentle not to damage the figure or the plate. If needed, use a second tool to gently tap the spatula placed at the figure’s edge.
Advice. It’s best to avoid removing a 3D print with a razor, blade, or knife. It’s dangerous for your fingers, and these tools can scratch the build surface and ruin your model.
Method 4. Letting the Bed Cool Down
If your printer has a glass bed, removing a 3D print from the bed takes some time and patience. Once you have finished printing, let the build plate cool down to room temperature. The figure will pop off once the surface cools, and you won’t have to use any spatula or perform any extra actions on your side.
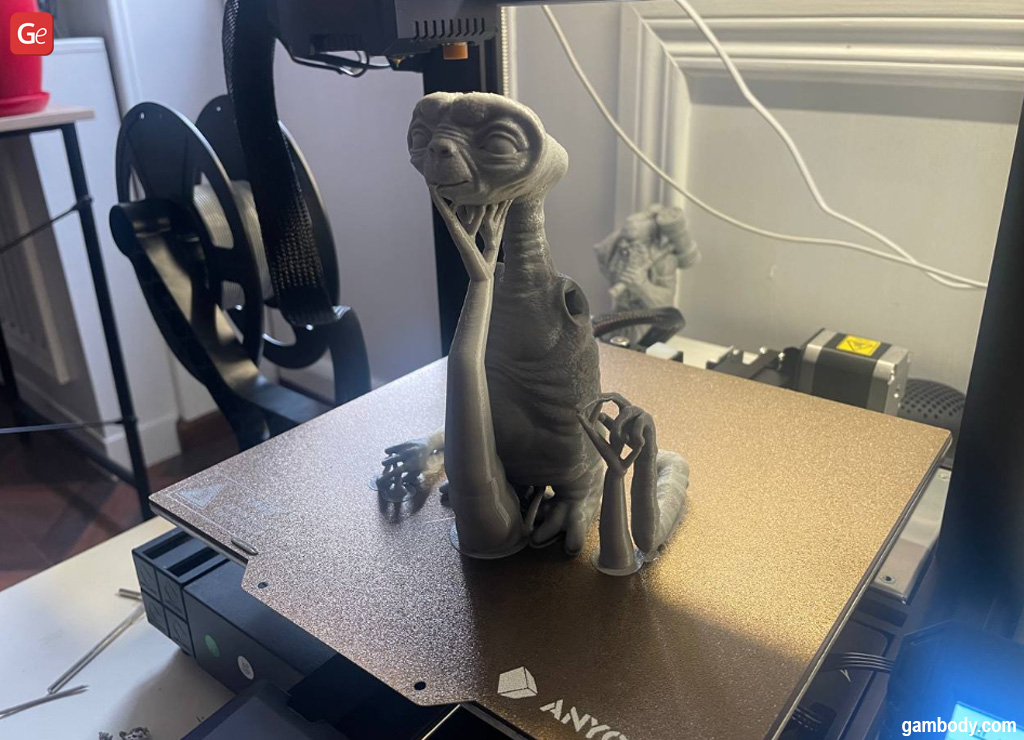

How long to wait before removing 3D print? Let it stay for 20-40 minutes to cool to room temperature, and if this doesn’t help you and the 3D print is still stuck to bed, you can expose it to an even cooler temperature to pop off the model. Do not try to freeze the build plate right after you finish 3D printing because going from hot to cold in a short time can break glass surfaces and other plates. Wait a while, and then use your fridge, freezer, or outdoors (if it’s winter and cold enough outside) for a couple of minutes to see if the difference between the temperatures helps to remove your 3D print from the bed.
Such a trick works great for ABS! Just like with the heating method, you can cool the bed with the 3D printed figure stuck on it by placing an ice pack underneath.
Read also: How to 3D Print Flexible Filament at Home.
Method 5. Applying Pressure
When you are not sure how to get a 3D print off the bed, you can try to apply some pressure. Grip well on the 3D printed figure (if it has no fragile-looking parts) and pull it away, helping with your second hand to hold the build plate.
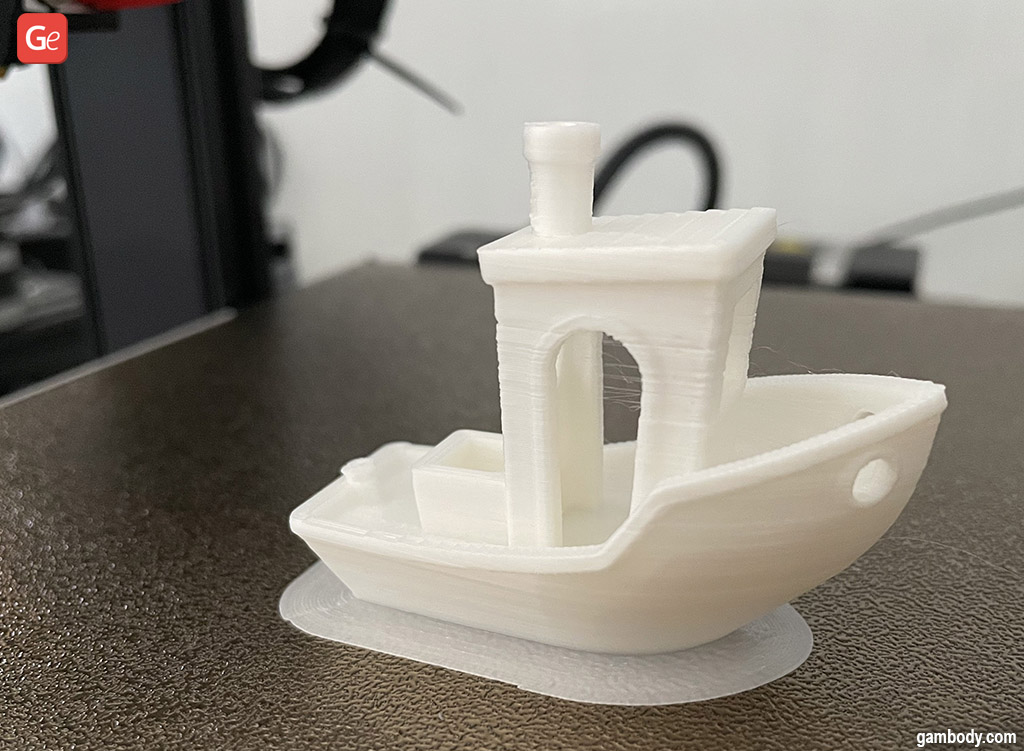

Didn’t it help? You can try to twist the figure very gently. Hopefully, it will part it with the bed surface, but be extra cautious and do not apply much pressure. Force can damage your 3D printed figures or the printer’s build plate. No one wants to break their masterpiece or its fragile pieces. If this method doesn’t work for you, let it go and try another advice on removing a 3D print.
Method 6. Flossing
Do you floss your teeth in the morning? Dental floss is also one of the methods on how to remove a 3D print from bed. It’s way safer than using a spatula or various sharp objects. The floss is strong enough not to break like a thread, and you can fit it in between the 3D printed figure and build platform to get your 3D print off the bed successfully.
Unlike with flossing your teeth, you’ll require a long piece of dental floss for 3D print lifting off the bed. There should be enough length to hold the floss taut with your thumbs and index fingers and put it around the 3D printed figure’s base. Carefully insert the floss under the print by pulling it back and forth, and you won’t damage your build plate or model.
Read also: Cleaning 3D Printer Nozzles at Home.
Method 7. Using Household Solvent
You can try to get filament off of the bed with a household solvent such as isopropyl alcohol or acetone if your 3D printer build plate requires additional adhesive (hairspray or glue stick). A solvent can help dissolve the filament, so be careful with it.
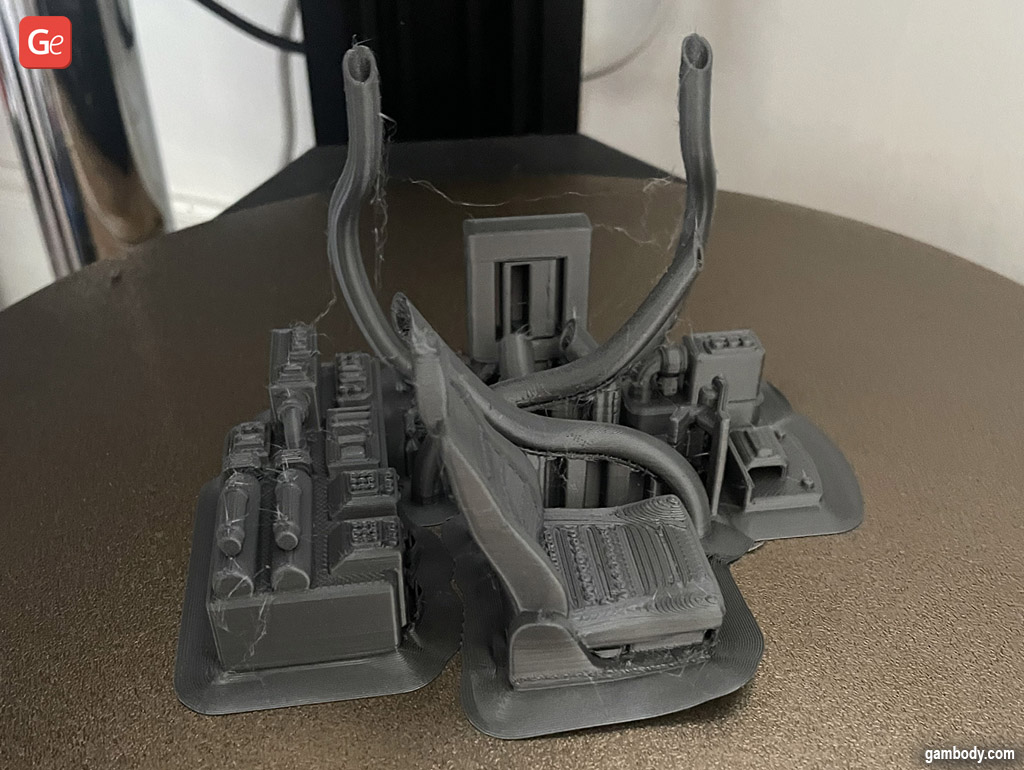

You should apply tiny amounts near the edges of the 3D printed figure. Let it stay for several minutes, and then use a spatula or your hands to remove the 3D print from the bed. Don’t overdo this method because too much of a solvent can ruin the print or your build platform. It’s a great idea to dilute the alcohol or acetone with water beforehand.
Preventative Measures
If you care for your printer and the build plate, you can eliminate many “3D print stuck to bed” problems. Preventative measures can be convenient and save you plenty of time and nerves in the future.
Correct Temperatures
Whether you use PETG, PLA, or a different filament with a glass bed or another type of bed, ensure that you 3D print at the correct temperature range. For example, you should print PETG at 428 to 500 °F with a machine that’s heated bed must reach a temperature of 149 to 176 °F to avoid PETG stuck to a build plate issue. If you work with PLA, ensure your temperature stays approximately 410 °F while the heated bed stays about 122 °F.
If the bed is hotter or you 3D print at higher temperatures than the filament type requires, you might have problems removing a 3D print from the bed because it will over-adhere.
Bed Leveling
Sometimes, your 3D print sticks to the bed or warps/fails because you didn’t do the bed leveling. Calibrating a 3D printer is essential to keep it making high-quality prints and helping you grow your collection of 3D printed figures.
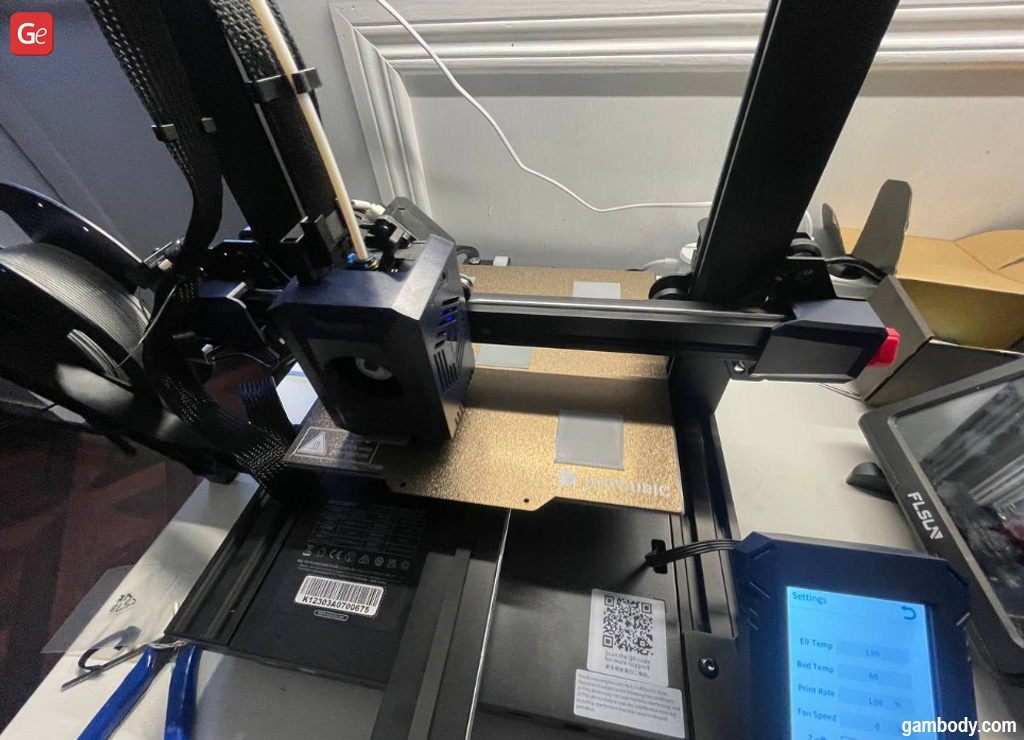

Many desktop 3D printers now come with an automatic bed leveling feature. Use it before you start working on a new project. If your machine lacks this option, you can manually calibrate it using a sheet of white paper between the build plate and nozzle, moving the nozzle to each of the bed’s corners and lowering it until there is resistance as you attempt to remove the paper.
Adhesive Issues
Newbies can experience the “3D print stuck to bed” issue when they use an adhesive such as hairspray or stick glue to improve the adhesion but don’t clean the build plate after each print. Removing all the tiny pieces stuck to the platform after you remove your 3D printed figure is important.
If you prefer using blue painter’s tape as adhesion, remember it in the Z-offset. It can be helpful during the removal of the 3D print.
Read also: Best 3D Printed Gifts to Make for 2025 Holidays.
Don’t let a stuck 3D print ruin your mood or desire to create new masterpieces with PLA, PETG, resin, and other materials. Apply your knowledge on how to remove a 3D print from bed when needed, keep being creative, and share your new 3D printed figures with Gambody Community on Facebook.
(Visited 40 times, 1 visits today)


