Have you ever dreamt of having a companion like Cal Kestis, a former Padawan who attempted to rebuild the fallen Jedi Order in Star Wars? BD-1 can also be your friend, helping you re-embrace your imaginary Jedi role in the fight against the Empire. All you need is a 3D printer, BD-1 3D model STL files for 3D printing, some painting skills, and a little patience and passion for your hobby.
Enthusiast Kyra Schefter has finished her BD-1 droid and is happy to share her steps of breathing life into this large-scale 3D print. Her ideas and recommendations can be your personal masterclass on how to reanimate Jedi Fallen Order droid and bring him from the screen into your real life.
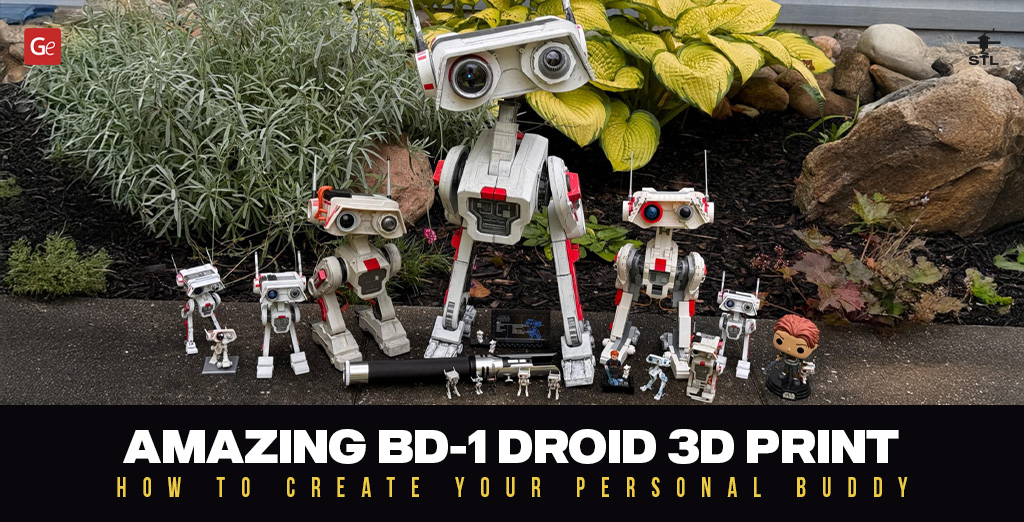
BD-1 Droid
You are welcome to adopt BD-1 droid 3D printing files on gambody.com. This beautiful and highly detailed project will charm you in seconds. The model boasts articulated head/hip/knee/feet joints, a rotating holoprojector, a removable side panel that lets you look at the internal parts, a neck you can bend and extend, a removable panel at the back of the head, and much more!
This fantastic Cal Kestis droid has tunnels for LED wiring so that you can add lights to its holoprojector, head, and sensor. You can hide a battery inside the BD-1’s head behind the removable panel. All these features and specs make this 3D printing model a must-have in your collection!
Star Wars BD-1 3D Print
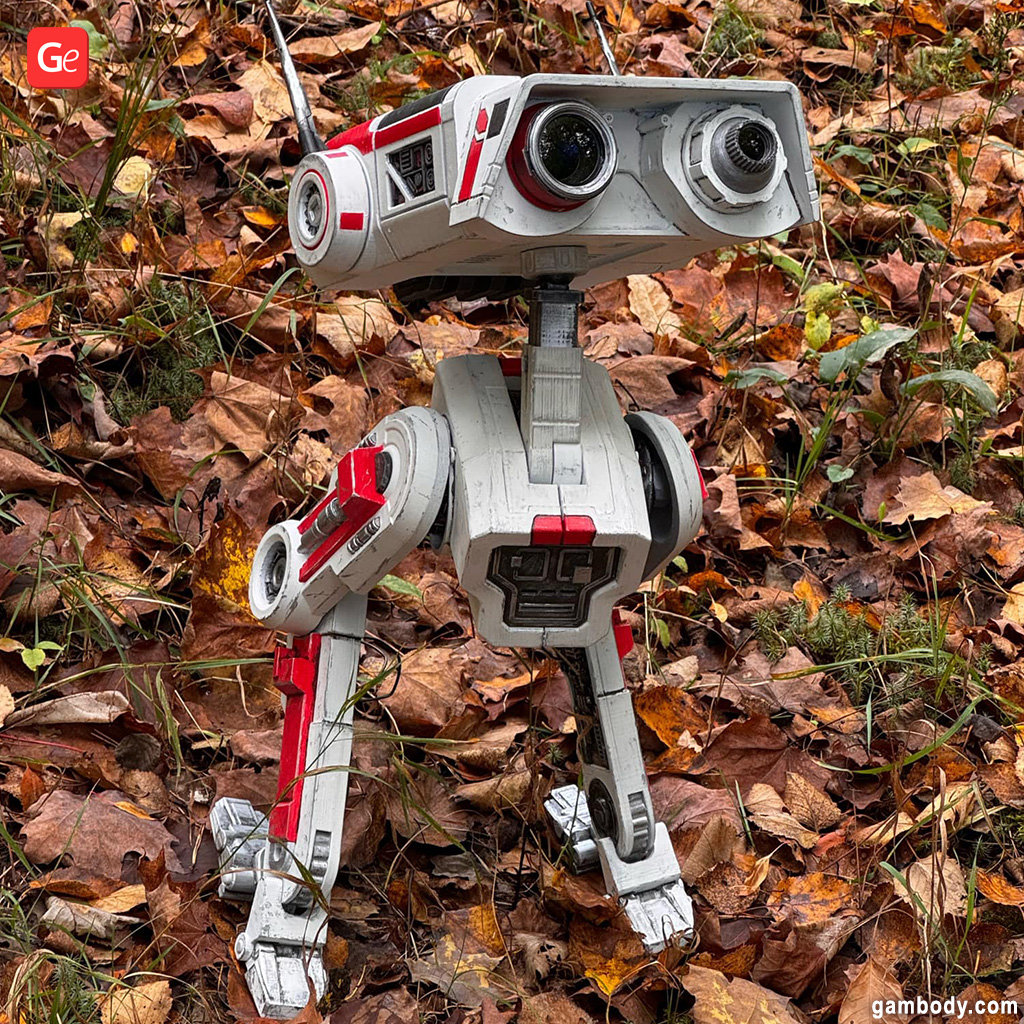
Kyra Schefter’s BD-1 looks intelligent, highly detailed, and super cute. The hobbyist used the FDM version of this 3D printing model, which became her first-ever larger-scale project and turned into two months of fun in making it.
Playing over 120 sounds, having genuine eye lenses and eyes with individual switches to turn on/off independently, this BD-1 takes a special place in Schefter’s heart. So, how did she create this droid?
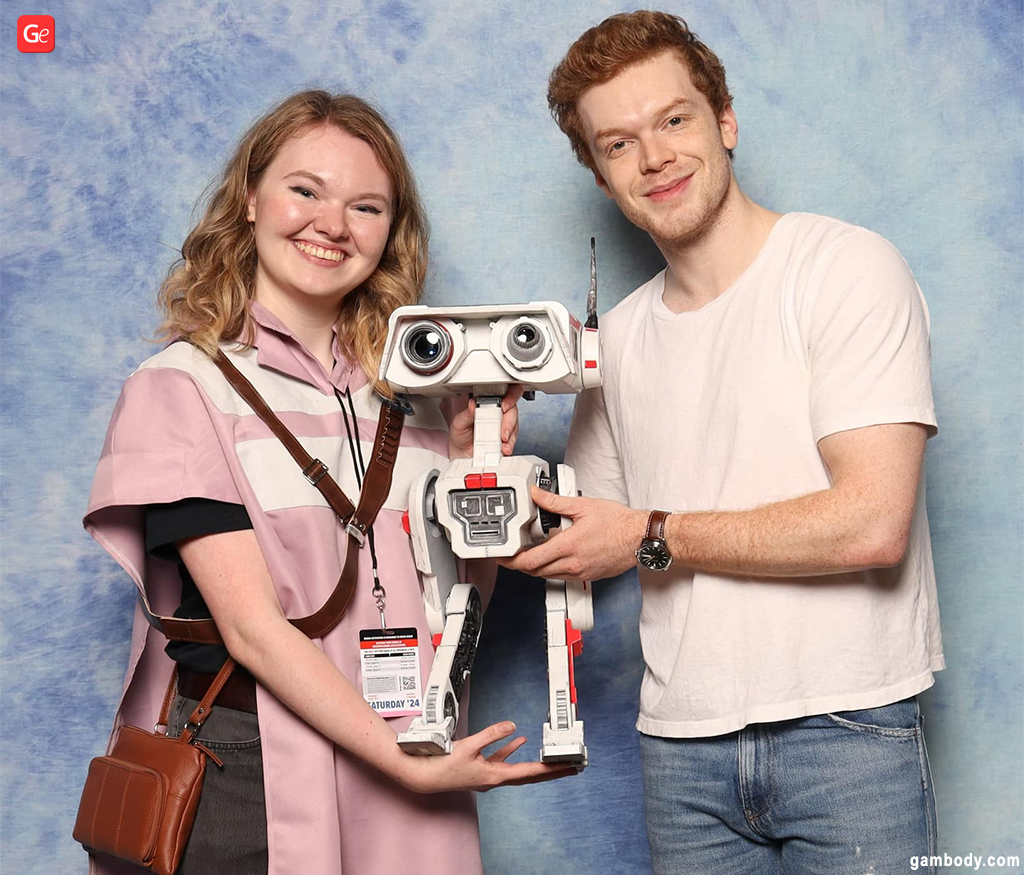
3D Printing & Assembly
The hobbyist 3D printed BD-1 using 3 kg (6.6 lbs) of PLA filament, Creality Ender-3 3D printer, Gambody’s premium STL files of the droid, and the Cura slicer. Following instructions that come with 3D printing files and a video, Kyra built the droid at 100% and one-half of its antenna ratchets at 98% (as recommended by Gambody support team) to make the ratchets move more smoothly.
She says all the parts feel very sturdy, and everything fits together pretty much perfectly. After playing with the ratchets, she used some dremeling and sanding to make the ratchet halves less stiff, which was a very easy fix.
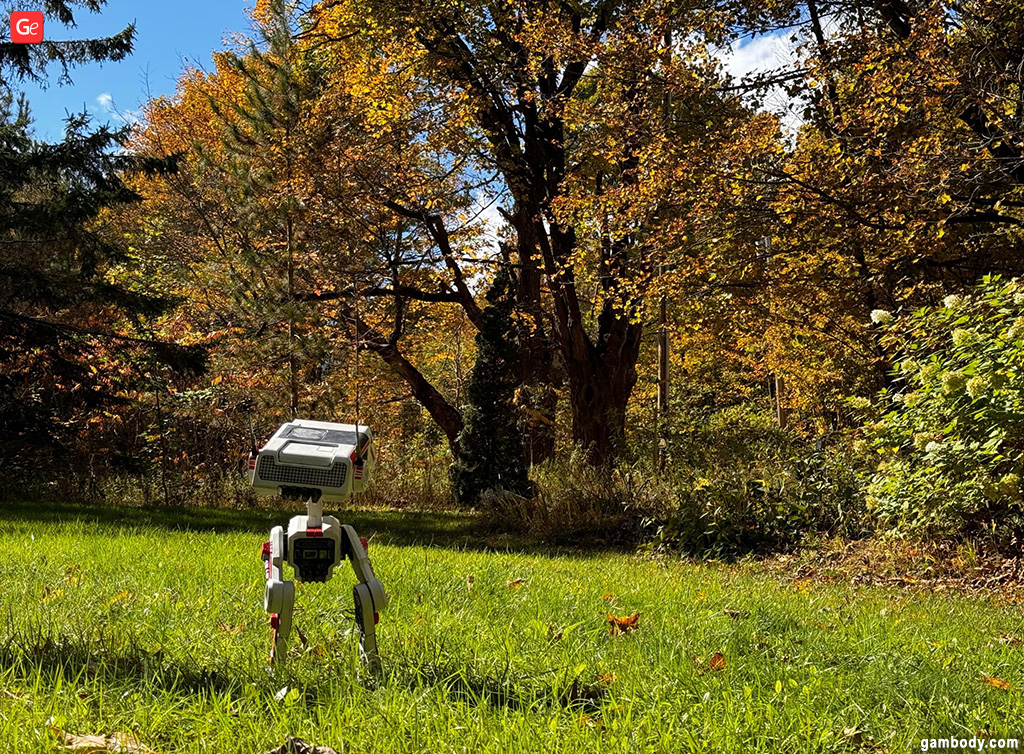

When assembled, the droid amazes with the sturdiness of all its parts. Every joint holds great even though the head, body, and other elements are pretty heavy. Still, the ball joints work wonderfully, and you can screw them the way to select how tight or loose to stay.
While you can assemble the robot without glue because joints connect the parts greatly, Kyra recommends you glue the head elements along with the antenna ratchets and legs to the ball joint pin to stay safe.
Painting
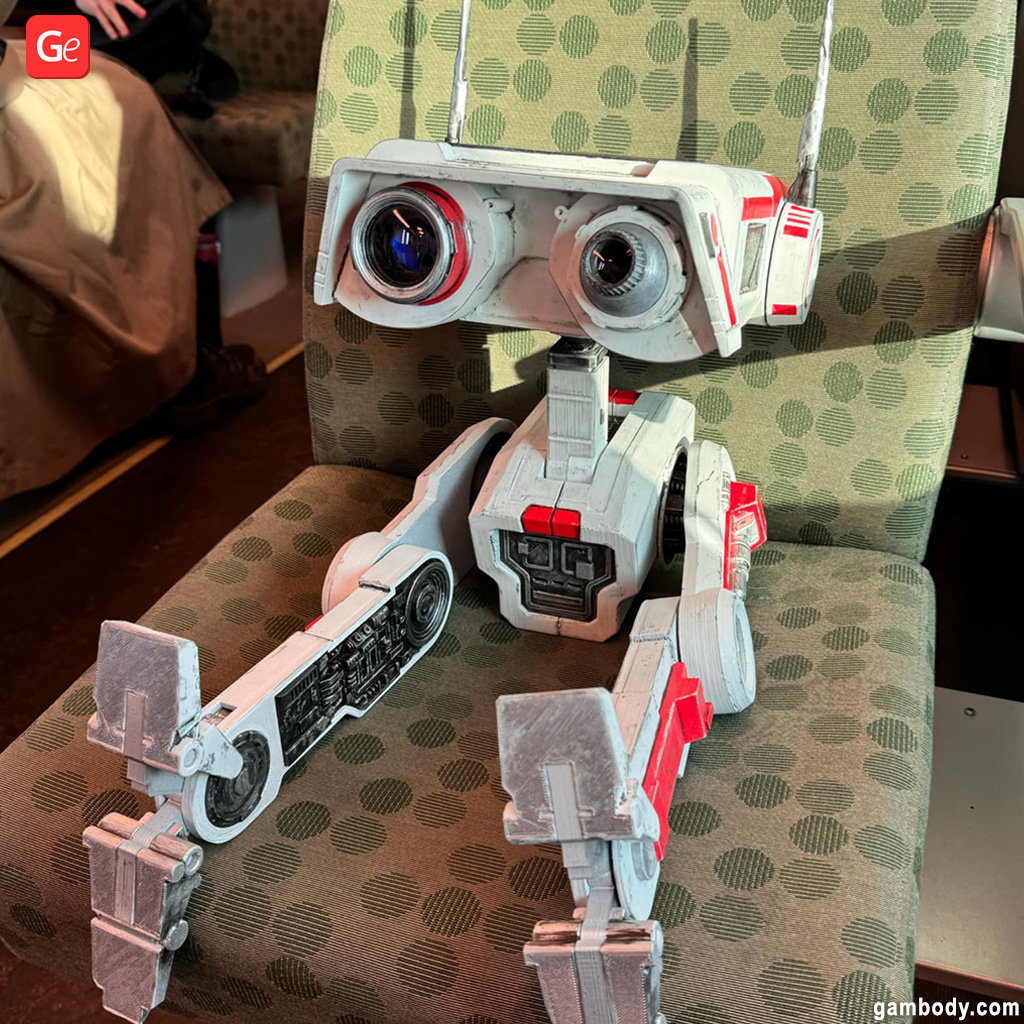
Each 3D printed piece was sanded and primed with gray Rust-Oleum automotive primer spray. The maker used waterproof Rust-Oleum spray paints of different colors, including black, white, poppy red, silver, and sparkly dark gray.

Read also: Sanding and Painting 3D Prints: Easy Steps.
It was the first time Kura spray painted and weathered a model. She used paper towels and a sponge to weather bigger silver parts (she added silver paint to the droid edges after sanding them to pretend the paint had scraped off the robot). For smaller parts, such as antennae and crevices (they were painted with dark gray color to pretend it was dirt), she used a paintbrush for touch-ups.
Droid Articulation
The maker loves the droid’s articulation. According to Schefter, BD-1 can hold any position you make. While the movements are not as exact as they appear in the games, this is due to 3D printing material (plastic).

Fixing 3D Print
Were there any issues while working on this impressive Star Wars model? Mistakes and errors can happen when you 3D print, no matter how detailed and error-free STL files are. While working on the Jedi Fallen Order droid, the hobbyist had to reprint some elements, find a way to make transparent eye lenses, fix the broken antennae, and reinforce the joints.
Finding the perfect eye lens was a trial. The enthusiast tried to 3D print the lens using included STL files and translucent filament, which looked white and not black with lights off. Using black transparent filament didn’t fix this situation because it hardly allowed any light through. The Mod Podge Dimensional Magic epoxy-like formula applied to packaging plastic wasn’t too clear, but watch glass replacements worked like magic!
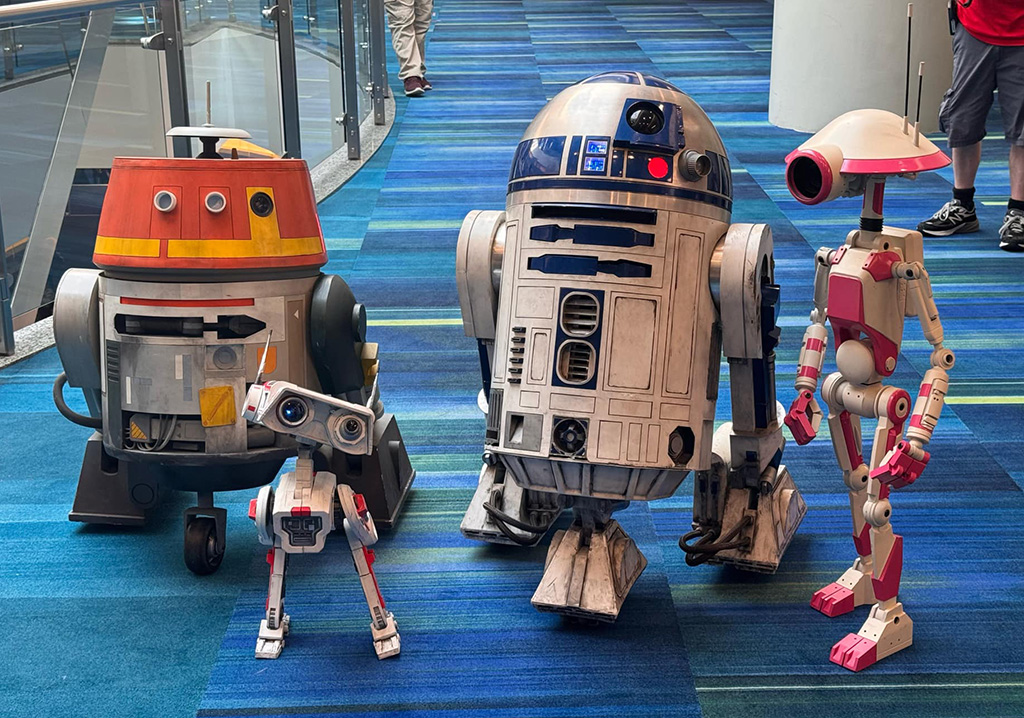

The robot’s antennae broke a few times (when the 3D printed head fell off the table), so Kyra used wire and electrical tape to reinforce these parts before repainting them silver. Such a fix was so great that the antennae survived when somebody stepped on them at Comic-Con!
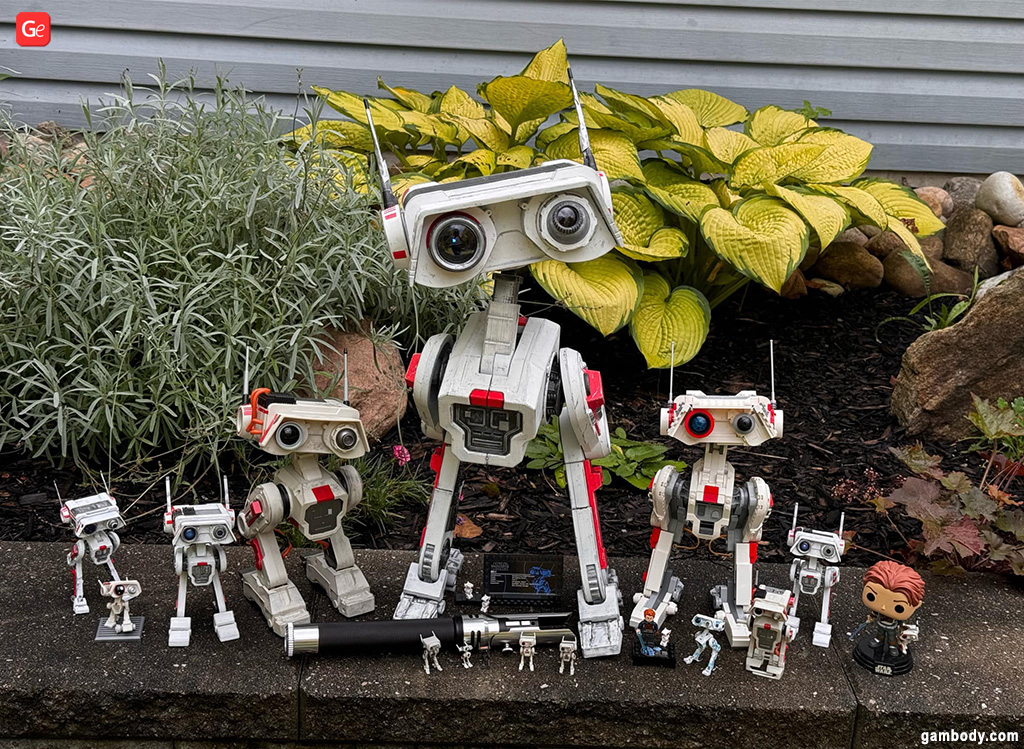

P.S. If the project’s leg ball joints break on you, you can fix it by increasing the infill when 3D printing it again.
Wiring
Kyra wanted the droid’s eyes to be lit, so she added the basic LED wiring, blue for one eye and white for the other one. They work independently of each other, so you can turn them on and off separately.
To make eyes truly stand out, the hobbyist used the domed watch glass replacements from Amazon, which worked perfectly well. The smaller one, 20 mm watch glass, has fit into the BD-1 eye with nearly no adjusting. The bigger one, 40 mm watch glass, required a lot of sanding down to 38-39 mm before it fit properly in its place.
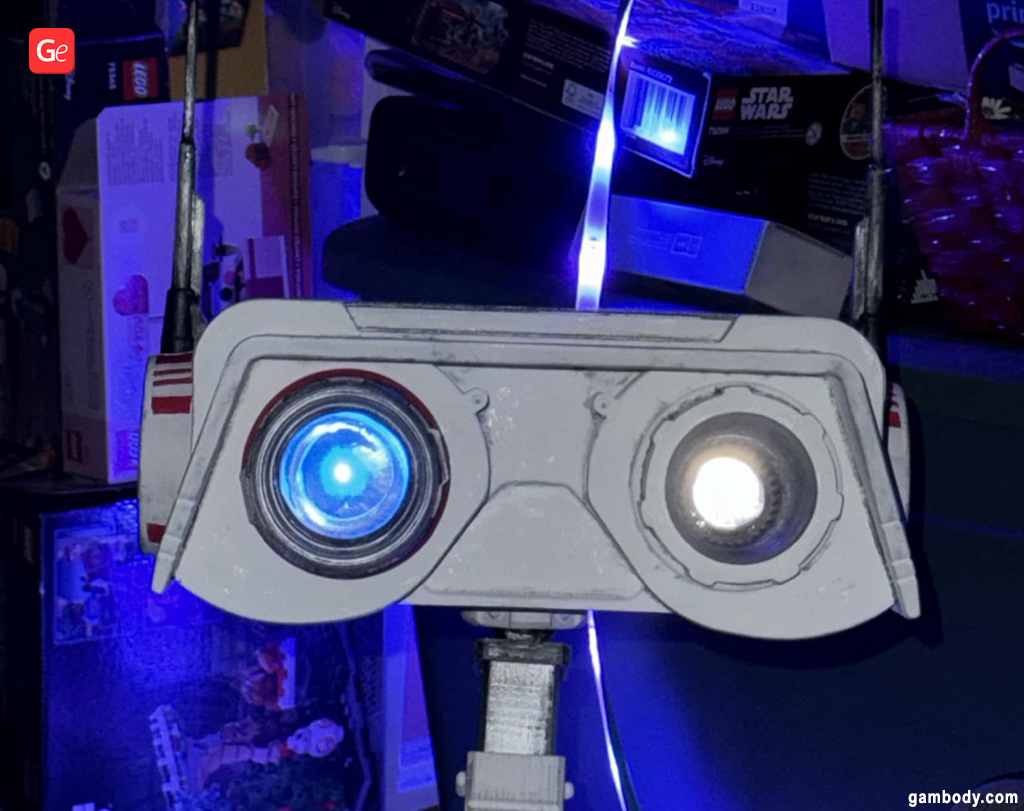

The backlight panel is 3D printed using transparent filament, painted black in a grid-like pattern.
Read also: How to Put Up LED Lights in a 3D Printed Model.
Overall, the model has lights and sounds playing through him (the bank includes over 100 unique sounds). Painted, wired, and assembled, the 3D printed BD-1 droid weighs approximately 4.5 lbs (2 kg).
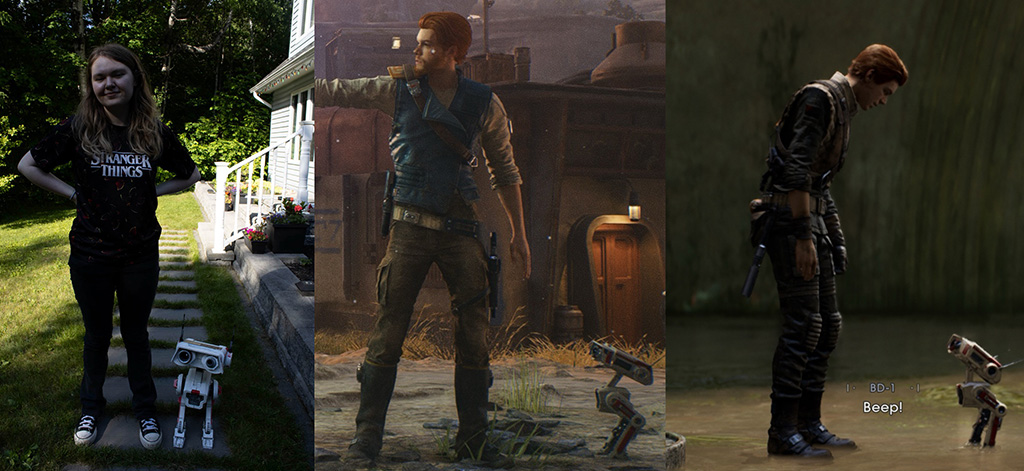

As mentioned above, it took Kyra approximately two months to make the BD-1 droid, from beginning to 3D print it to finishing and sharing this guide with our readers, and she still adds small adjustments and fixes. The model is so impressive that you might want to have one of your own and share your photos on FB Gambody 3D Printing Community. By the way, Schefter’s collection might one day get a smaller version of BD-1, printed at about 50%. What a fantastic idea for a Star Wars fan, isn’t it?
(Visited 18 times, 1 visits today)


