
")
With the recently released DJI Flip, many have purchased DJIs latest drone (as of the writing of this article) and might have questions about getting the Flip ready for its first flight.
In this article and video guide we will get an in-depth look at:
- What’s in the various combos
- The Palm Control Flight Modes
- Charging the batteries and remote controller
- Downloading and installing the DJI Fly Software
- Performing the first Firmware Update
Whether new to drones or experienced, you might have noticed that the DJI Flip shares a unique aspect of the DJI Neo: you can fly the Flip with or without a remote controller.
Flying without an RC is something some DJI owners have wanted to see since the days of the DJI Spark and Ryze Tello. Now it can be done, with a much better camera than either of those small early-model drones.
This article will focus on what is needed to get the DJI Flip out of the box and up in the air, with or without a remote controller.
Combos/Packages
DJI Flip (DJI RC-N3)
- DJI Flip
- DJI RC-N3
- Intelligent Flight Battery x 1 – installed
- Spare propeller pair
- Screwdriver
- USB-C to Type-C PD cable
- RC Cable (USB-C Connection)
- RC Cable (Lightening Connector)
- Gimbal Protector

DJI Flip (RC-N3)
Drone With 4K UHD Camera for Adults, Under 249 g, 3-Axis Gimbal Stabilization, 44000ft/13km Video Transmission, Palm Takeoff, Auto Return, 31-Min Flight Time, Intelligent Flight
We earn a commission if you make a purchase, at no additional cost to you.
02/07/2025 12:07 am GMT
DJI Flip (DJI RC 2)
- DJI Flip
- DJI RC 2 Remote Controller
- Intelligent Flight Battery x 1 – installed
- Spare propeller pair
- Screwdriver
- USB-C to Type-C PD cable
- Gimbal Protector

DJI Flip With RC 2
Follow Me Drone With 4K UHD Camera for Adults, Under 249 g, 3-Axis Gimbal Stabilization, 44000ft/13km Video Transmission, Palm Takeoff, 31-Min Flight Time
We earn a commission if you make a purchase, at no additional cost to you.
02/07/2025 12:08 am GMT
DJI Flip Fly More Combo (DJI RC 2)
- DJI Flip
- DJI RC 2 Remote Controller
- Intelligent Flight Battery x 3
- Parallel Charging Hub
- DJI Flip Shoulder Bag
- Spare propeller pair w/ screws x 3
- Screwdriver
- USB-C to Type-C PD cable
- Gimbal Protector
Our Pick

DJI Flip Fly More Combo With RC 2
Drone With 4K UHD Camera for Adults, Palm Takeoff, Auto Return, Intelligent Flight, 3 Batteries for 93-Min Flight Time
We earn a commission if you make a purchase, at no additional cost to you.
02/07/2025 12:08 am GMT
The DJI Flip
The DJI Flip is an entirely different-looking drone from anything DJI has put out until now. It has a substantially larger footprint than the DJI Neo and DJI Mini line of drones while remaining under the 250g sweet spot.
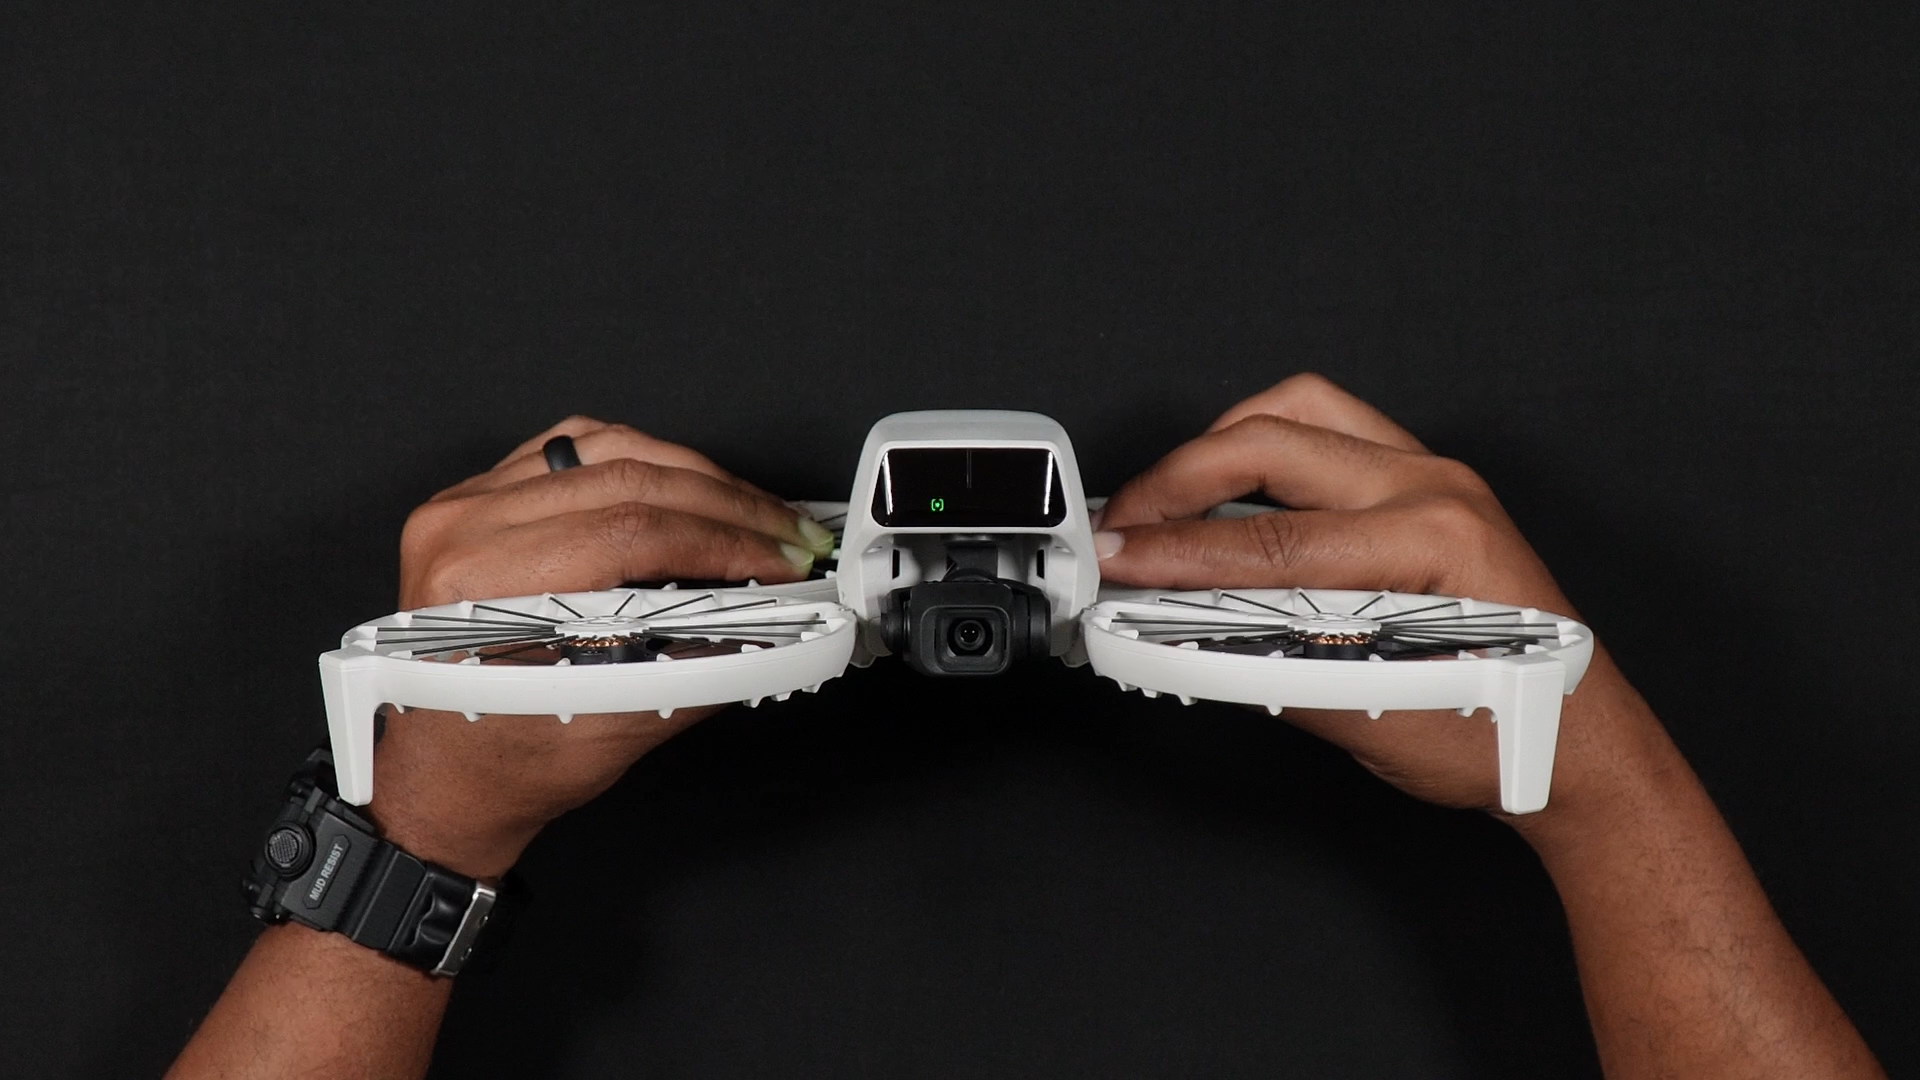
Starting with the front, a gimbal guard and additional protective silicone sleeve protect the Flip’s three-axis gimbal.
To remove the gimbal protector, squeeze the protector with 2 fingers and pull the cover off.
Then you can remove the gray silicon camera protector, using the tab on the side.
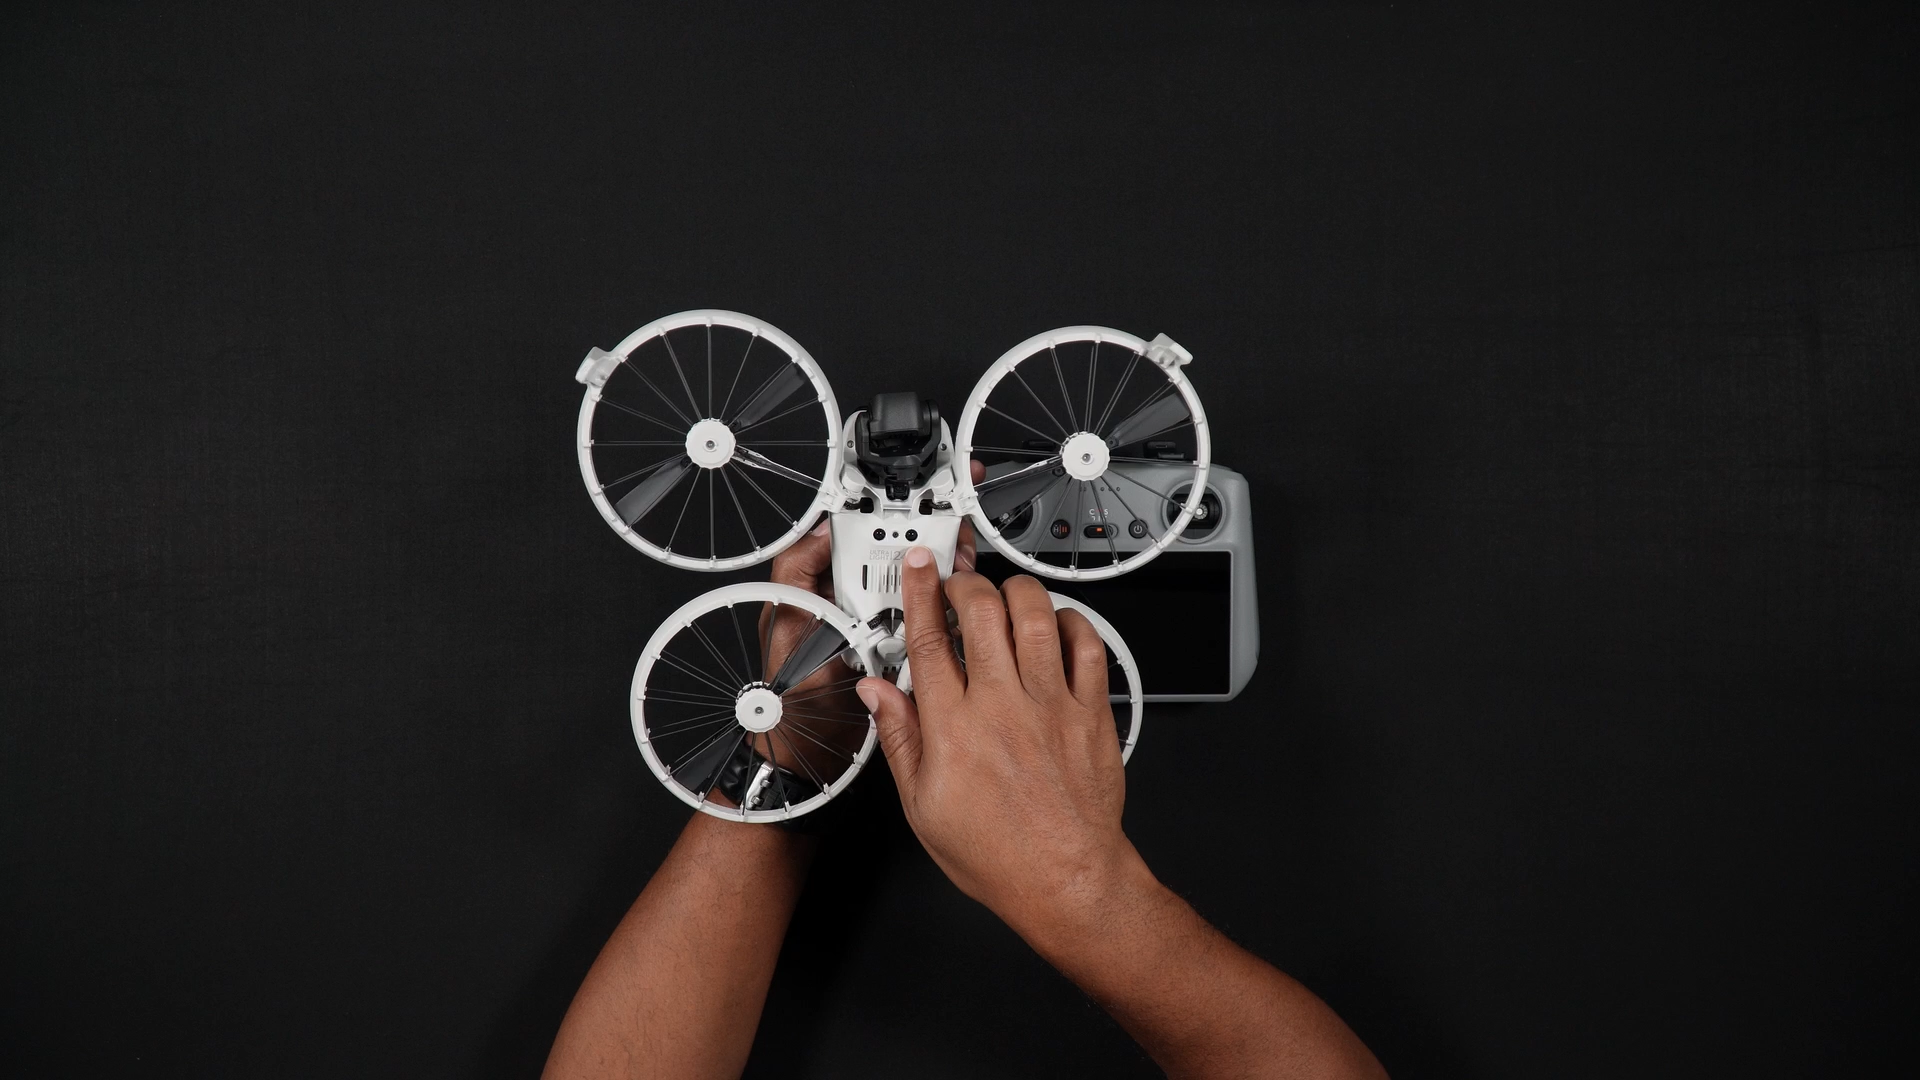
Continuing around the folded Flip, there are 4 LED markers and a power button.
To check the available battery power on the installed battery, press the power button once.
Turning on/off the DJI Flip can be done in one of two ways:
- Unfold the DJI Flip to automatically turn it on and fold it to turn it off, or
- Press, then press and hold the power button to power on or off. The Flip will make an audible signal when it turns on.
Note: The auto-on and auto-off features can be turned on or off within the DJI Fly app, which we will discuss in this article.
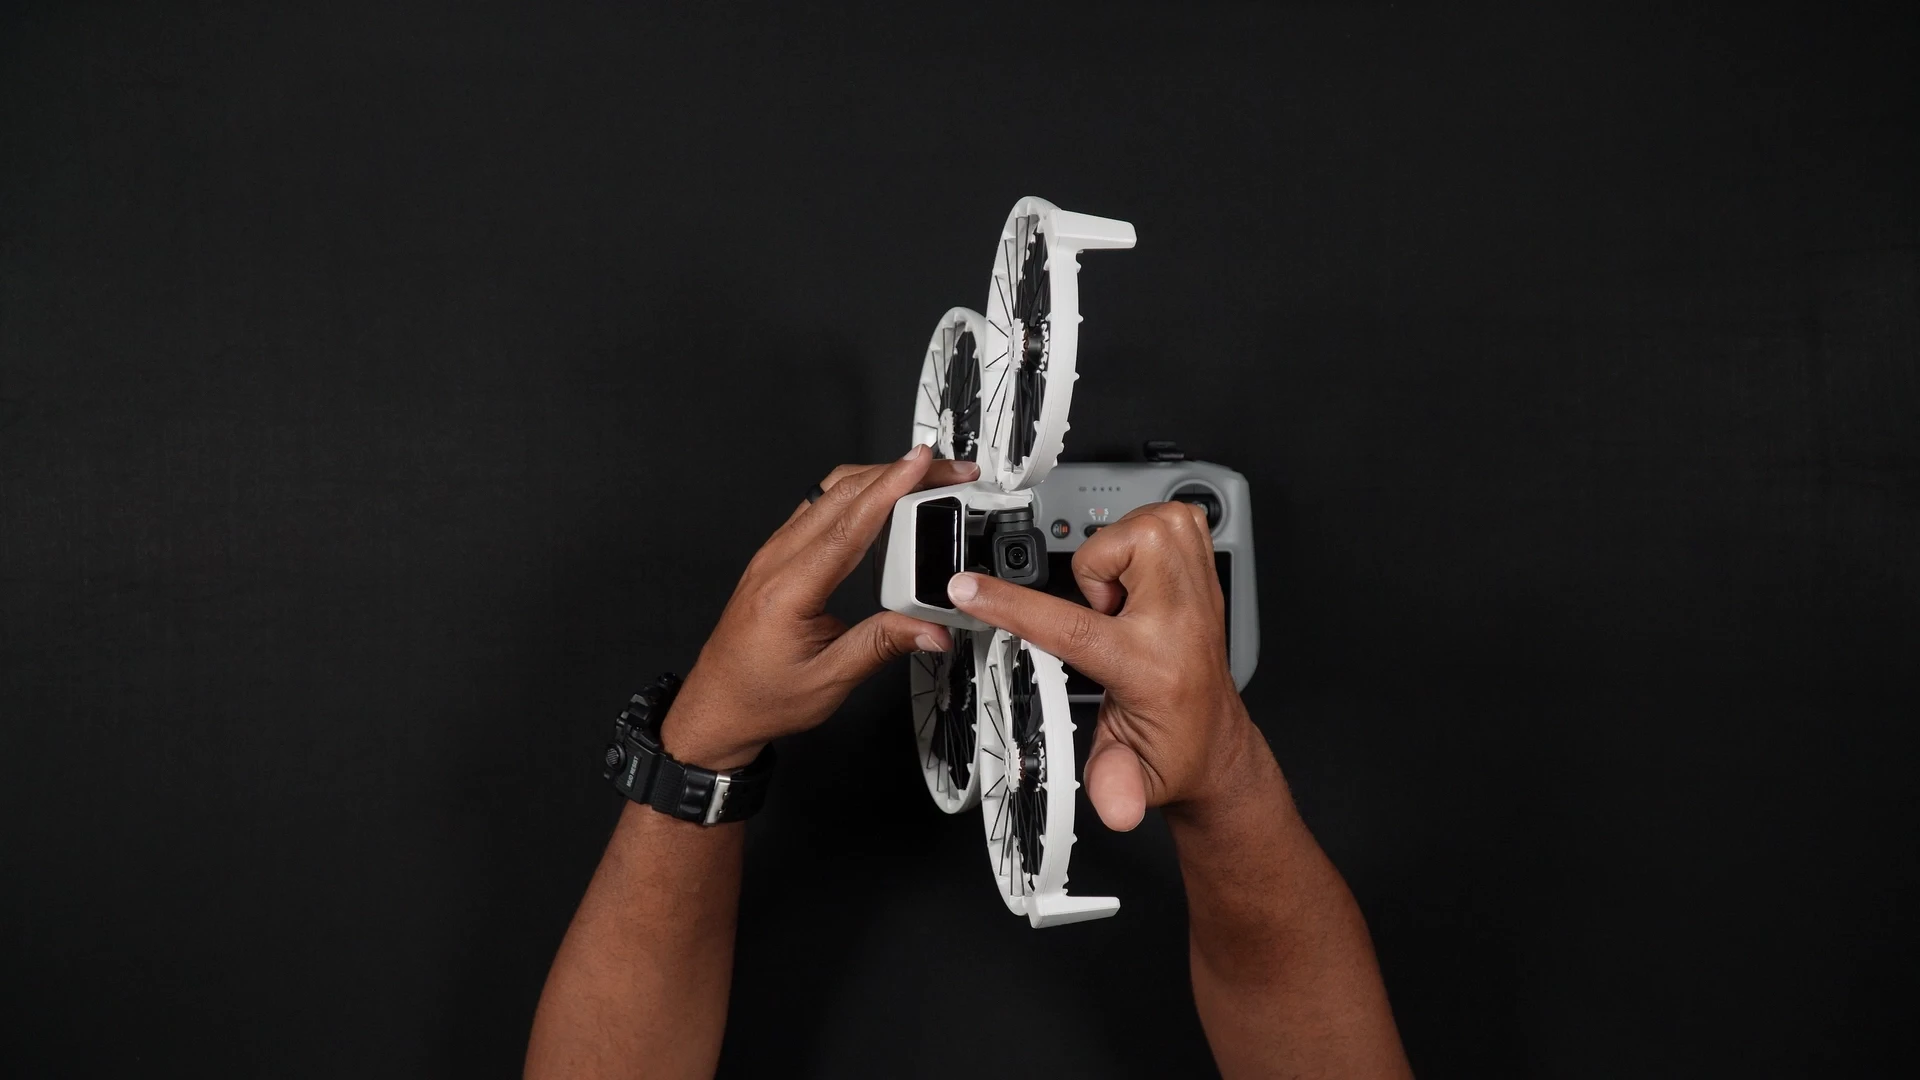
Turning the Flip once more, we see that there are two ports and an additional button. These are:
- a Micro SD Card slot
- a USB-C port, and
- a Palm Control mode selector


Micro SD Card
It is nice that DJI has returned to add a Micro SD Card slot for the DJI Flip, unlike the “internal storage only” of the DJI Neo.
As with most DJI drones, using Micro SD Cards up to 512GB with the Flip is recommended. There is an additional 2GB of internal storage space for when the Micro SD card is left at home.
If you purchased the DJI RC 2 kit, there is also an SD card slot in the remote controller. The SD card for the DJI RC2 is used for screen recording. If you don’t do screen recording, you can store an SD Card in the DJI RC 2 as a backup location for the Flip.
Below is DJI’s current list of recommended SD cards:
- SanDisk Extreme PRO 32GB V30 U3 A1 microSDHC
- Lexar 1066x 64GB V30 U3 A2 microSDXC
- Lexar 1066x 128GB V30 U3 A2 microSDXC
- Lexar 1066x 256GB V30 U3 A2 microSDXC
- Lexar 1066x 512GB V30 U3 A2 microSDXC
- Kingston Canvas GO! Plus 64GB V30 U3 A2 microSDXC
- Kingston Canvas GO! Plus 128GB V30 U3 A2 microSDXC
- Kingston Canvas React Plus 64GB V90 U3 A1 microSDXC
- Kingston Canvas React Plus 128GB V90 U3 A1 microSDXC
- Kingston Canvas React Plus 256GB V90 U3 A1 microSDXC
- Samsung EVO Plus 512GB V30 U3 A2 microSDXC
» MORE: How to Format SD Cards in DJI Drones (Quick Steps with Photos)
USB-C Port
Similar to many DJI drones, the USB-C port is used to do the following:
- charge a single battery when installed in the Flip
- transfer footage from the Flip’s 2GB internal storage to a computer or mobile device
Palm Control Flight Modes

Like the DJI Neo intelligent flight modes, the DJI Flip Palm Control flight modes are:
- Follow
- Dronie
- Circle
- Rocket
- Spotlight
- Direction Track
To choose the flight mode, press the mode selection button until you locate your desired mode.
Important Notes: To use palm control, turn off or ensure any of the connected remote controllers for the Flip are turned off. Palm control modes are also limited to a height of 98 feet and a distance of 164 feet.
Sensors
Turning the Flip over, we see that it has two sensors on the bottom. While it is not completely protected from all sides, like the Mini 4 Pro or Air 3 series, the sensors do assist in flight and some protection.

The first sensor set is downward facing, with one visual sensor and an infrared sensor. These ensure precise hovering, enabling the Flip to remain stable in low-wind situations.
The second sensor is the front-facing, 3D Infrared Sensing System.

The Flip’s 3D Infrared Sensing System is a forward-facing obstacle detection system. It uses infrared technology to identify obstacles in front of the drone, which allows it to automatically brake and avoid collisions. The unique aspect is that this system works even in low-light conditions or at night.
Intelligent Flight Batteries
The intelligent flight batteries provide the Flip with up to 31 minutes of flight time.
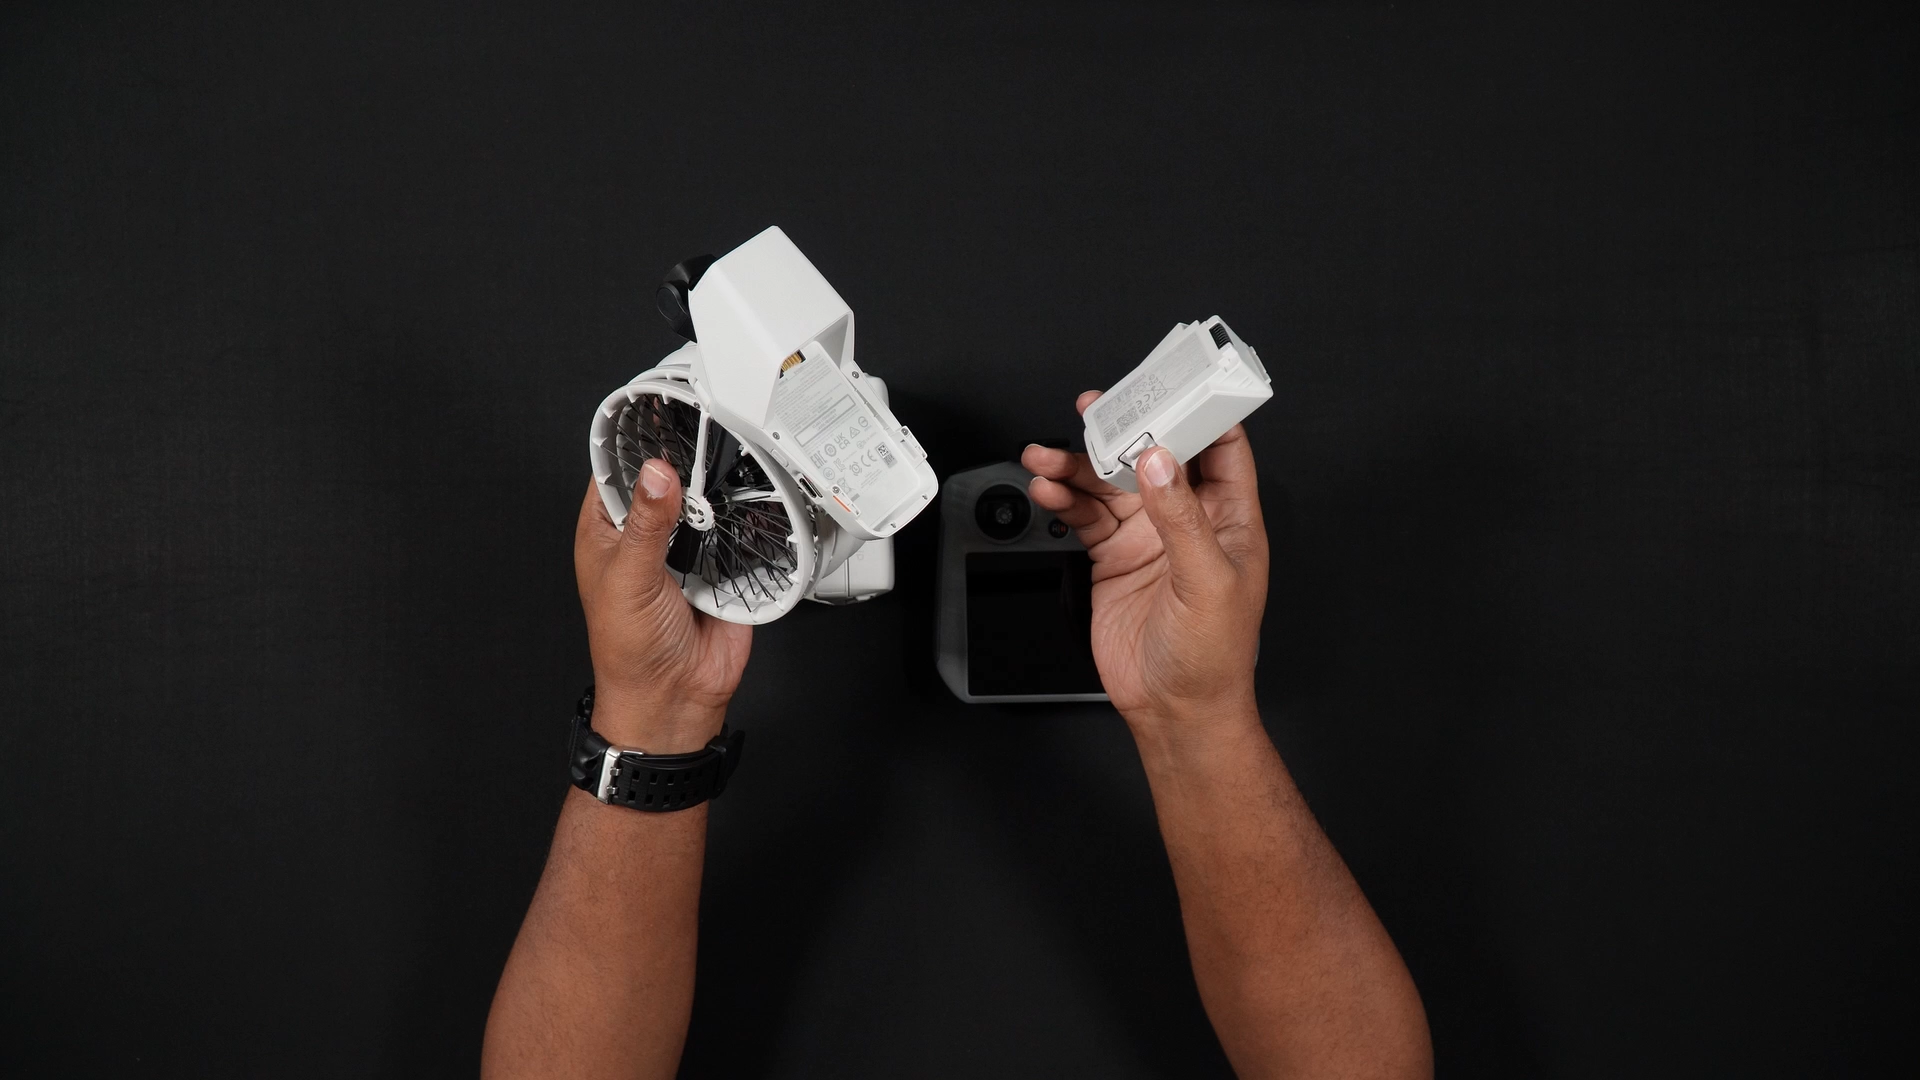
To remove the battery, simultaneously press the tabs on the side of the battery and lift and slide out the battery. To put the battery back in, align the grooves on the battery with those on the Flip and slide the battery in. You’ll hear a click when the battery sits correctly.
To Charge the Batteries
There are two different ways to charge the Flip’s batteries.
As with most of DJIs newest drones, a wall charger is not included. While DJI suggests using their 65-watt charger, they also acknowledge that any 65-watt or even 100-watt PD charger will work well. This has also been our experience, as we use 3rd party PD chargers.
Note: We suggest a 100-watt PD charging hub, which will allow one to charge the remote controller and battery hub simultaneously if you have a Flymore Combo.

If you have either the DJI RC-N3 or DJI RC 2 only kit, you will need to charge the Flip’s battery while it is inserted into the Flip.
To charge the single battery within the Flip, locate the USB-C port on the left side of the Flip. Plug the supplied USB-C charging cable into the port and then into your charger.
If you have the Fly More Combo, with the three batteries and battery hub, you will be able to charge all three batteries in the hub. Additionally, if you are using a charger rated at 65 watts, two batteries can be charged in the hub simultaneously.
To check how much battery power is left in the batteries, while in the charging hub, press the power button on the side of the hub.
To charge the batteries within the battery hub, ensure they are fully seated in the hub. Plug the charger (preferably at least 65 watts) into an outlet and then plug in the supplied USB-C cable into the hub. After a moment you will see the batteries begin to charge.
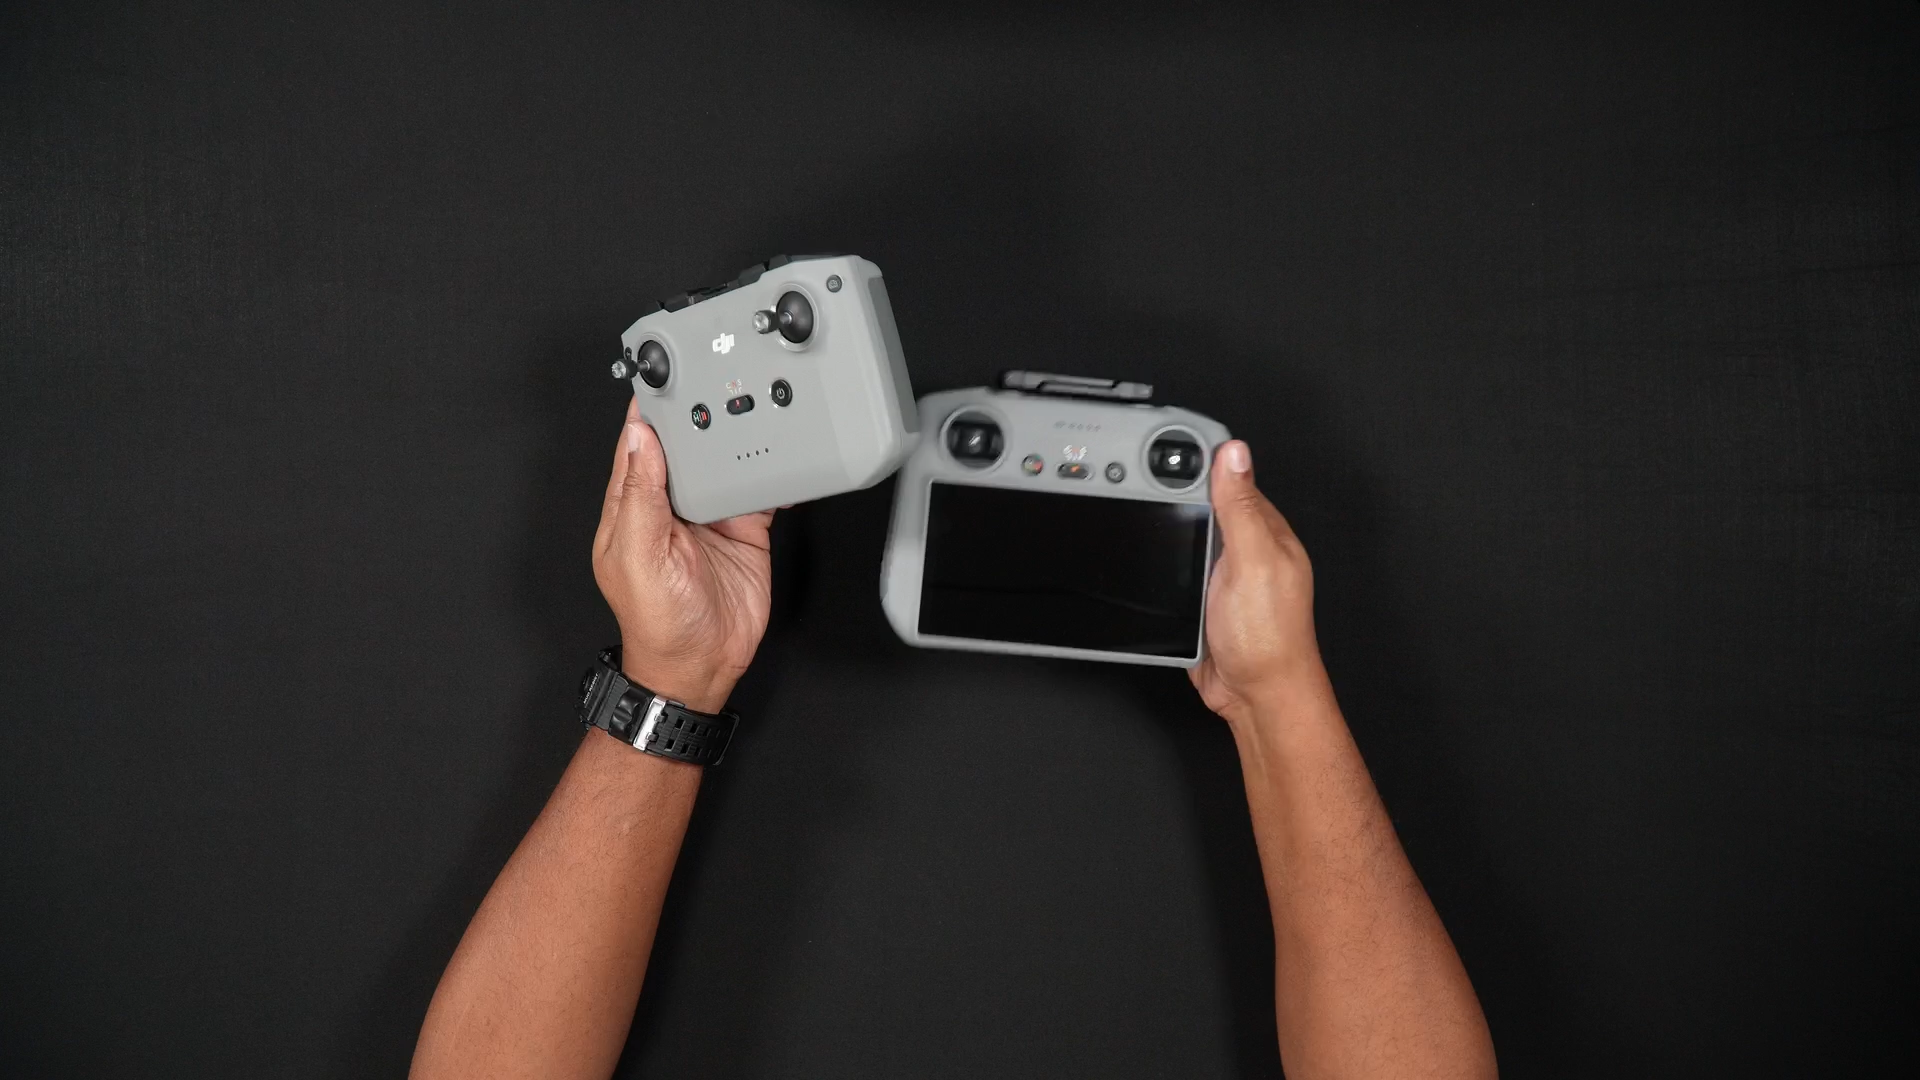
RC-N3, and DJI RC 2 Controllers
Whether you have an RC-N3 RC 2 remote controller, you will also need to charge the RC.

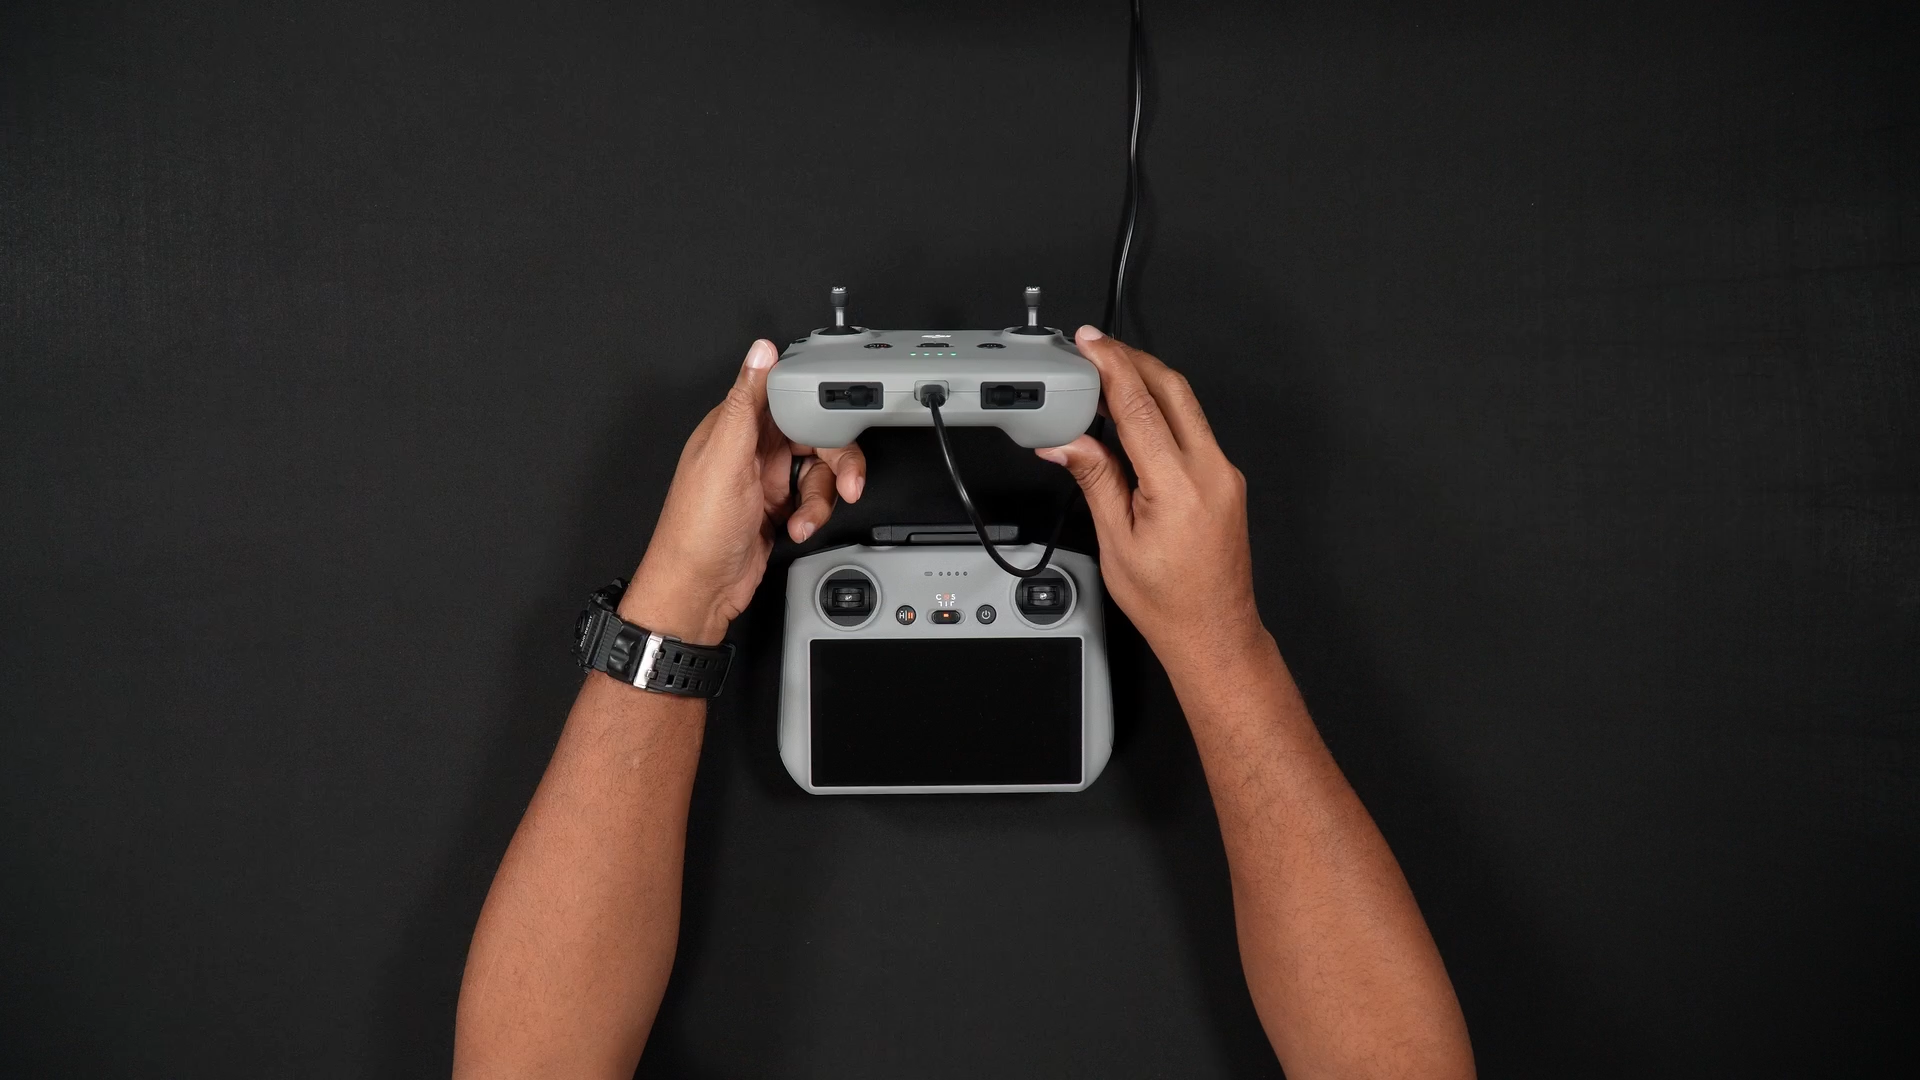
To charge either the RC-N3 or DJI RC 2 Remote Controller, locate the USB-C port on the bottom of the controller and plug it in.
When charging starts, the LEDs on the front of the remote controller will begin to blink, signifying charging.

There is a convenient feature built into the Flip’s charging hub. With batteries attached to the hub, you can use the hub to charge various electronic devices.

To charge devices through the charging hub (including the DJI Remote Controllers), plug one end of your DJI-supplied USB-C data cable into the charging hub.
STEP 2: Plug the other end of the USB-C cable into your device.
STEP 3: With all three batteries inserted into the charging hub, press and hold the power button for approximately 3-5 seconds, until you see your device begin charging, then stop holding the power button.
DJI Fly Software
With all of the batteries charged and ready to go, there is a very important step needed to start flying the Flip.
You will need to have the DJI Fly app installed on your phone if you have the RC-N3. DJI Fly is already installed on the DJI RC 2.
If using an iPhone, you can search for the DJI Fly app in the Apple App Store.
The DJI Fly app for Android is only available online on DJI’s site.
Where to Download DJI Fly
If you have the DJI RC-N3 combo, you will need to install the DJI Fly software on your electronic device.
If you are using either an Android or iOS phone, the links to download the DJI Fly app are as follows:
Additionally, from your Android device, you can do a Google Search for “DJI Download Center”.
In the results, choose DJI Fly and you will be brought to the software downloads page.
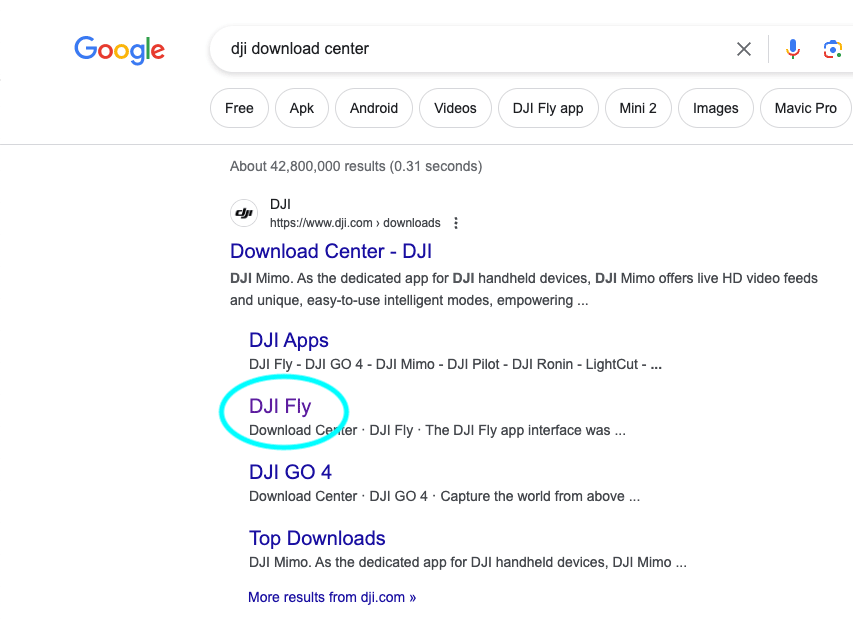
Note: the DJI Fly app for Android is only available online at the link above, and is no longer available in the Google Play store, whereas the iOS version for Apple devices is accessible via the App Store.
Setting up or logging into your DJI Account
Now that you have the DJI Fly app installed, it is time to set up your DJI Account. You can either do so from within the app on your cellphone, or using the DJI RC 2.
If you have a DJI RC 2:
It’s advised that for the initial setup, you connect to your DJI RC 2 while near your home WiFi. If you are setting the Flip up away from home, you can connect to your phone’s hotspot.
STEP 1: Turn on the RC 2 by pressing once on the power button, then immediately press and hold the power button.
After the DJI splash screen appears, you should be brought to the “Welcome to DJI RC-2” screen.
STEP 2: Scroll through the list and choose your language. After choosing your language hit NEXT.


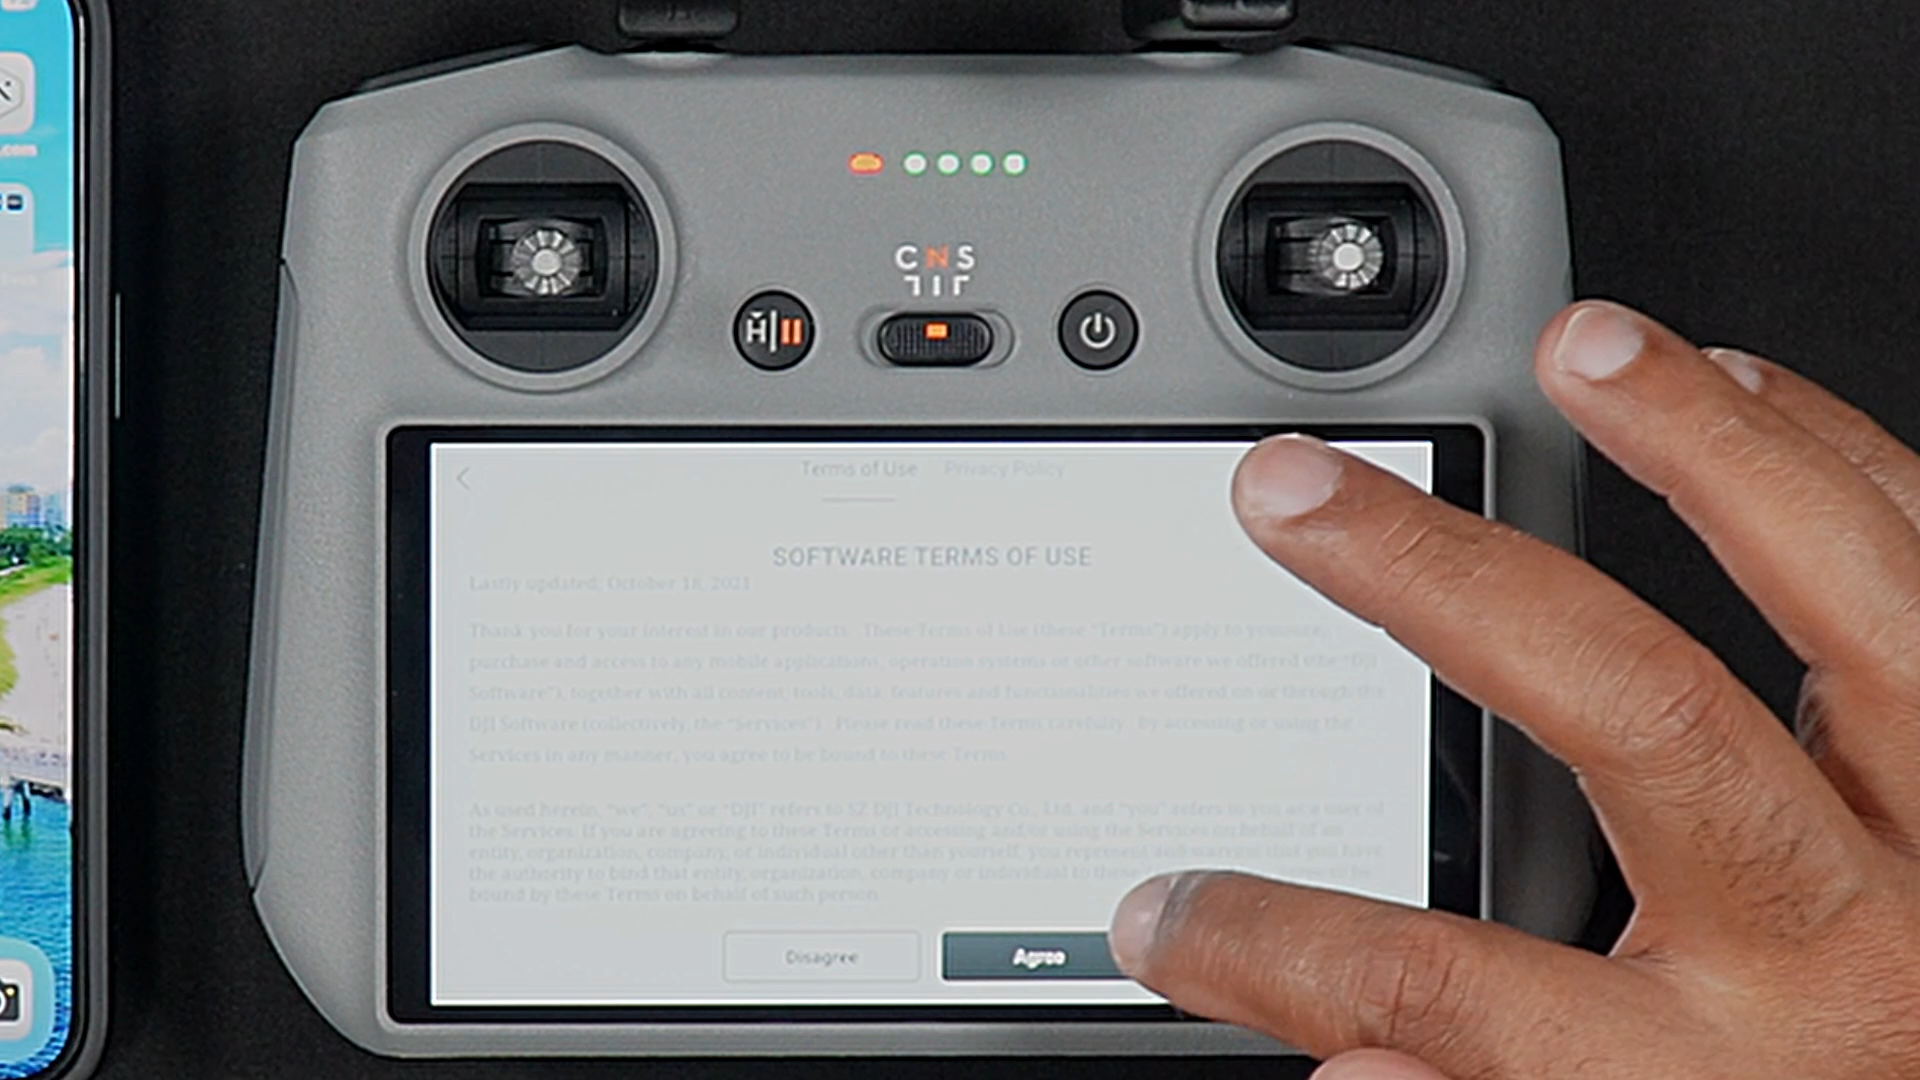
STEP 3: Accept the terms and conditions and press AGREE.

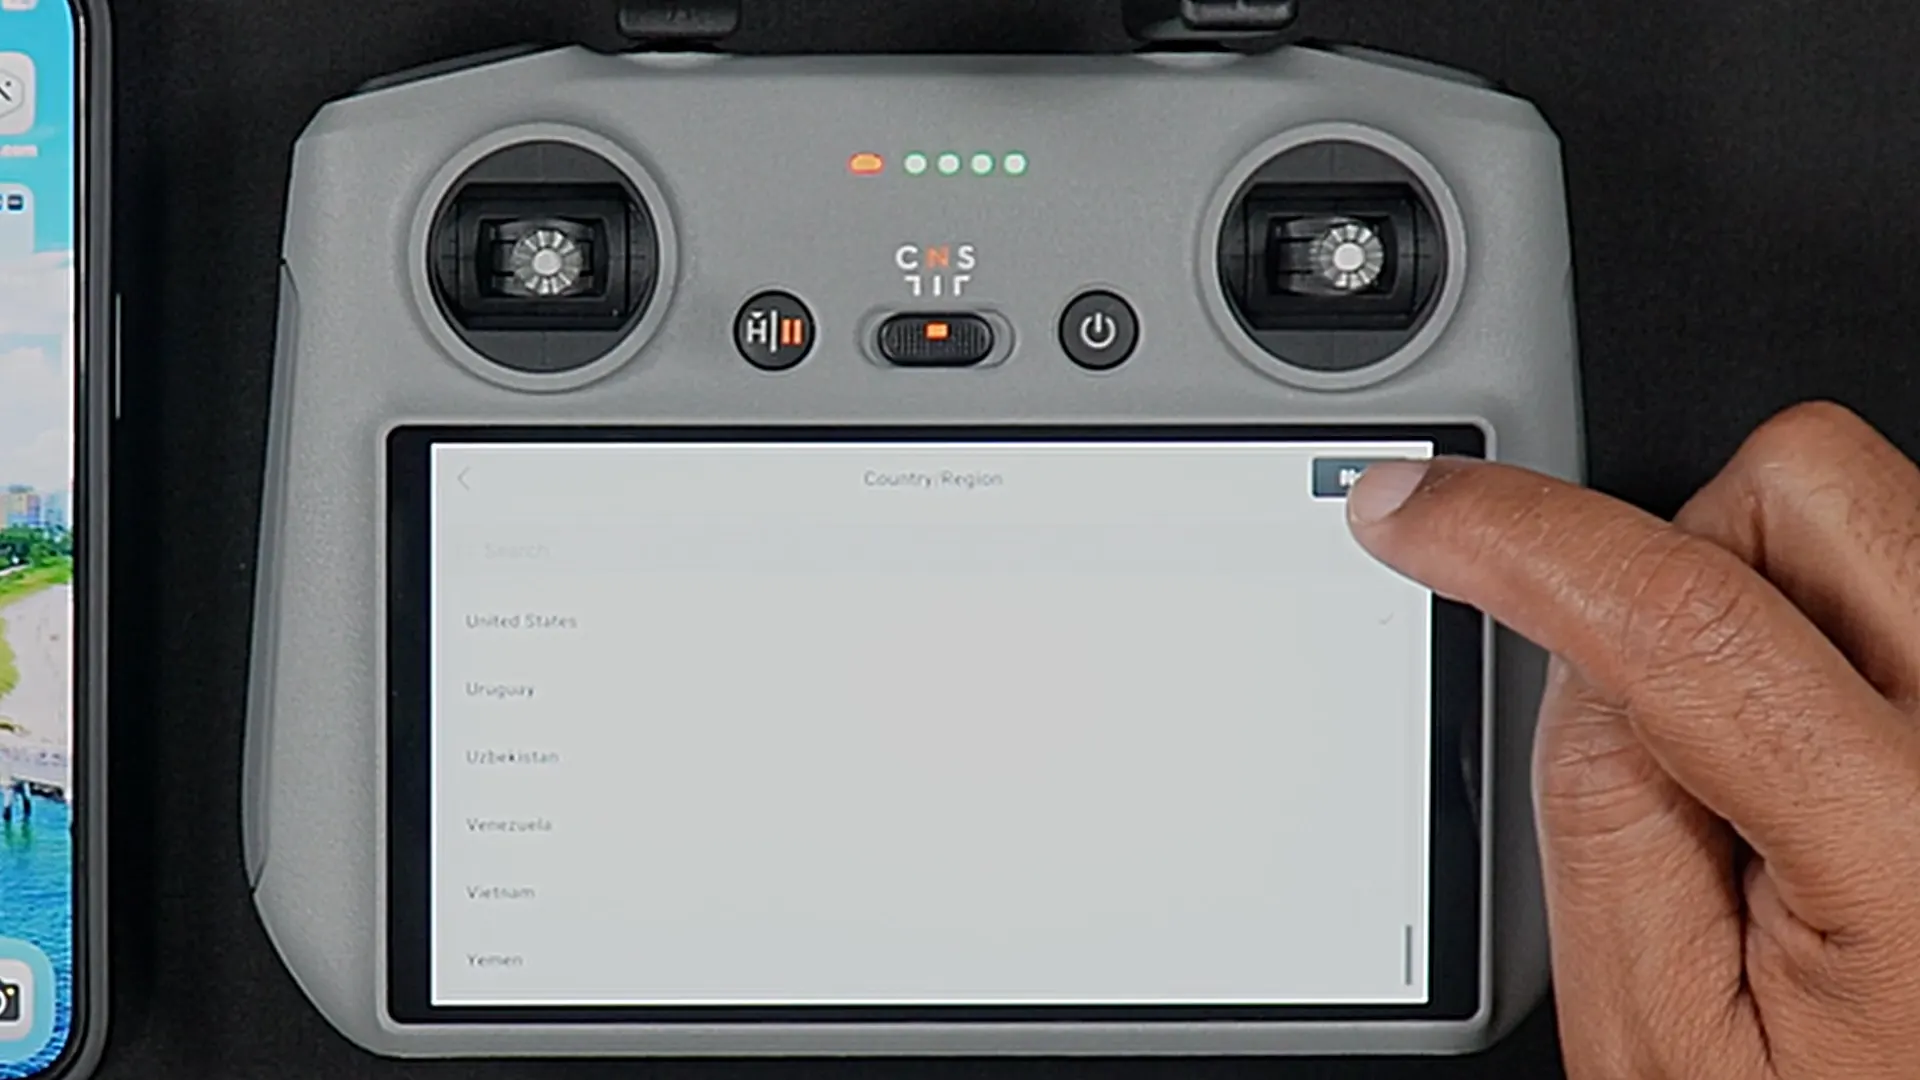
STEP 4: Choose your Country/Region and press NEXT.
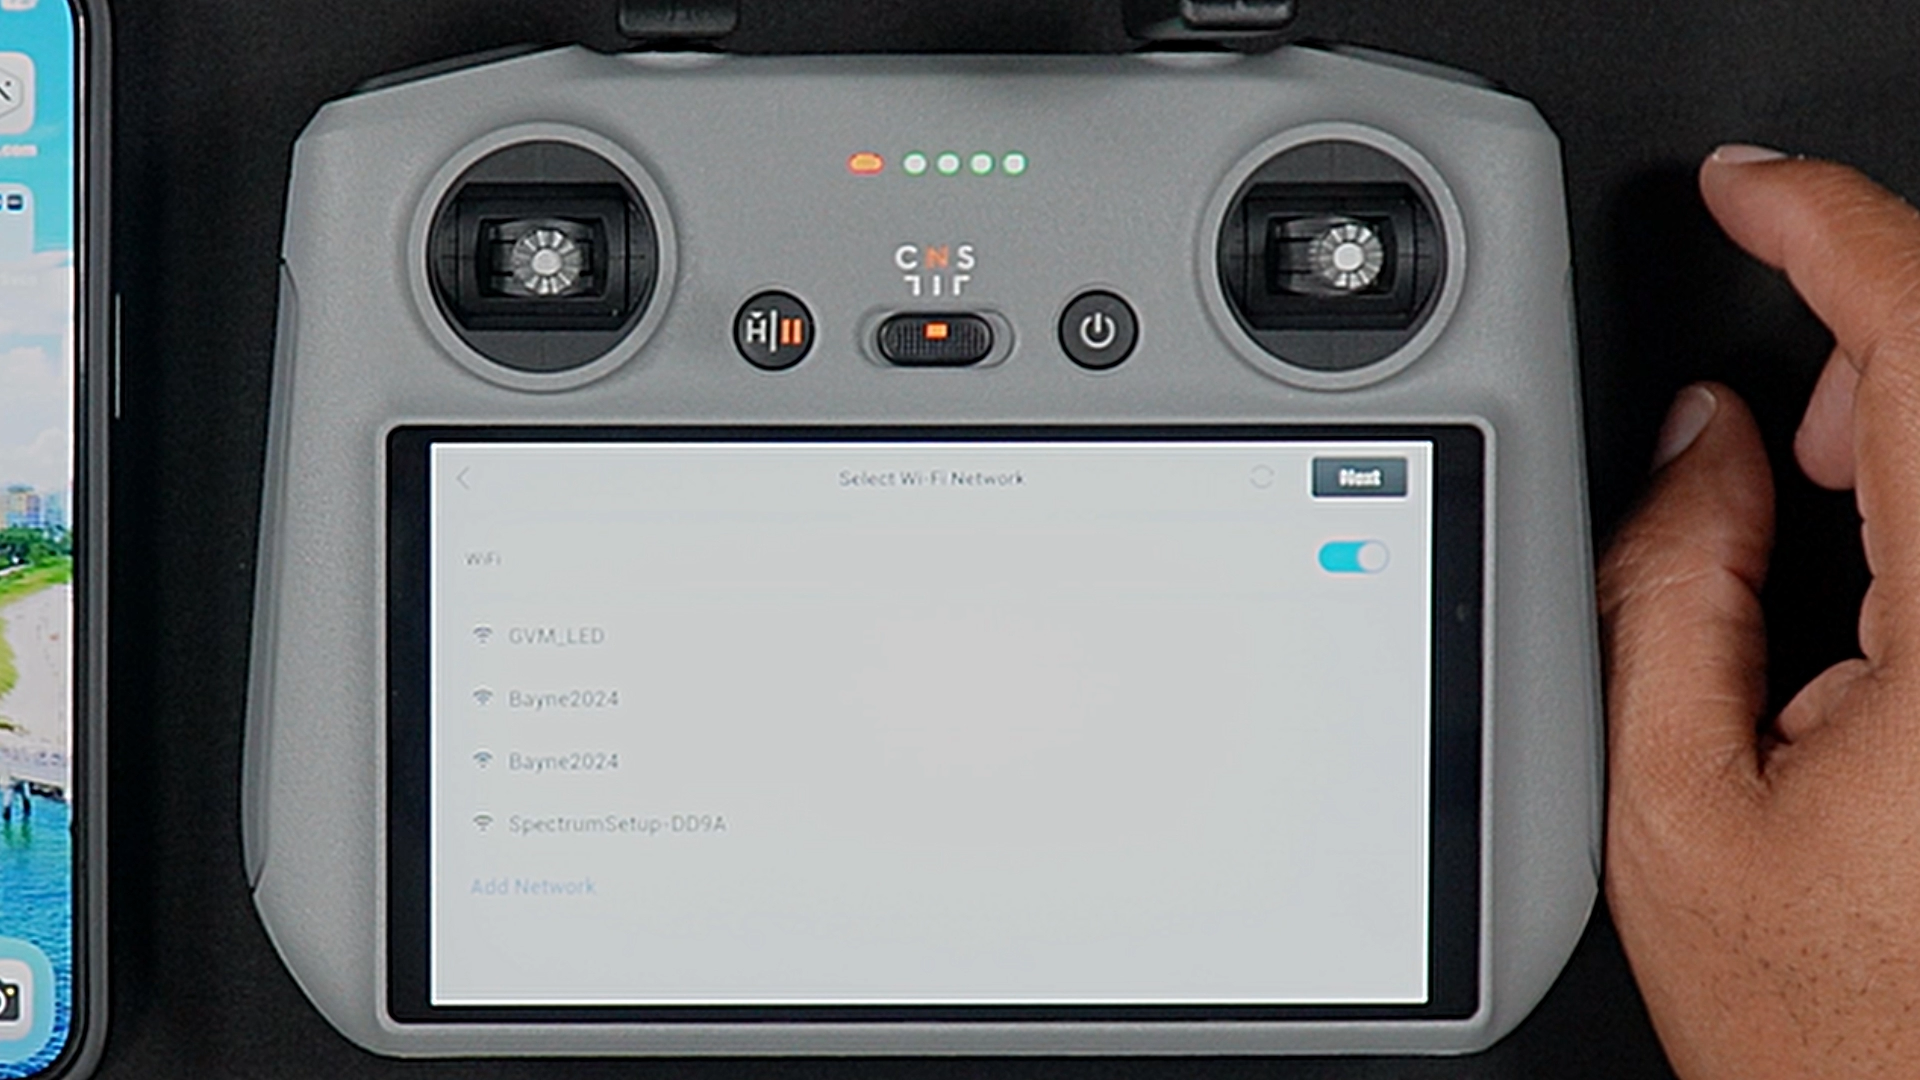
You’ll then be prompted to connect to Wifi (or your hotspot)

Note: You’ll need to connect to WiFi if setting up a DJI account through the DJI RC 2.
Connecting to WiFi
STEP 1: Choose your WiFi network from the list of active networks.

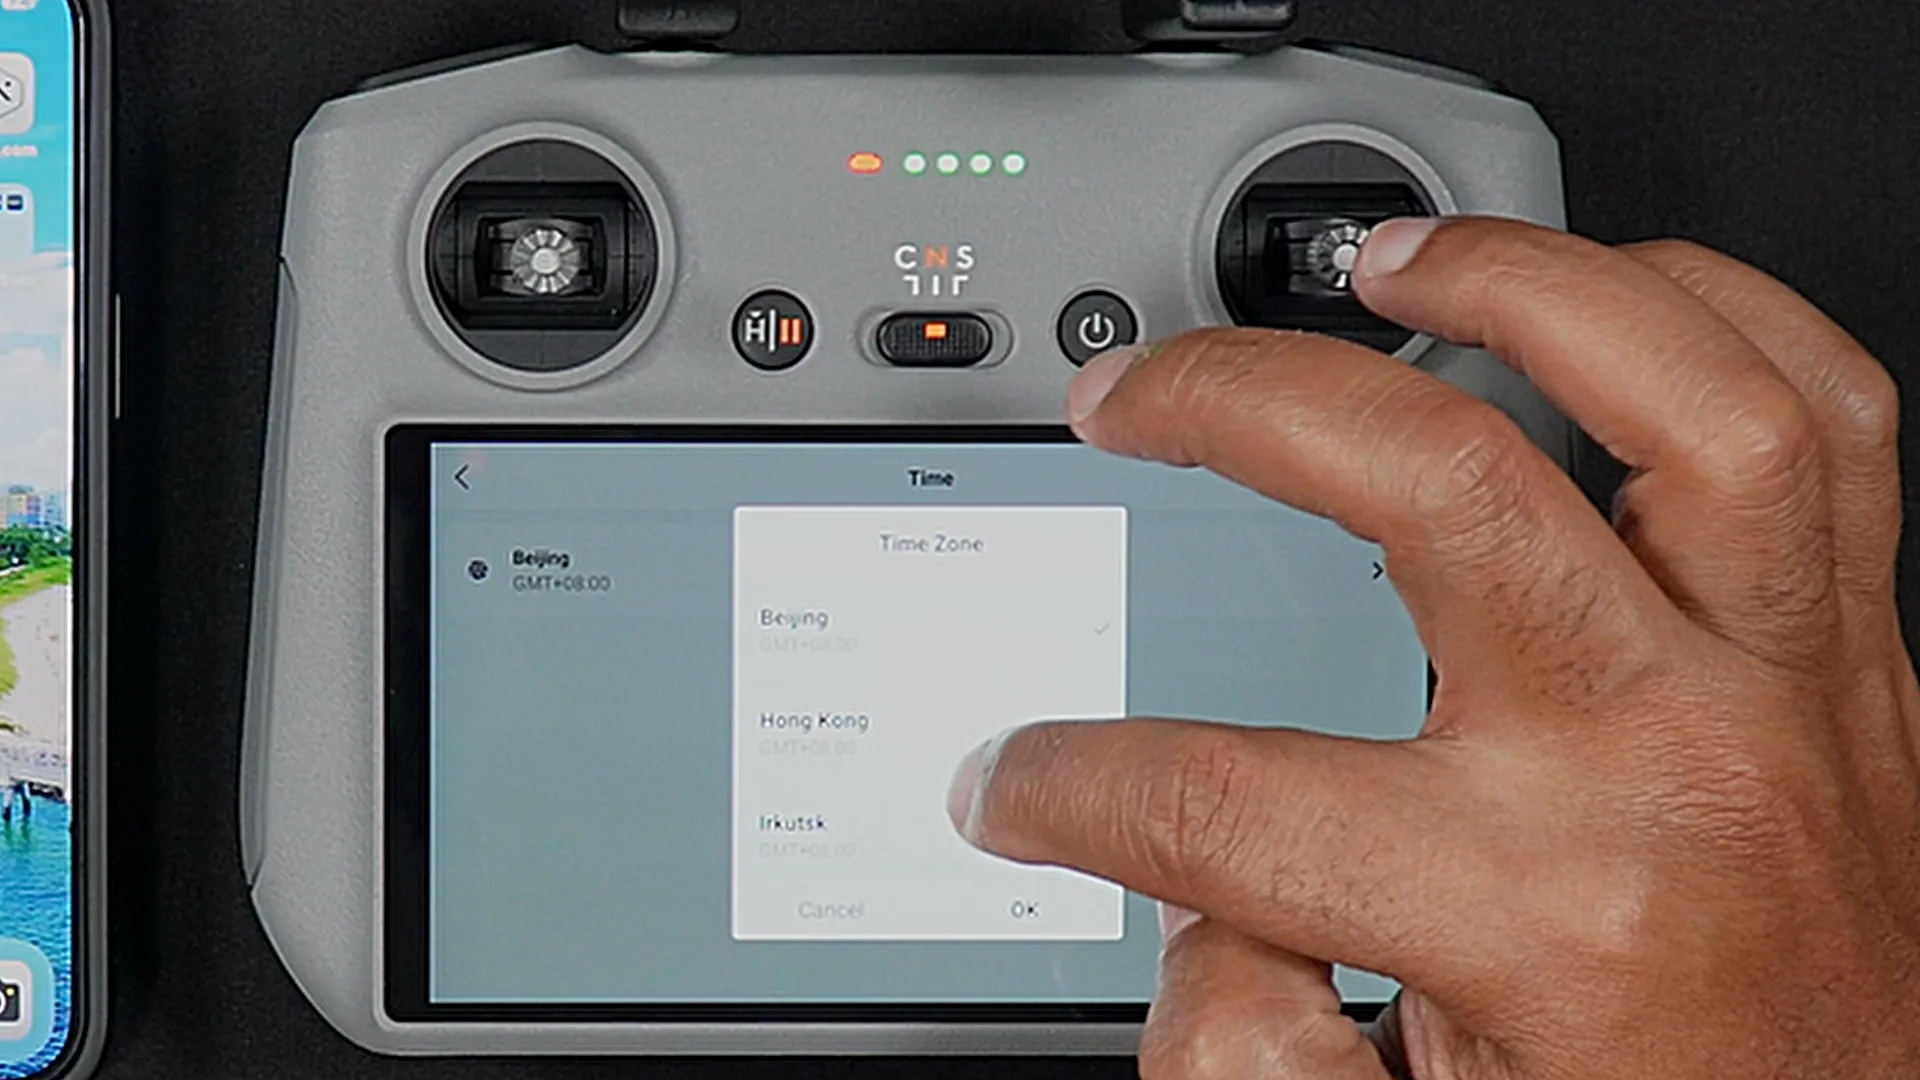
STEP 2: Enter your WiFi or hotspot password. After entering the password press the blue checkmark then press OK at the top right of the screen.
STEP 3: Select your Time Zone by tapping the current timezone on the screen (which might be Beijing). Then scroll through the list until you find your current timezone. Press NEXT.

STEP 4: Press confirm on the Note that pops up.
STEP 5: If you have a DJI account you can log in here or you can choose “Create account”.
If you have an RC-N3
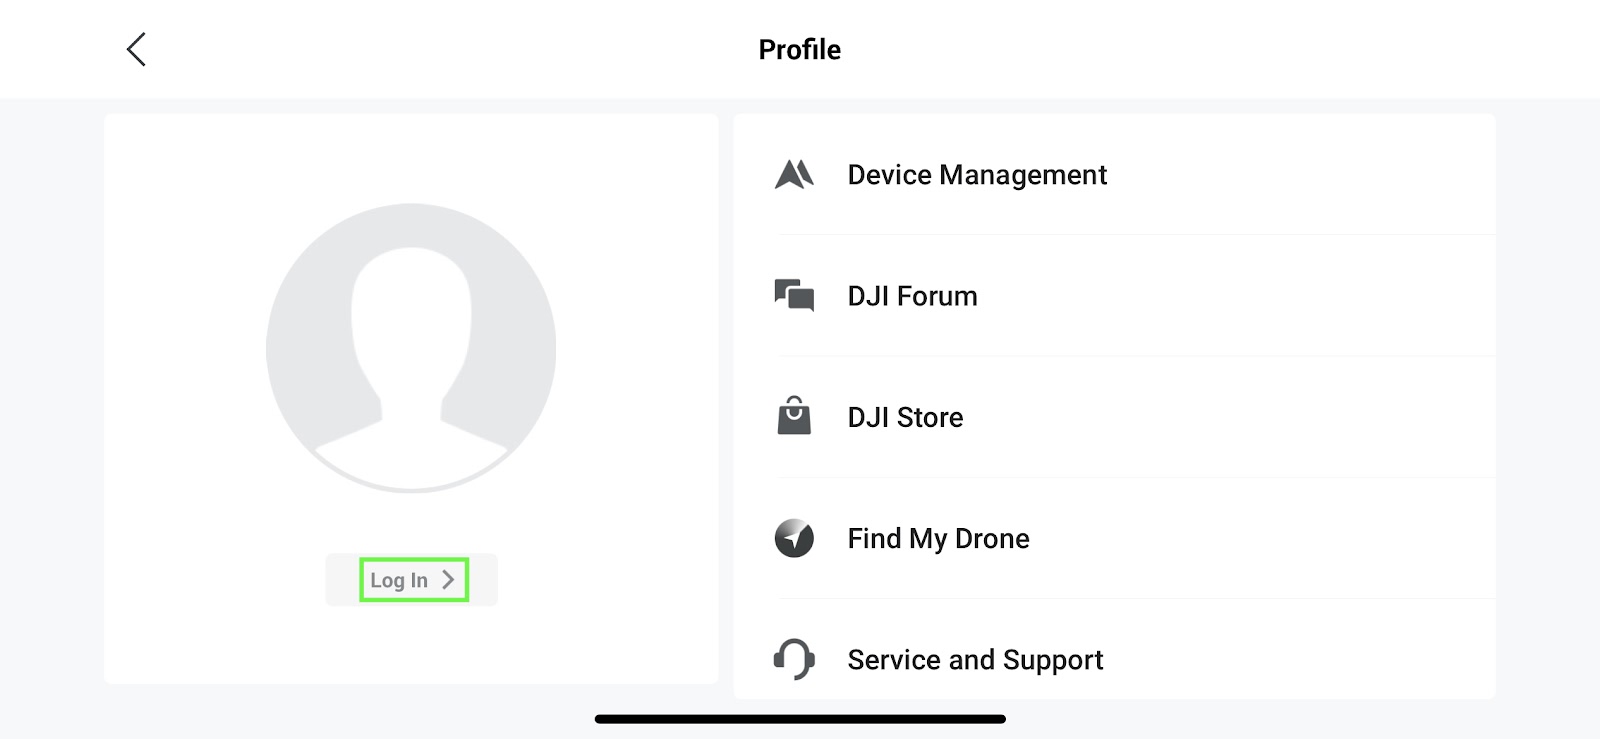
STEP 1: If you’d like to create a brand new account using the DJI RC-N3, without being connected to the RC-N3, from a cellphone or smart device, launch the DJI Fly app and go into Profile.
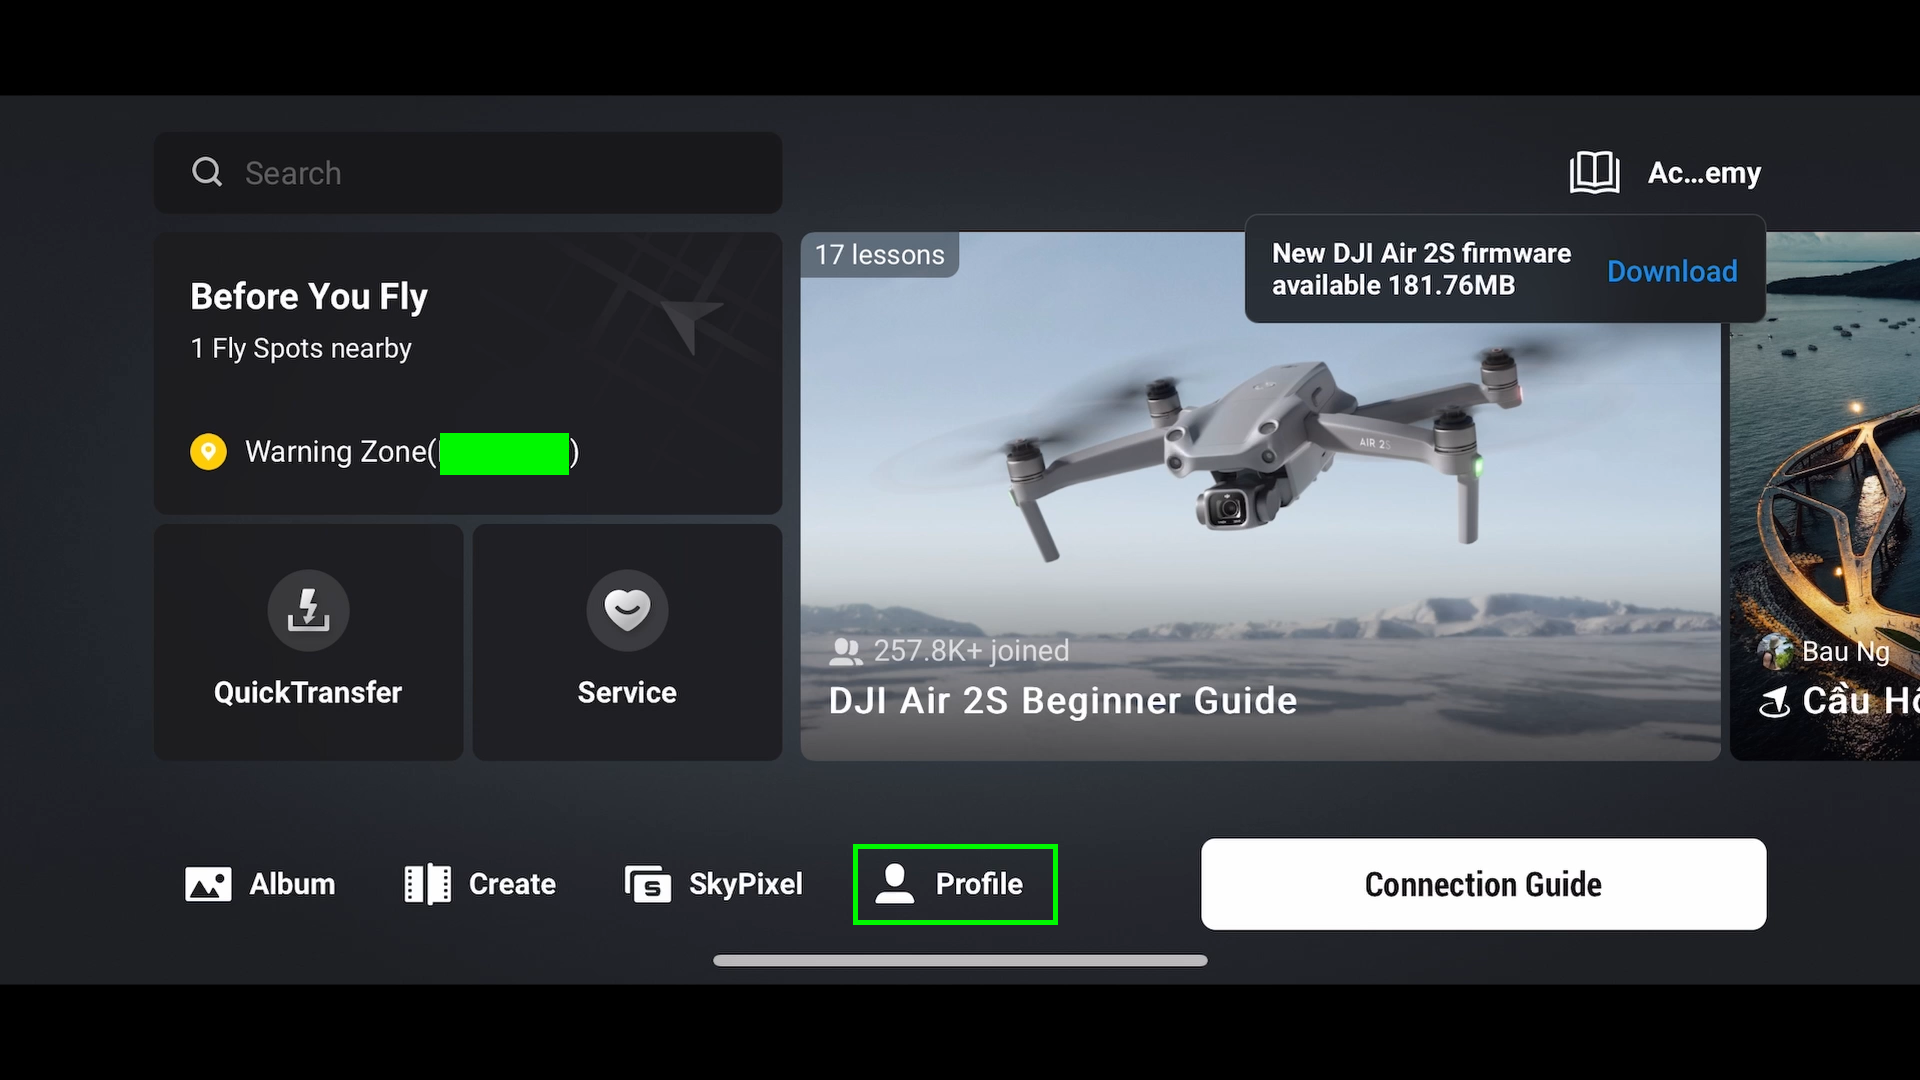

STEP 2: Once in the Profile Screen, go to Log In.
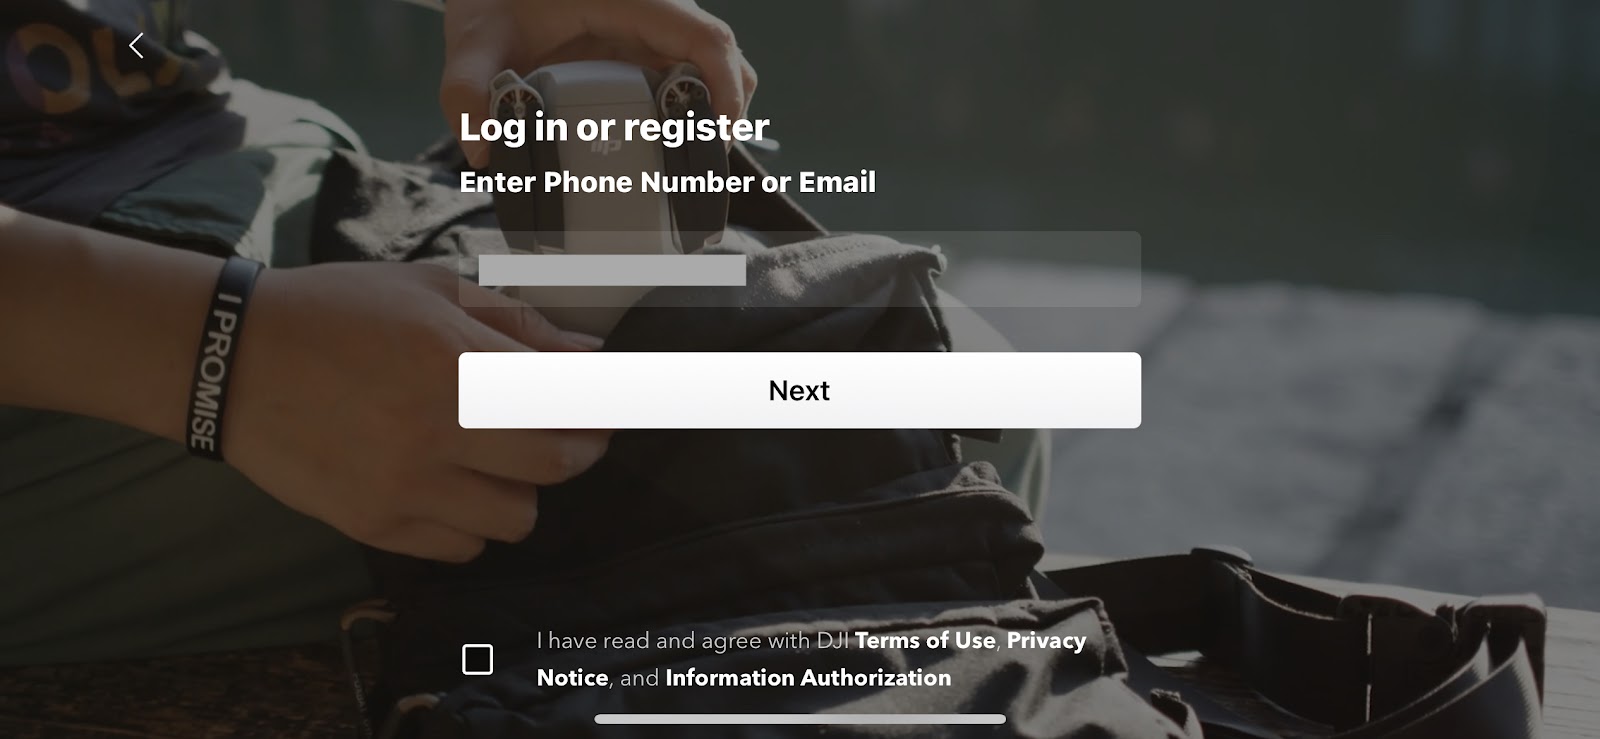
STEP 3: Input the phone or email you would like to register with and check off the “I have read” section at the bottom.
If you already have a DJI Login, input that information here.
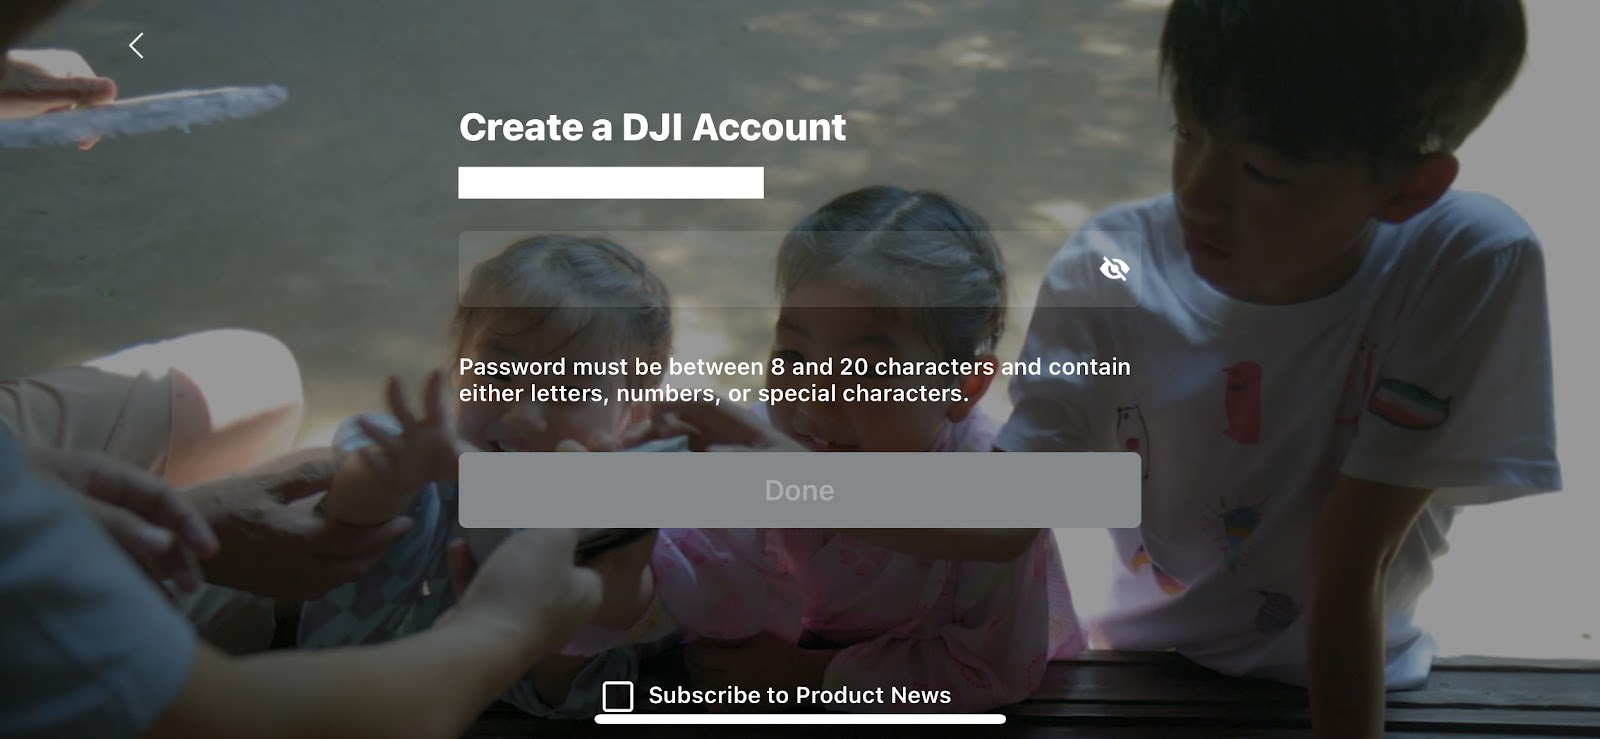
STEP 4: If you are creating your DJI Account for the first time, enter the password you would like to use.
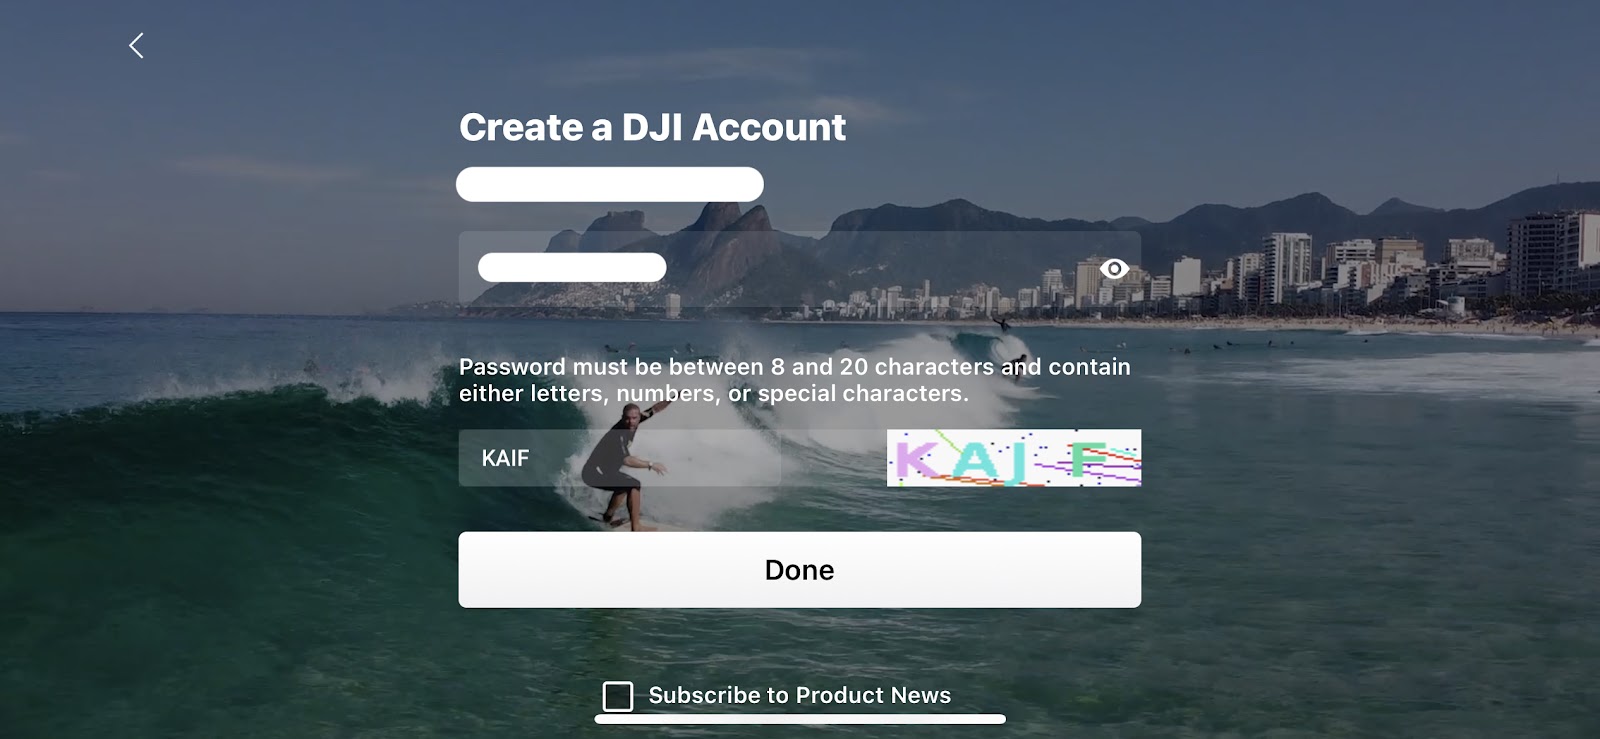
STEP 5: Enter the Captcha info and submit.
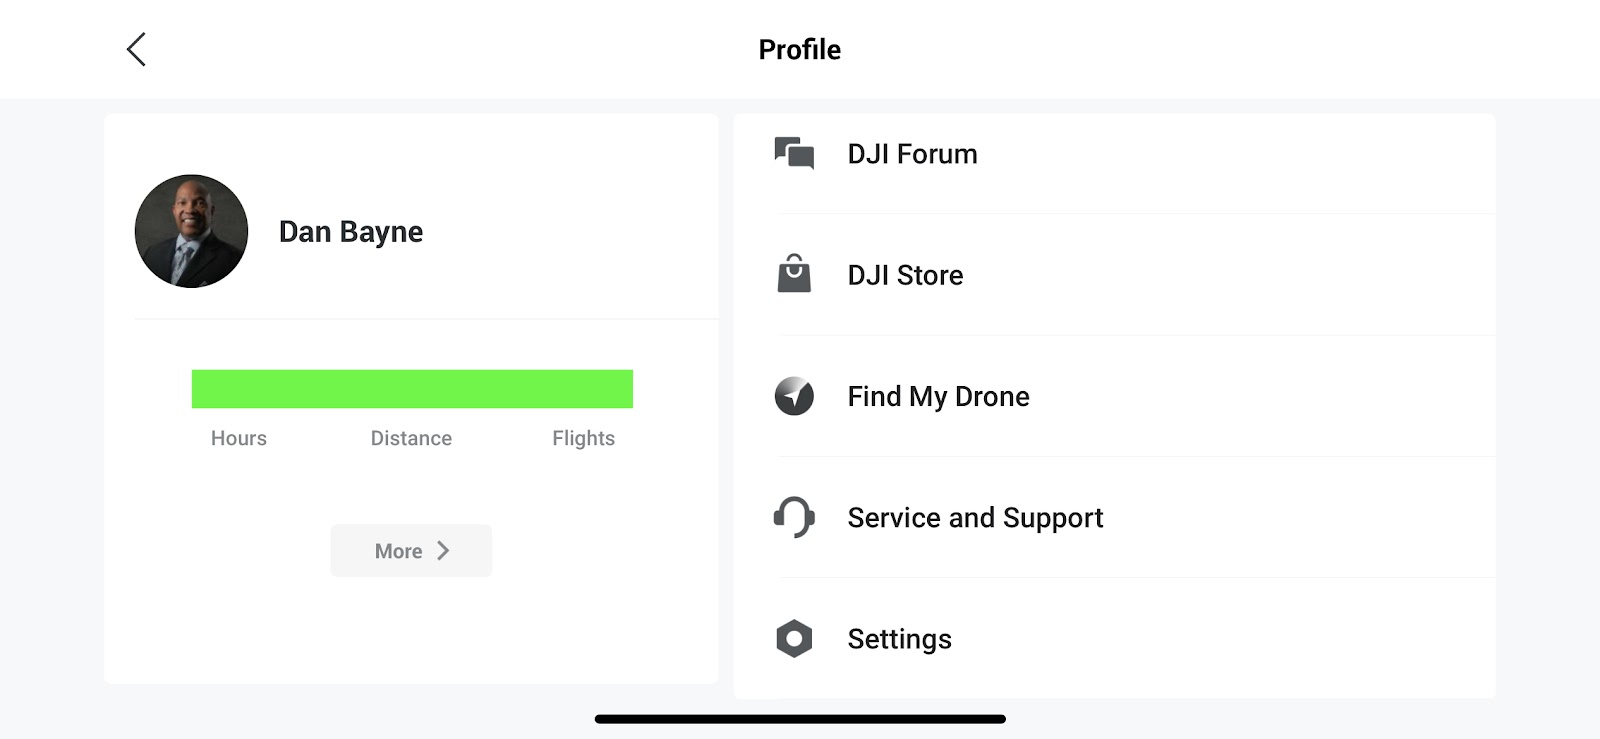
You’ll now be brought to the main profile page. You will see you have been set up as a generic DJI User.
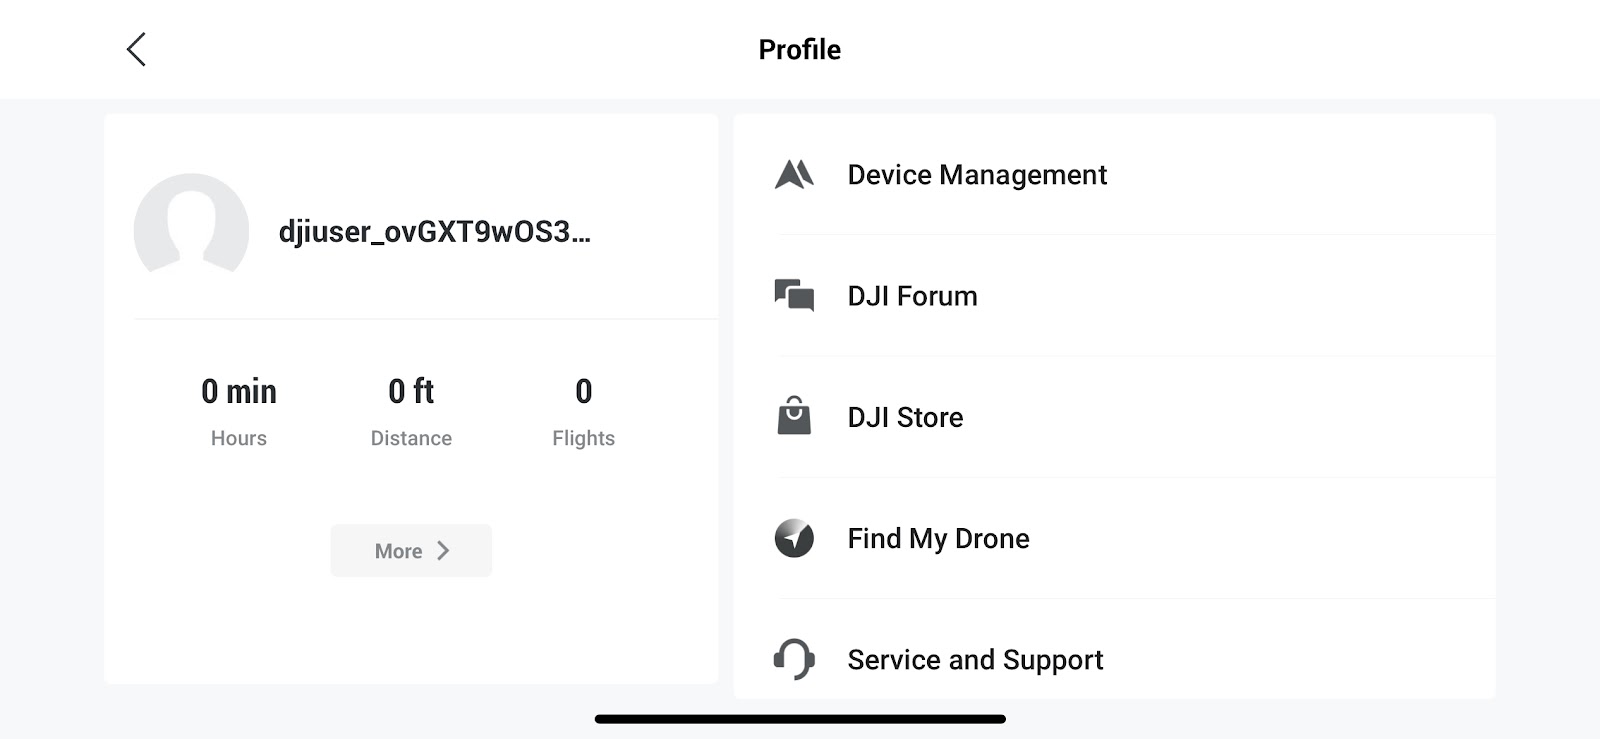
STEP 6: To change your name and profile picture, tap your current djiuser_ name (this will bring you to the Profile details page, and you can change your DJI username to whatever you’d like, as well as upload a profile picture.
Updating Firmware
After you have successfully created or logged into your DJI Account with either the DJI RC-N3 or RC 2, you’ll be presented with the option to install the newest firmware.
It is advisable to update the firmware (on any DJI drone), as new firmware ensures the Flip has all of the current features and bug fixes.
To update the firmware you will need to have the DJI Flip powered on, along with either the DJI RC-N3 or DJI RC 2.
STEP 1: With the remote controller on and connected to either WiFi or your device’s cellular data, remove the gimbal cover and gray silicon camera protector from the DJI Flip.
STEP 2: Unfold the Flip’s arms/motors. This should power on the Flip. If your Flip does not automatically power on, manually power on the Flip with a single press, then press and hold the power button.
After the Flip connects to DJI Fly, you may be asked to Activate your Flip. Choose the options that best suit your needs.
STEP 3: After activating the Flip, you should receive a message that there are firmware updates available. Choose UPDATE.
You will see a percentage animation showing the installation process.
The initial firmware update may take 5 to 10 minutes. Your DJI RC 2 or RC-N3, as well as the DJI Flip, will reboot a number of times. Let the process run fully.
Once the update is complete, you may need to manually power on the Flip to get ready for your initial flight.
