

The FPV community is always pushing the limits, and when I heard about the possibility of building an 8S freestyle drone, I knew I had to try it. In this build log, I’m sharing how I built an 8S 5-inch freestyle FPV drone, and what parts I used. Whether you’re an experienced builder or a curious beginner, these insights will help you understand the unique challenges and rewards of high-voltage drone builds.


Why Build an 8S FPV Drone?
For years, 6S drones have been considered the better choice for freestyle than 4S, because it offers faster, more powerful performance and impressive efficiency. But why stop at 6S when higher voltage can deliver even more power? Well, the main challenge was the lack of compatible hardware, to be specific, flight controllers, ESCs and motors that can safely handle voltages beyond 6S were rare. Today, with a few 8S-capable FC/ESC stacks and motors available, the opportunity to push performance further is finally here.
I’ve explored the pros and cons of going 8S versus 6S in depth on my blog before: https://oscarliang.com/8s-fpv-drone-2023/
Parts and Components
Before diving into the build, here’s a rundown of the components I selected for this project.

Battery
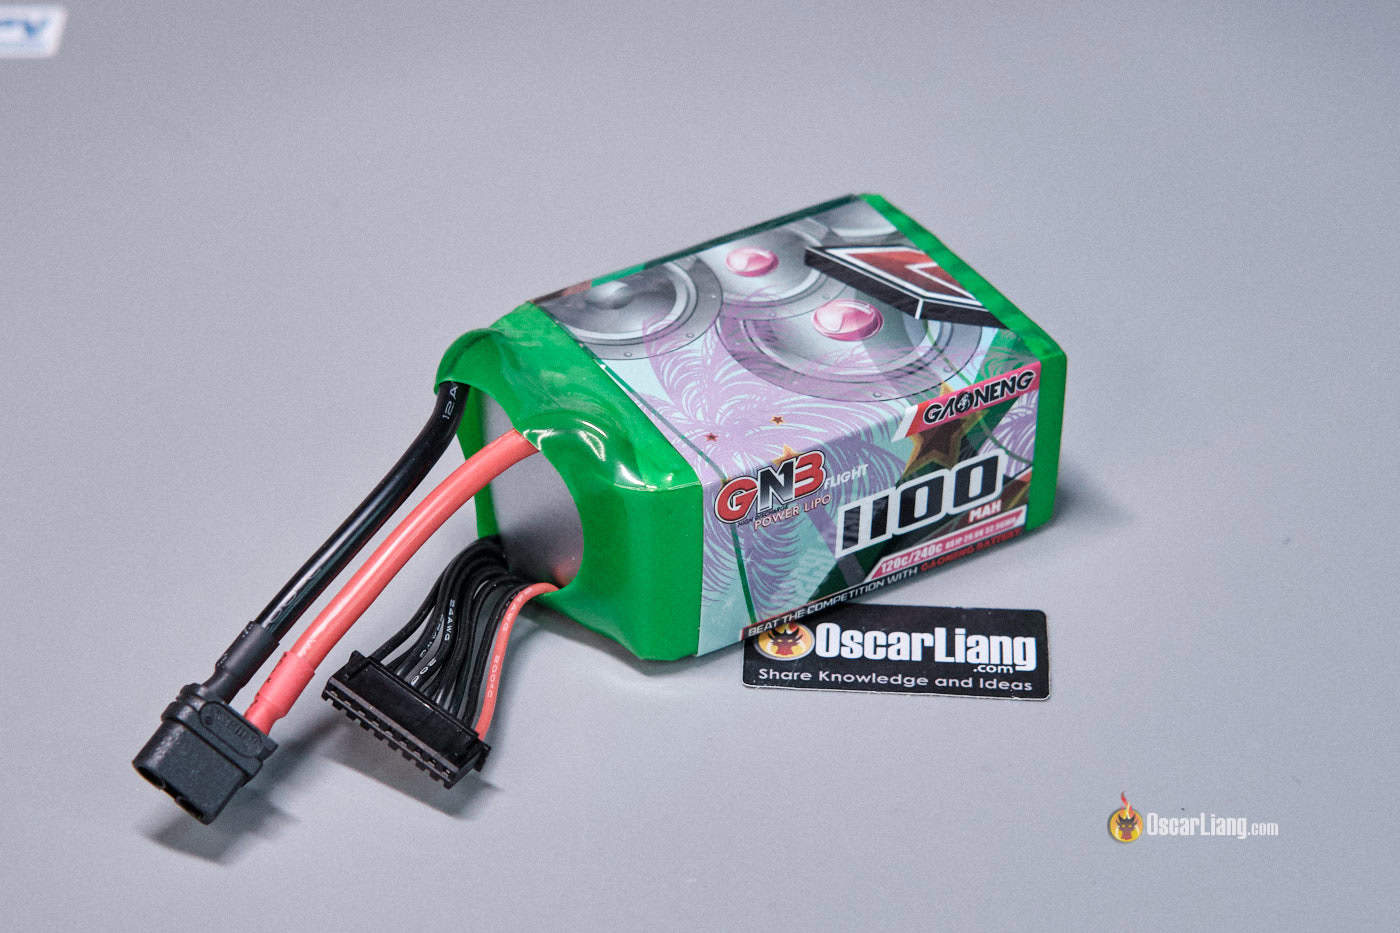
GNB 8S 1100mAh LiPo (120C):
I chose this battery because it’s one of the few 8S batteries available for quadcopters of this size, and GNB is a trustworthy battery brand. This 8S 1100mAh pack has similar energy to a 6S 1500mAh (in terms of watt hour). It weighs 256.7g, similar weight to a 6S 1500mAh pack too.
GNB 8S 1100mah:
Tattu 8S 1050mAh:
Charger
I reviewed an affordable 8S charger from Hota – the T8, which is reliable for handling these high-voltage batteries: https://oscarliang.com/hota-t8-lipo-charger/
You can get the HOTA T8 from:

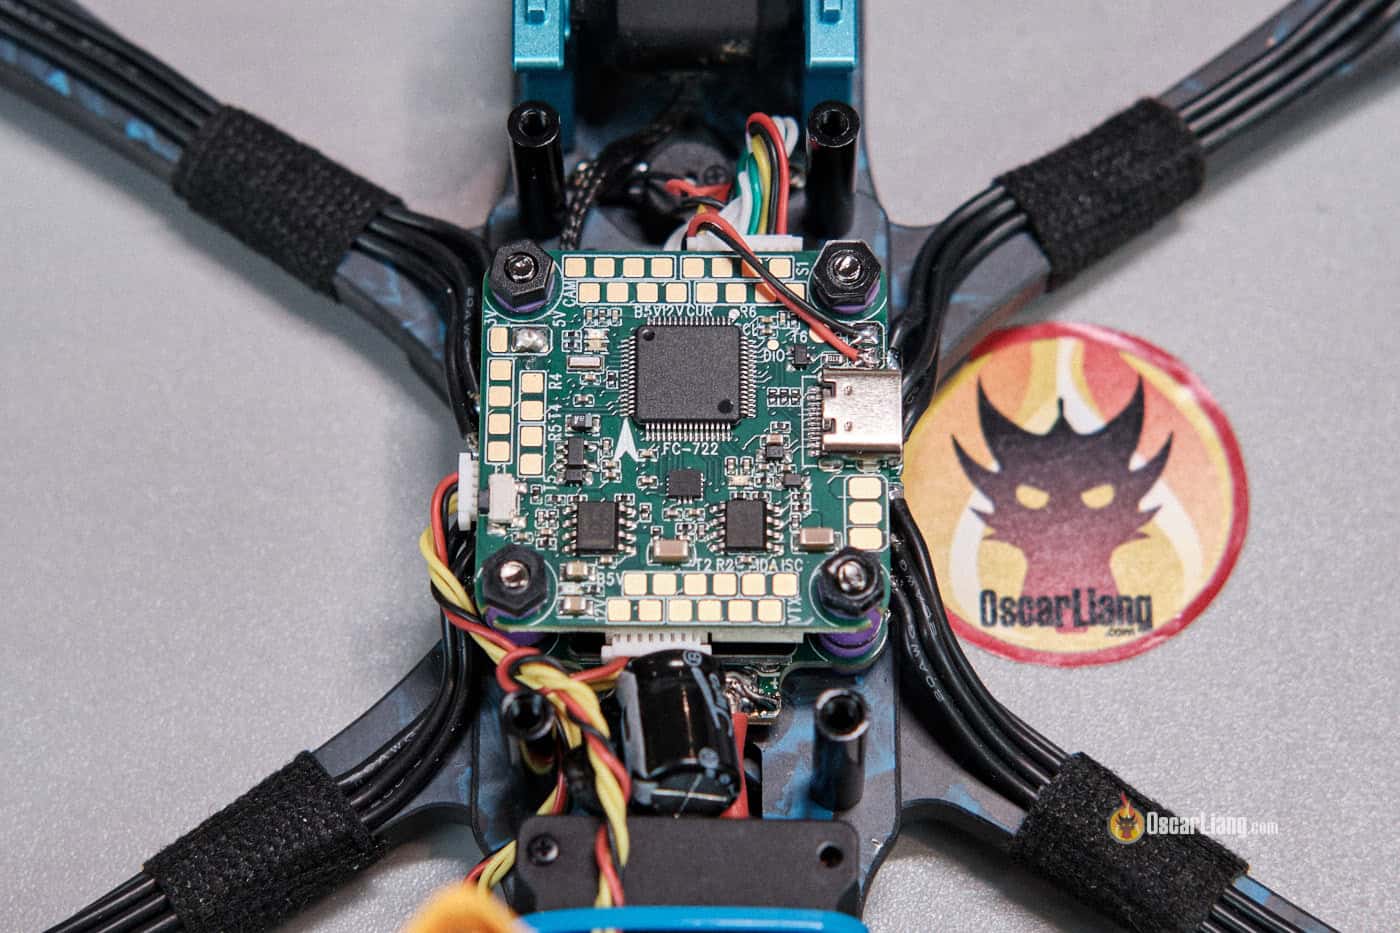
FC and ESC Stack
DYS F722 AM32 65A 8S Stack is fully 8S-compatible. It’s essential to avoid additional voltage regulators or performing any hacks to get your drone working properly and safely.
Get it from:
The DYS F722 AM32 65A 8S stack worked perfectly for my build, though there are a few quirks you should know:
- It comes with a pretty small capacitor (35V 470uF) that may be undersized for 8S builds. Ideally, a 50V 1000uF capacitor is preferable, though it will certainly take up more room in the frame.
- No manual or pinout diagram is included, you have to search for it online.
- The provided receiver cable has the 5V and GND wires swapped, and the data wires lack color coding, which can complicate wiring.
- There are 3 pre-soldered solder bridges that set voltage outputs for various connectors; double-check these to ensure proper voltages before connecting.
- The USB port does not power the receiver and GPS—you must plug in the LiPo battery.
- Additionally, the wiring diagram recommends using UART1 for the receiver, but since it’s a bit far from where I wanted to mount the receiver, I switched to UART4. However, this connector have the TX and RX pins reversed, so you must swap the TX and RX wires on the connector, highlighting some inconsistency in the FC design.
These minor issues are not deal breakers, just annoying.
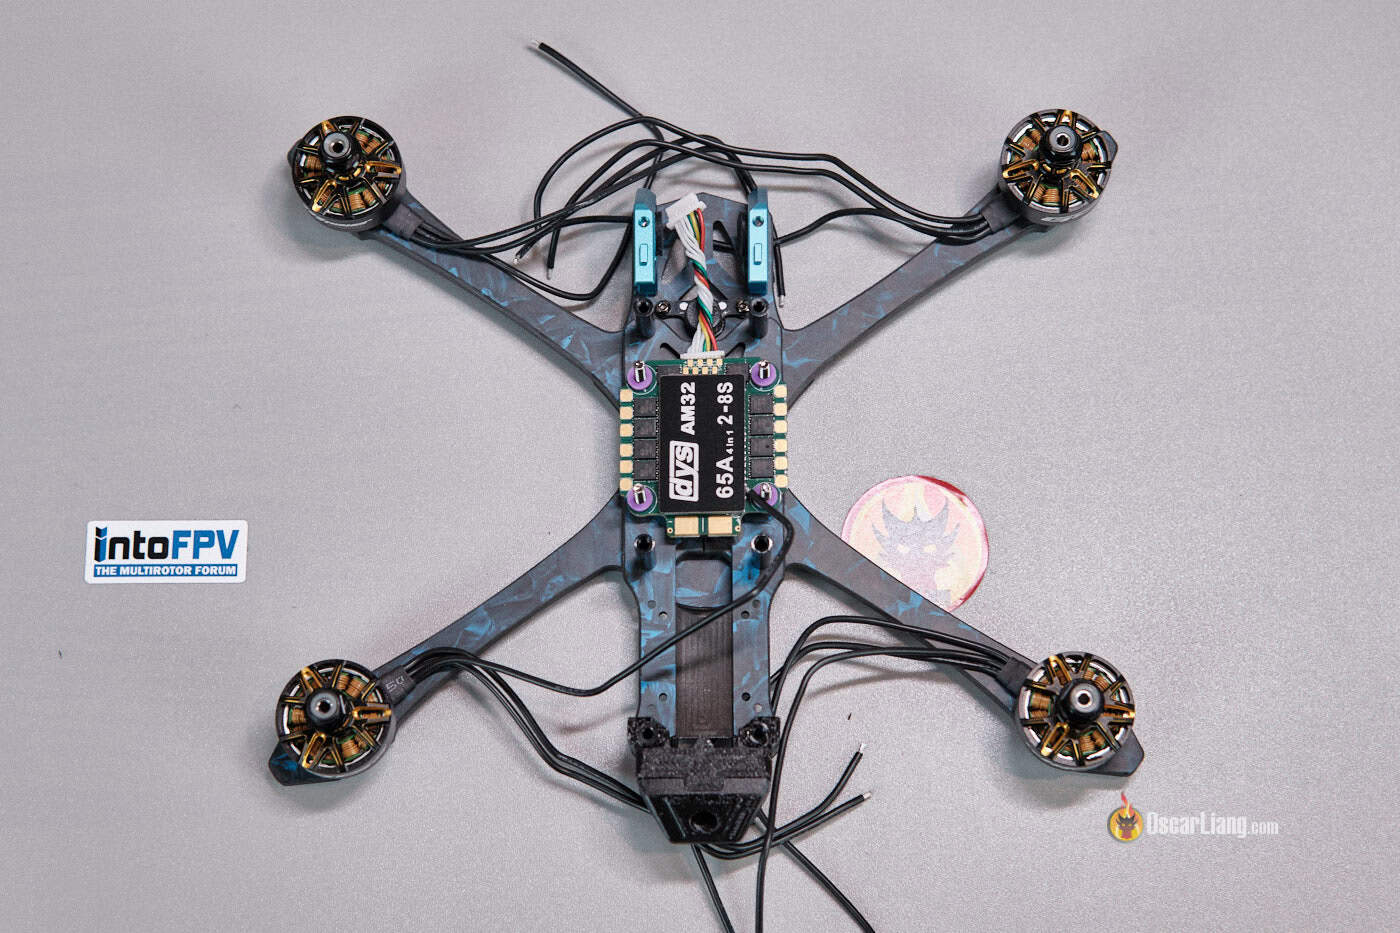
Motors
These RCInPower GTS V4 2207 1600KV motors are designed specifically for high-voltage setups like 8S. If you can’t find these exact ones, you may also try 1650–1800KV motors meant for 6S and then scale down Motor Output in Betaflight (similar to how people use 6S LiPo on 4S builds). However, I always advocate for using motors with the correct KV rating for your battery to ensure optimal efficiency and peace of mind.
Get these 1600KV motors from AliExpress: https://s.click.aliexpress.com/e/_DeGIbiZ
Frame
I’m using the Axisflying Manta 5 SE frame—arguably one of the best value freestyle frames available in 2025. Its robust design and premium build quality make it an ideal foundation for an 8S build. Check out my review: https://oscarliang.com/axisflying-manta-5-se-frame/
XT60 Pigtail
I opted for 14-gauge wires for battery leads. Although they have slightly higher resistance than 12-gauge wires which are commonly used in 6S builds, over the short distance in my build the difference is negligible. The flexibility of 14-gauge wires allowed for neater routing through the frame, and was easier to solder. With the higher voltage of 8S, the current draw is lower for the same power, which reduces the demand on the wire’s current rating as well.
Capacitor
To protect electronics such as the VTX from voltage spikes generated by the motors and ESC, adding a low-ESR capacitor is a must. Given that an 8S battery can reach 33.6V when fully charged, I recommend opting for a capacitor rated at 50V with 1000uF capacitance. In my build, I used the small 35V 470uF capacitor that came with the DYS FC stack—just to see how well it handles 8S builds—but I still suggest upgrading to a higher-rated capacitor.
I have a tutorial explaining why you need extra capacitor in your FPV drone build, and what type of capacitor you need: https://oscarliang.com/capacitors-mini-quad/
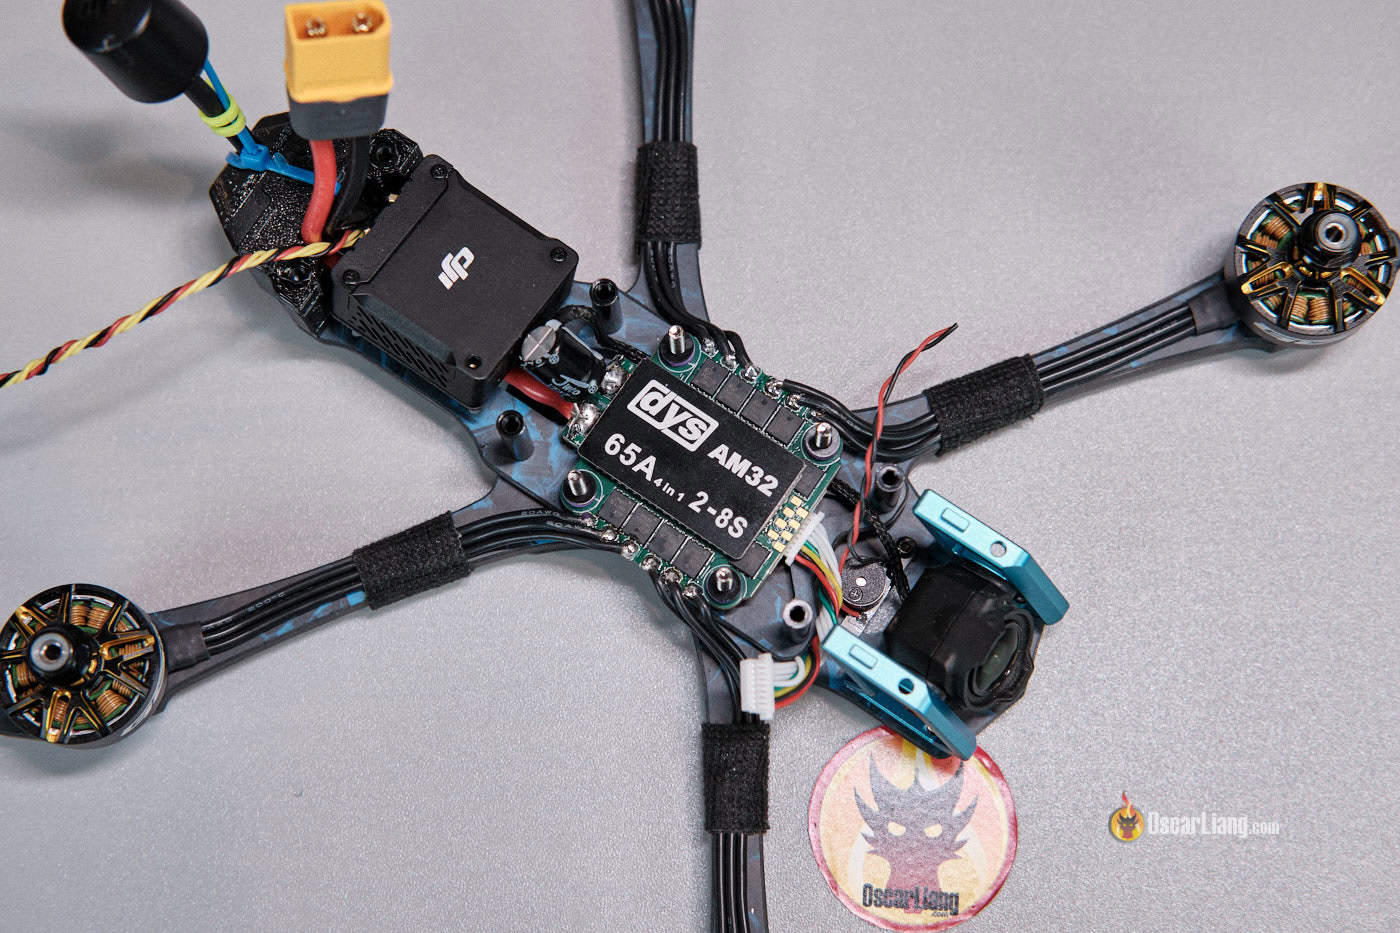
Receiver and FPV Setup
You can use any receiver and FPV setup since these will be powered from a BEC on the flight controller. In this build, I’m using the DJI O3 Air Unit. Although I could have used the O4, the Manta 5 SE frame isn’t compatible with the O4 camera mounting, so I stuck with the O3.
For the receiver, I chose the Happymodel EP1 (new version with TCXO)—it’s compact, affordable, and performs well. For additional details, check out my ELRS RX recommendations: https://oscarliang.com/setup-expresslrs-2-4ghz/#Receivers
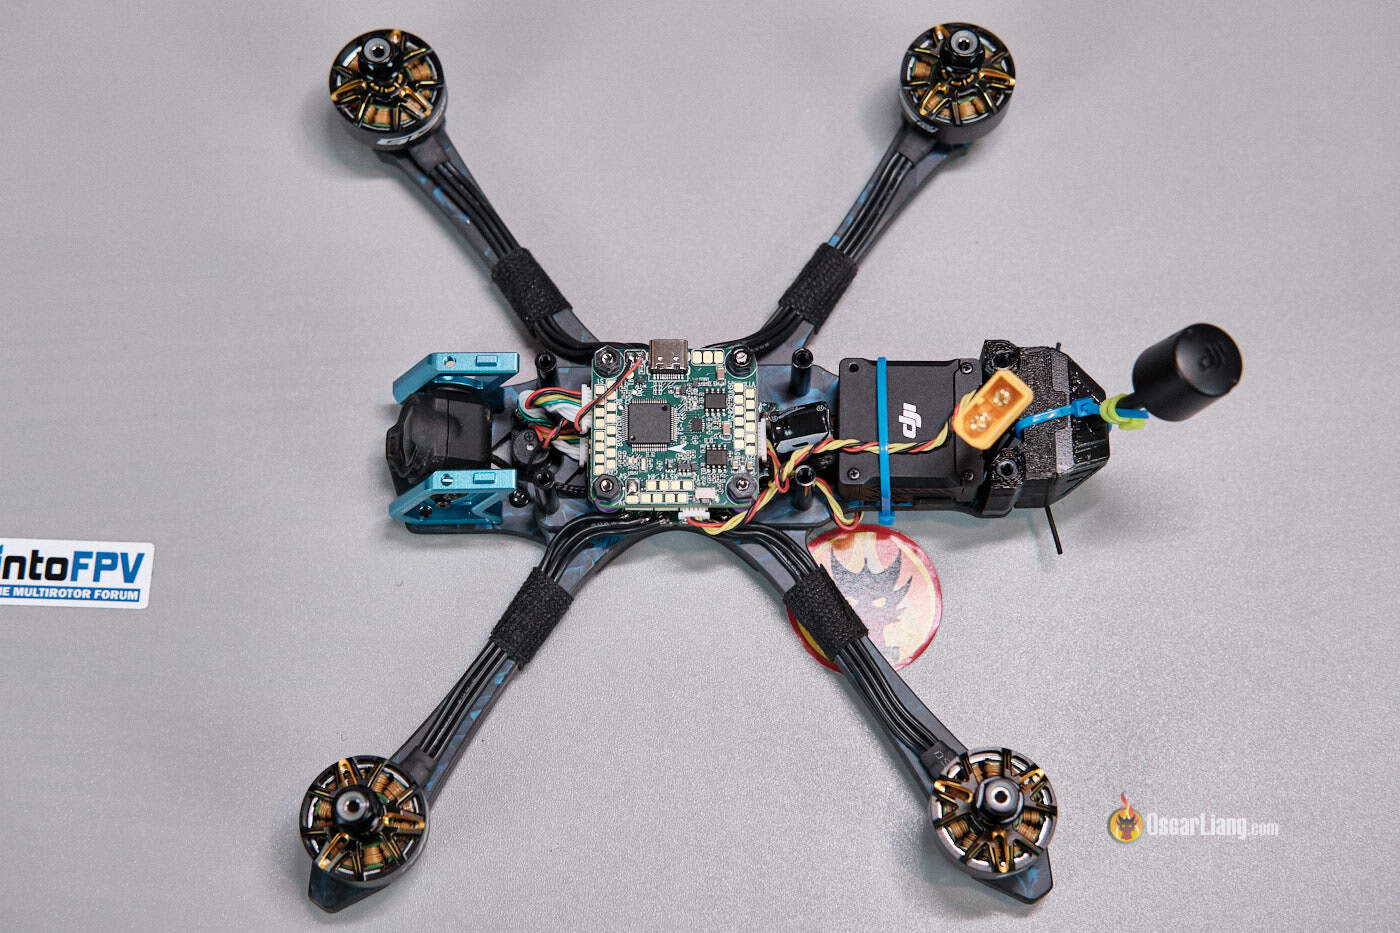
The Build Process
Building this 8S FPV drone is exactly the same as building a 6S one. Since I selected an FC/ESC stack that’s fully compatible with an 8S battery, the process was straightforward. For those looking for a step-by-step guide on building an FPV drone, check out my comprehensive tutorial: https://oscarliang.com/how-to-build-fpv-drone/
Mounting Motors
Soldering Motors and XT60 to ESC

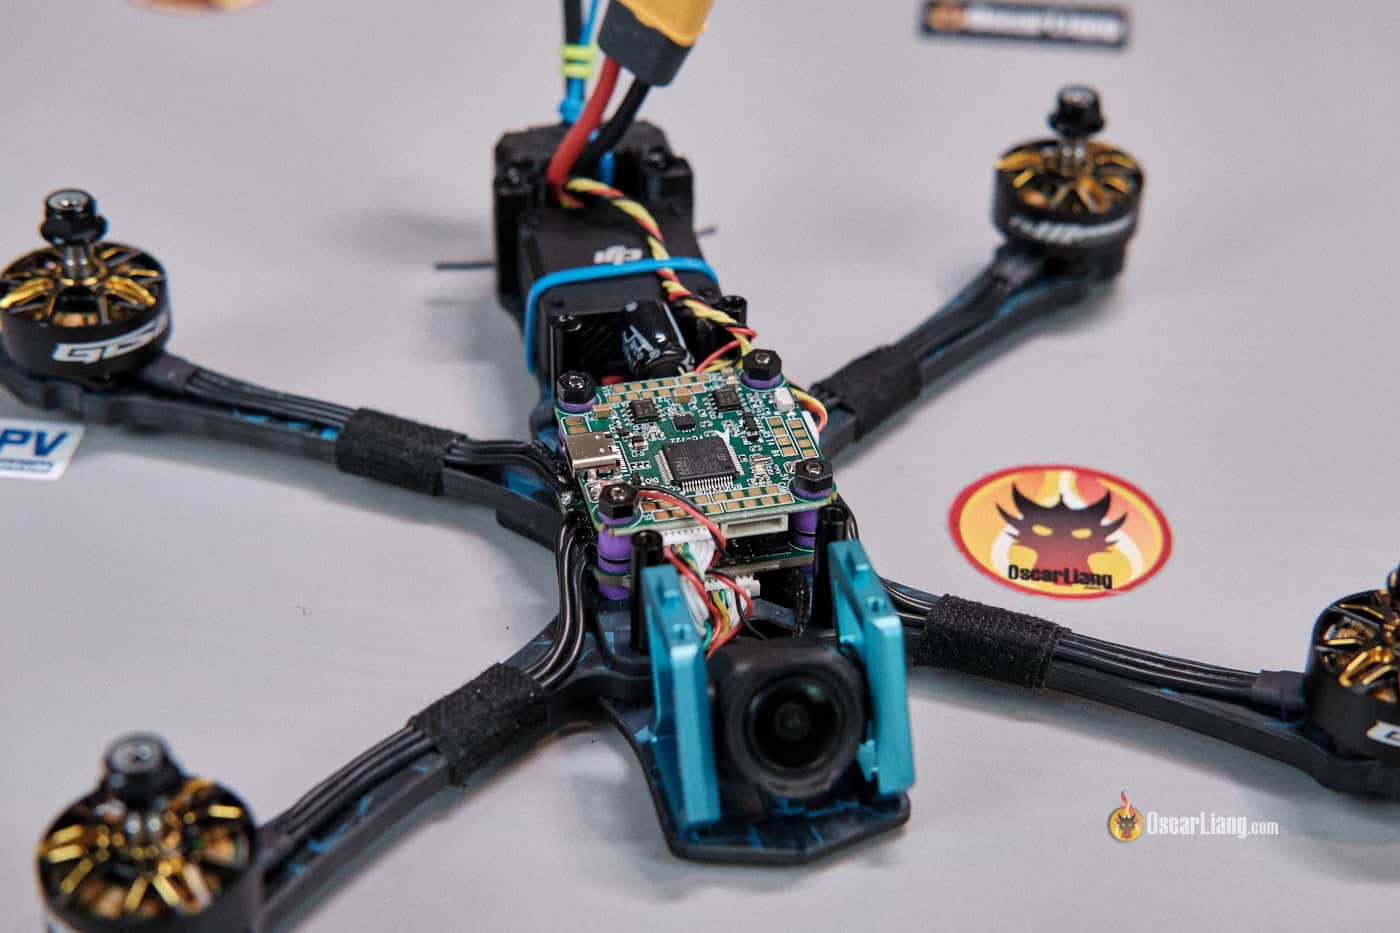
Installing FPV Setup

Connecting Components to FC
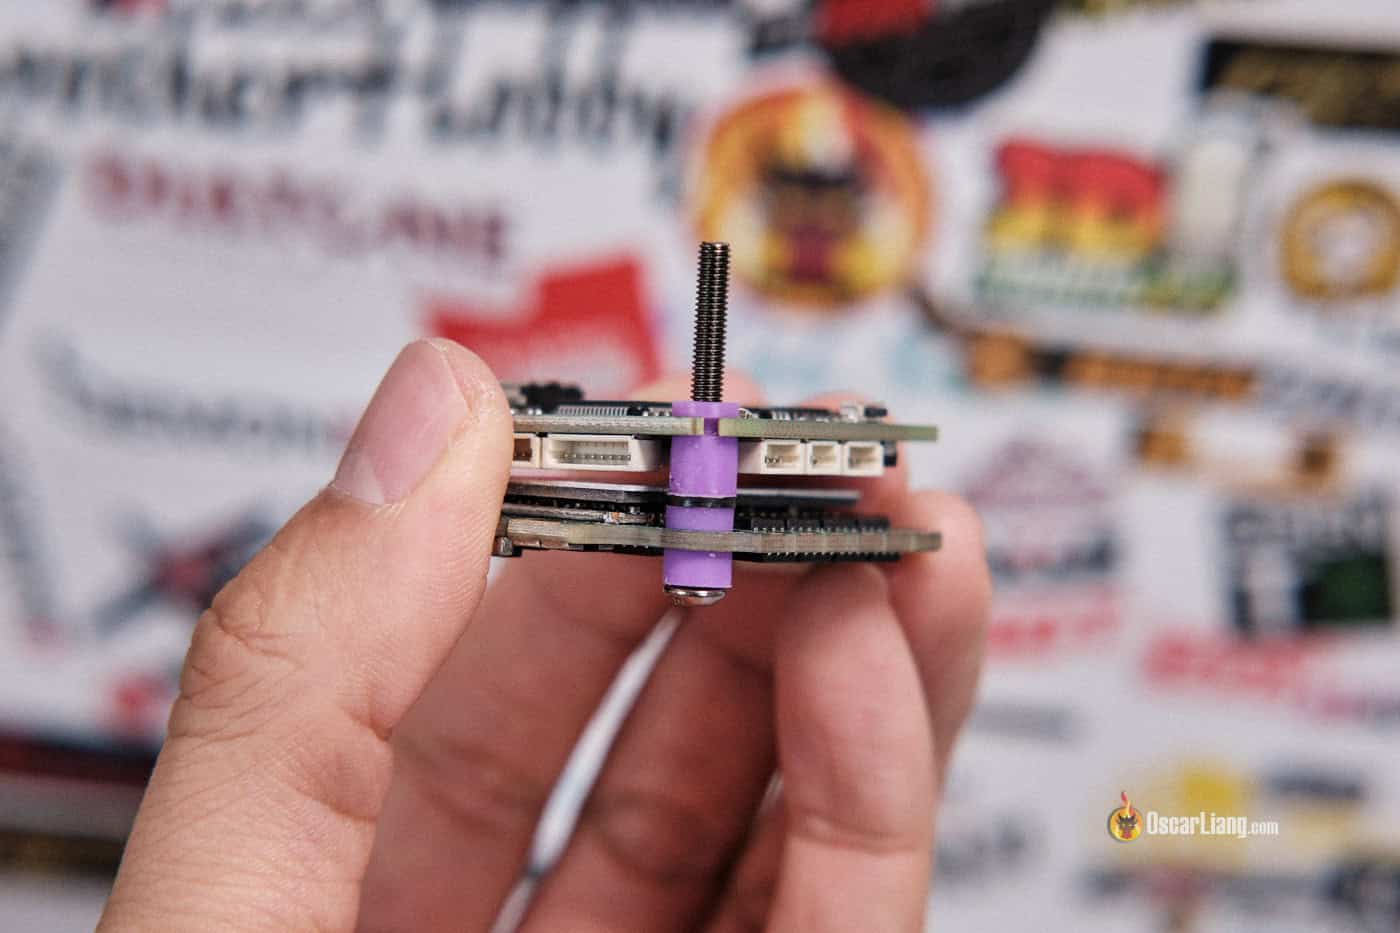
How to soft mount the FC on top of the ESC, with spacer in between.
Wiring diagram of the DYS F722 FC:
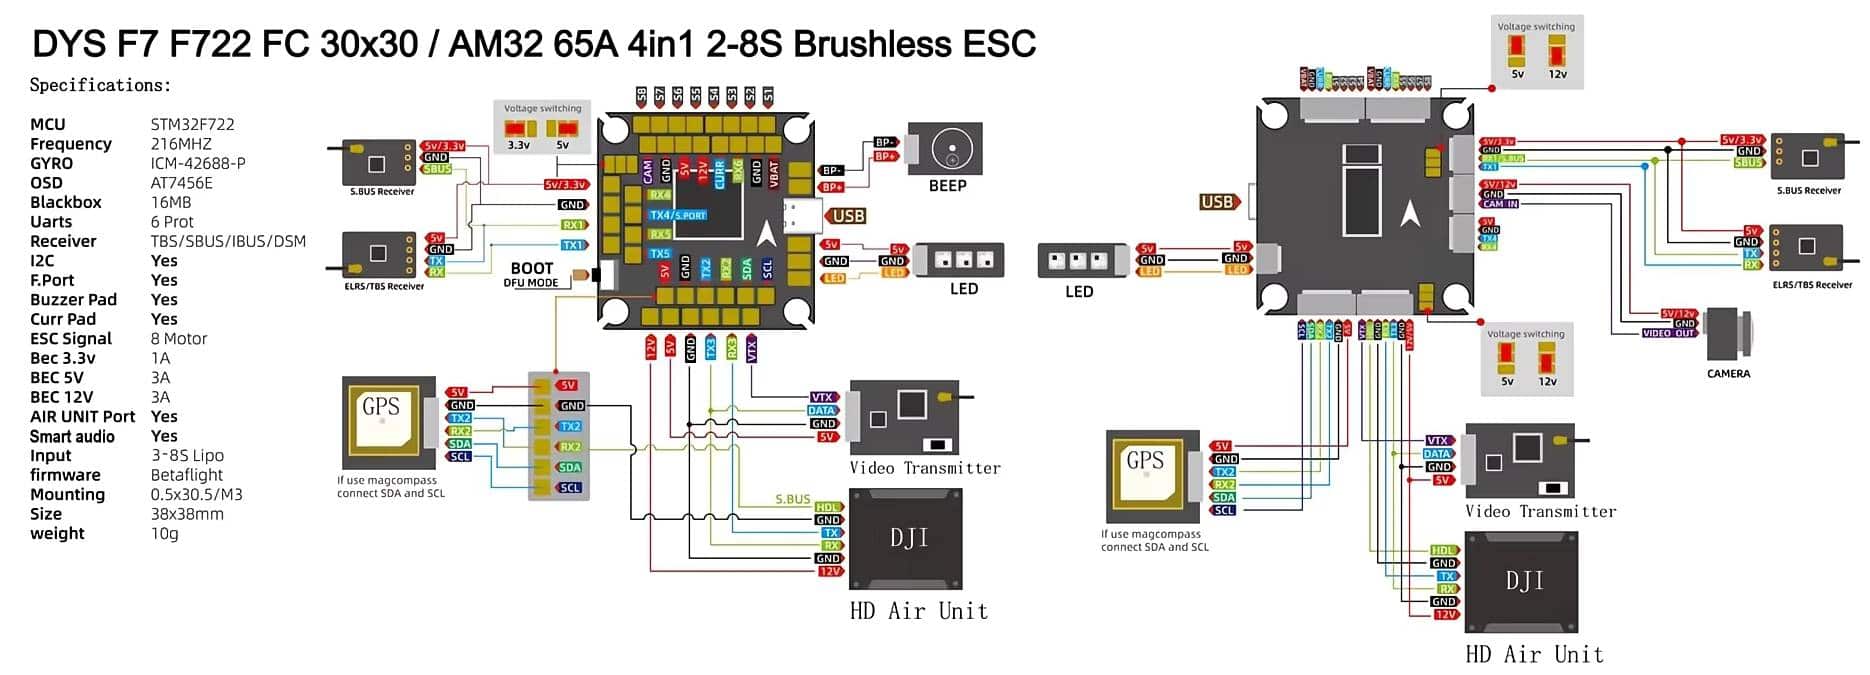
The DYS FC has a dedicated connector for DJI Air Unit, but it has a 7-pin connector instead of the normal 6-pin, so you must use the cable provided in the box.
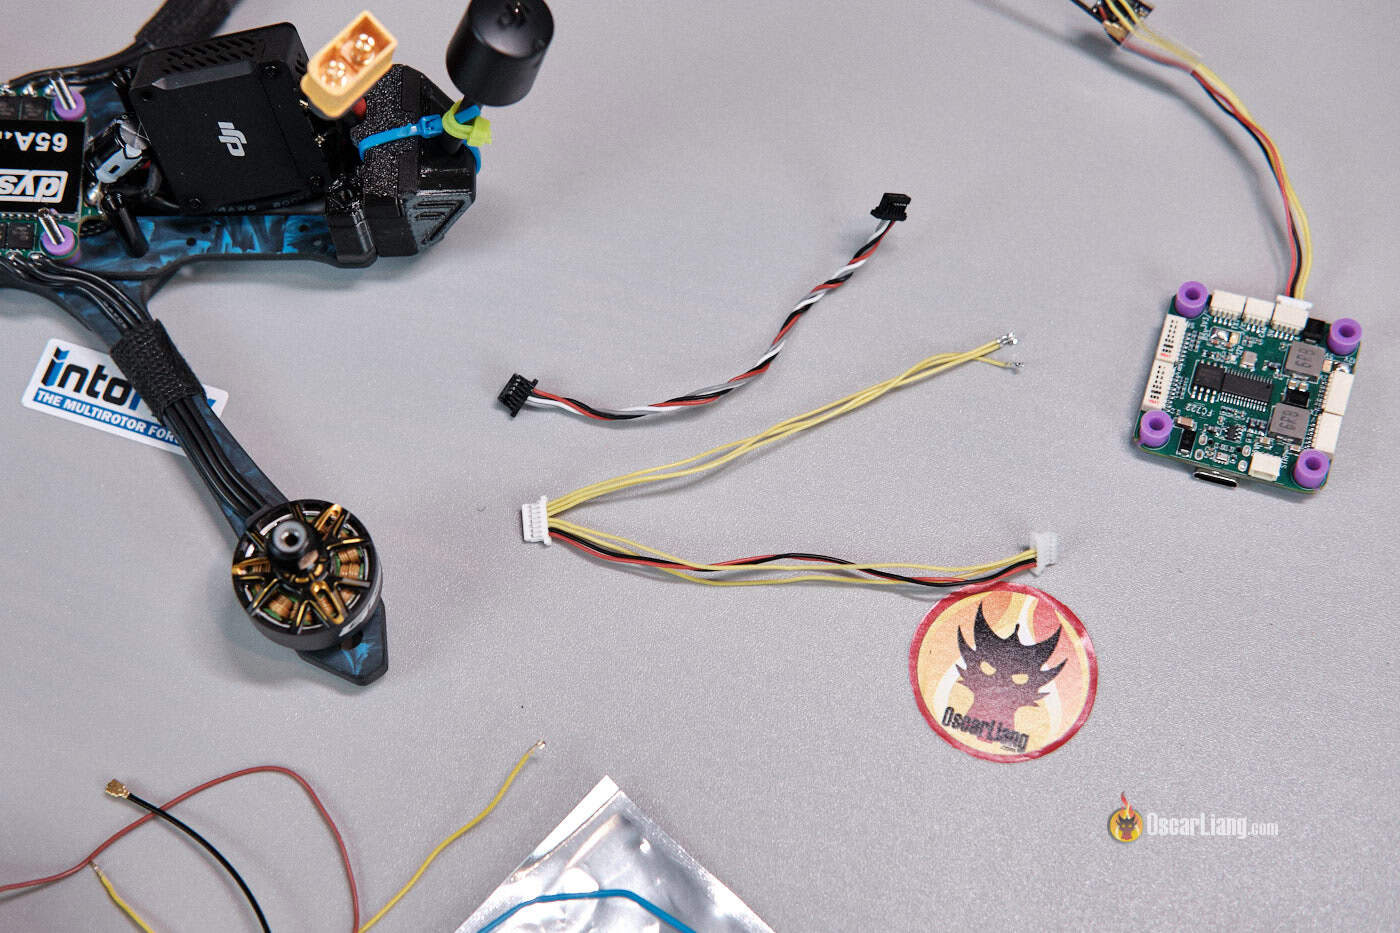
Apart from the beeper, all the components can be connected via connectors without soldering.
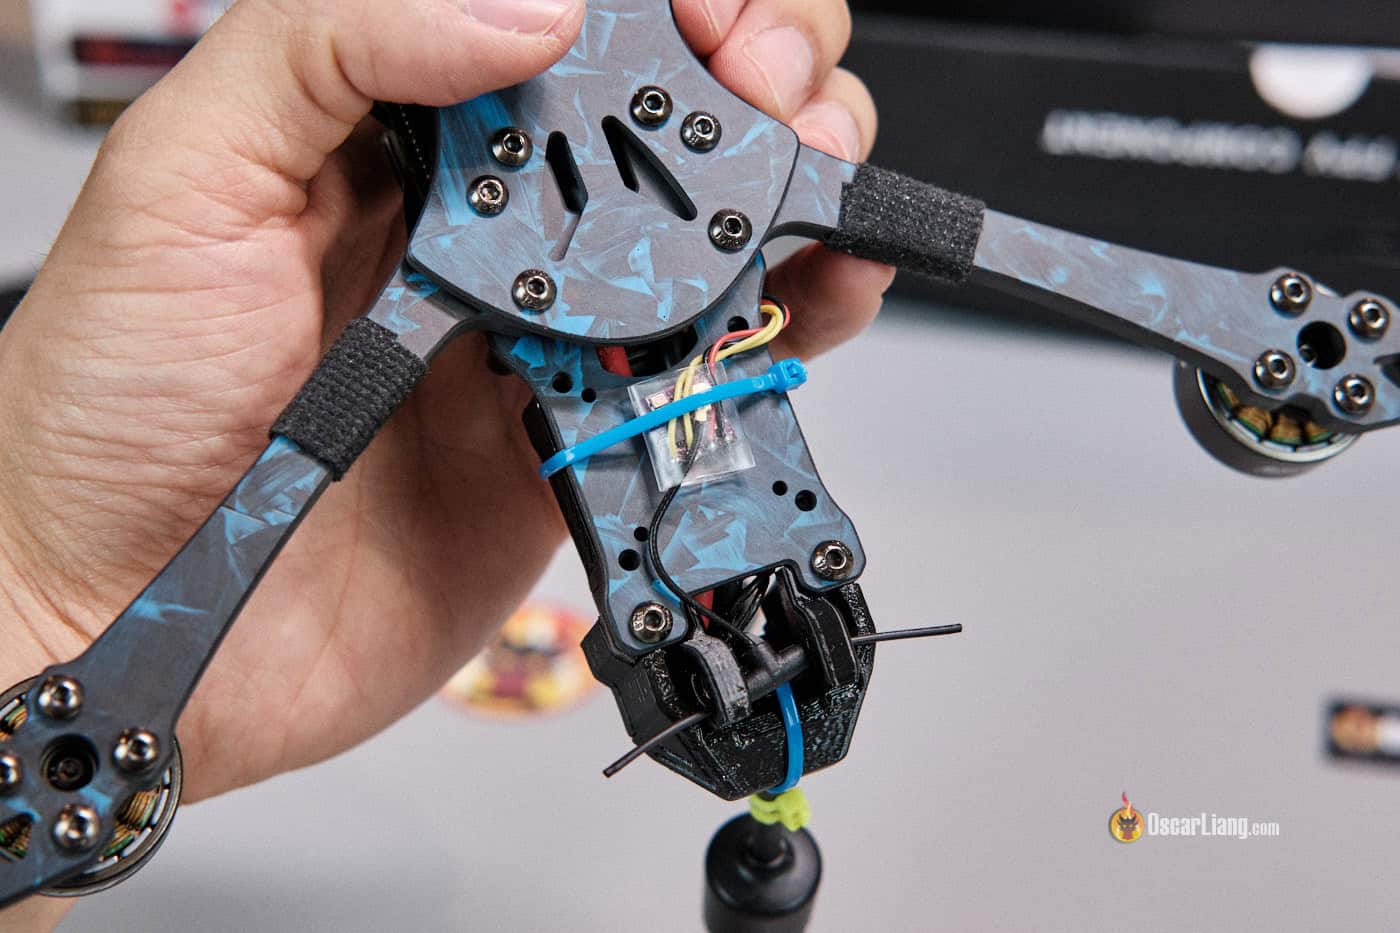
Mounting Receiver
Betaflight Configuration
Stock CLI Diff of the FC and my Betaflight configuration can be found here.
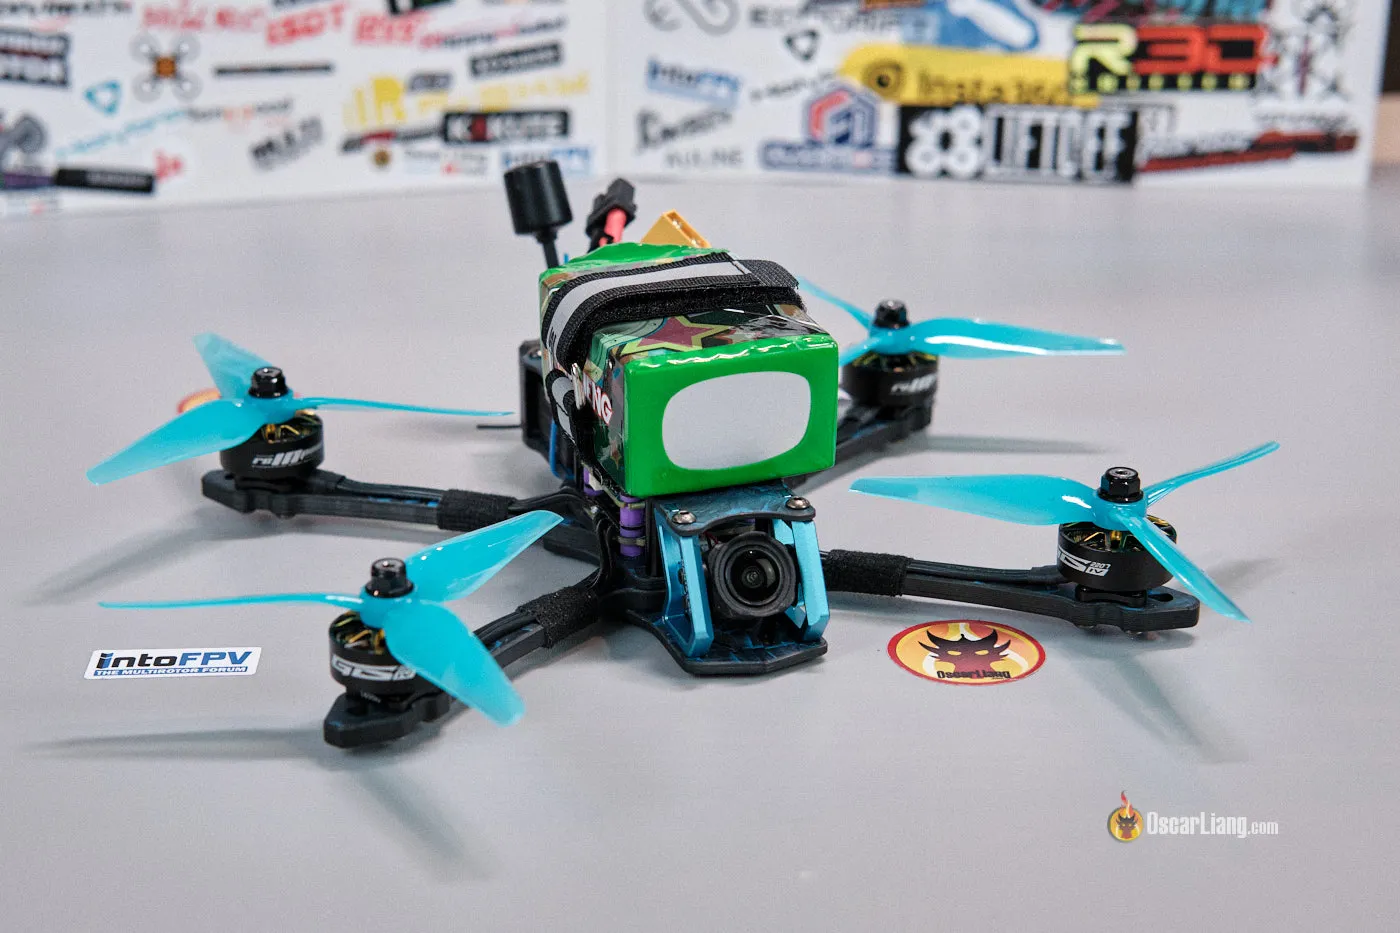
Flight Testing and Performance
After the build was complete, I took the drone out for its first test flight. As expected, the quad flew remarkably well. The sheer amount of power delivered by the 8S battery is both exhilarating and, admittedly, a little intimidating. The higher voltage provides rapid acceleration and impressive punch during high-throttle maneuvers. The controls are incredibly responsive, at the same time, also very sensitive, which means the margin for error is slimmer—especially when navigating tight gaps.
The increased voltage does place extra stress on the ESCs and motors, leading to higher voltage spikes and temperatures. It’s crucial to check these components after aggressive flights, as prolonged stress could lead to premature wear. While I haven’t experienced too many crashes so far, I remain cautious—especially for the 8S battery, with so many cells, it’s more prone to damage and is significantly more expensive to replace than their 6S counterparts.
Final Thoughts
Building the ultimate 8S freestyle FPV drone is challenging yet immensely rewarding. If you’re ready to push the boundaries of FPV performance and have the technical skills to manage a high-voltage build, this project is for you. That said, this build isn’t for the faint of heart or beginner pilots. Every connection and configuration step must be meticulously checked, and the sheer power can be daunting. With patience and careful tuning, though, the raw power and responsiveness of an 8S build are unmatched.
