This year, DJI has continued to release drones at a very aggressive pace. With the holiday season upon us, perhaps you have or will be receiving a brand-new Air 3S.
If you are new to drones and have just received or will be receiving a new Air 3S, we will go through the steps needed to get first-time drone owners prepared to fly.
In this article and video tutorial we will be considering the following:
- What’s in the various combos
- Charging all of the batteries
- Inserting SD cards
- Downloading and installing the DJI Fly Software
Combos/Packages
The Air 3S comes in the following Packages:
DJI Air 3S Fly More Combo (DJI RC 2)
- DJI Air 3S
- DJI RC 2 Remote Controller
- Intelligent Flight Battery x 3
- Battery Charging Hub
- ND Filter Set (ND8/32/128)
- DJI Shoulder Bag
- Spare Propellers (Pair) x 3
- Type-C to Type-C PD Cable
- Gimbal Protector
DJI Air 3S Fly More Combo (DJI RC-N3)
- DJI Air 3S
- DJI RC-N3 Remote Controller
- Intelligent Flight Battery x 3
- Battery Charging Hub
- ND Filter Set (ND8/32/128)
- DJI Shoulder Bag
- Spare Propellers (Pair) x 3
- Type-C to Type-C PD Cable
- Gimbal Protector
DJI Air 3S (DJI RC-N3)
- DJI Air 3S
- DJI RC-N3 Remote Controller
- Intelligent Flight Battery x 1
- Spare Propellers (Pair) x 1
- Type-C to Type-C PD Cable
- RC Cable (USB-C Connector)
- RC Cable (Lightning Connector)
- Gimbal Protector
Charging the Batteries
Although getting a new drone can be exciting, the first thing that must be done is to charge all of the batteries that come in the various packages and combos, including the remote controller batteries.
Note: the DJI RC-N2 also works with the Air 3S.
RC-N3, and DJI RC 2 Controllers
Although your new RC might have approximately half power when initially opened, it is important to fully charge the remote controller.
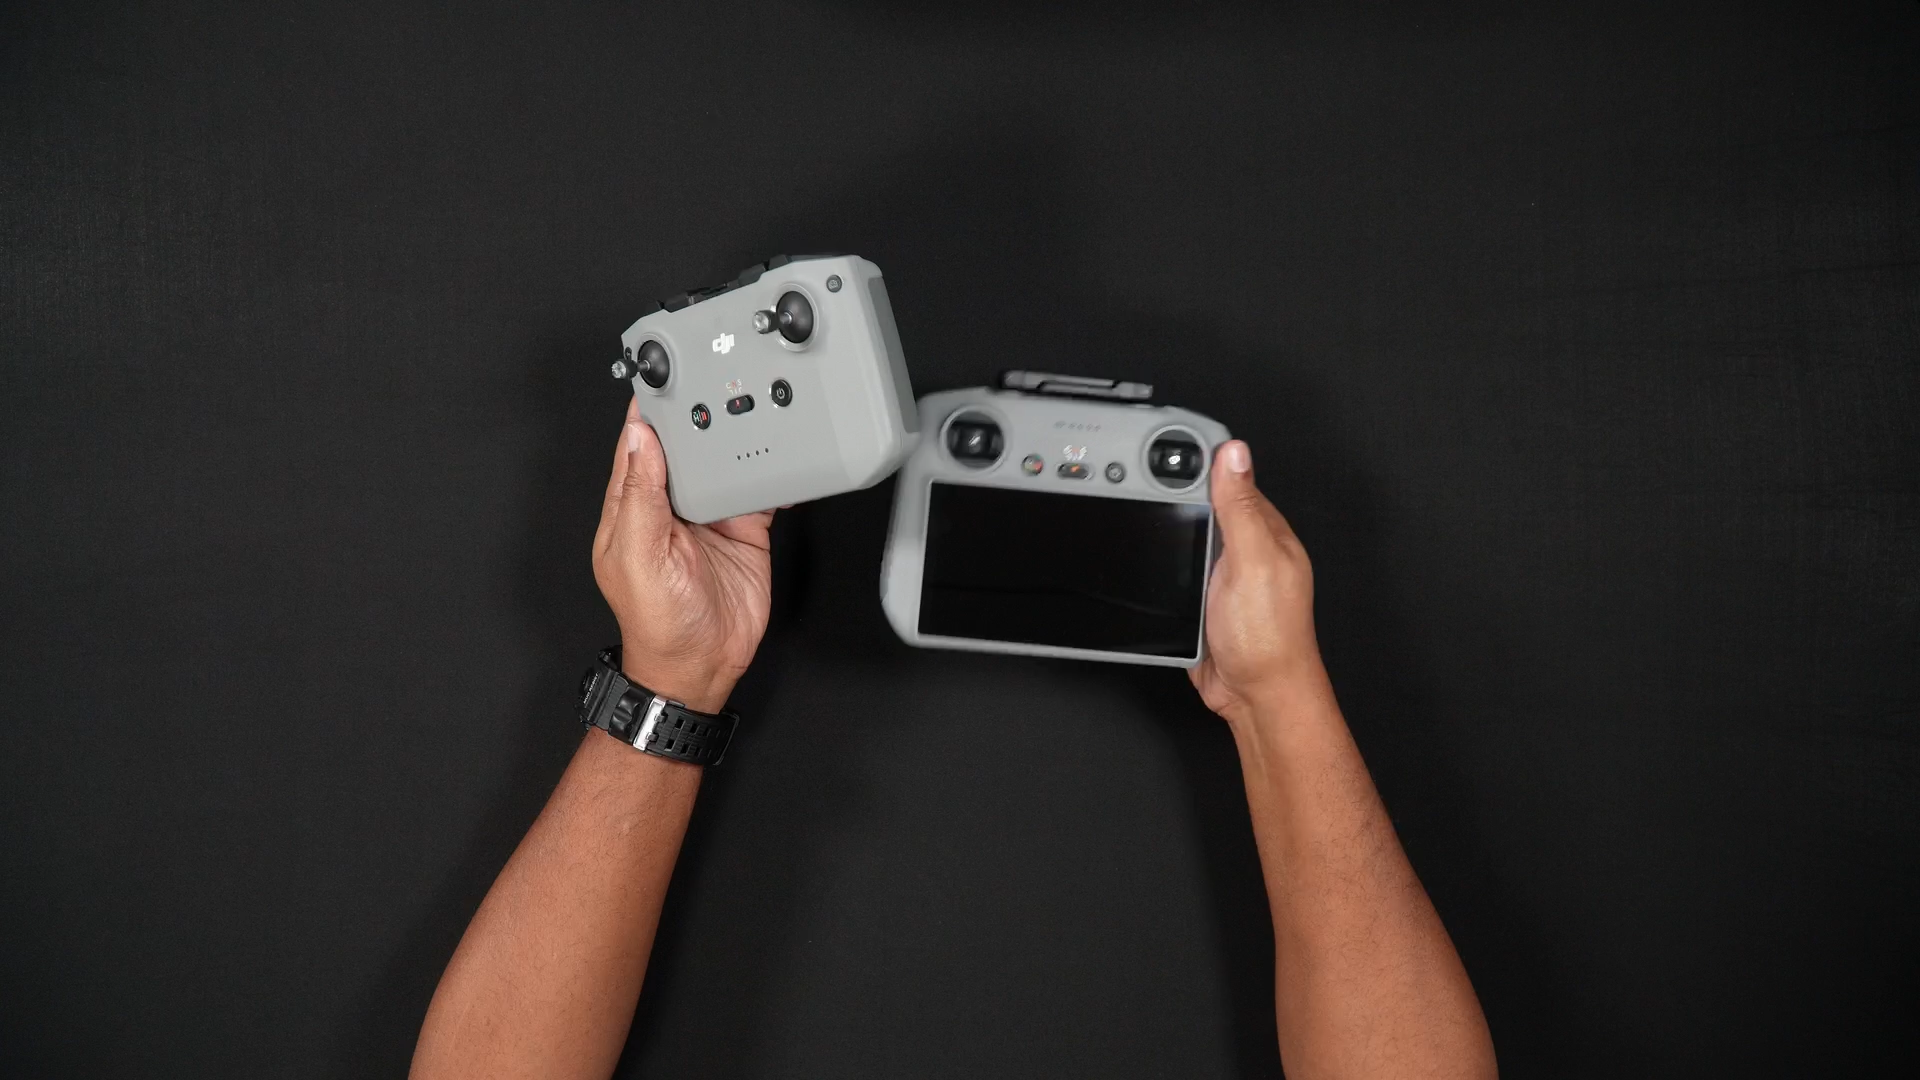

As is the case with previous newer DJI drones, the Air 3 included, the Air 3S does not include a power adaptor. A DJI 65 or 100-watt charger is suggested, although we have found many brands of 65-watt and 100-watt PD chargers to work well.
Note: For ease of use, a 100-watt PD charging hub will allow one to charge the remote controller and battery hub (if you have a Flymore Combo) simultaneously.
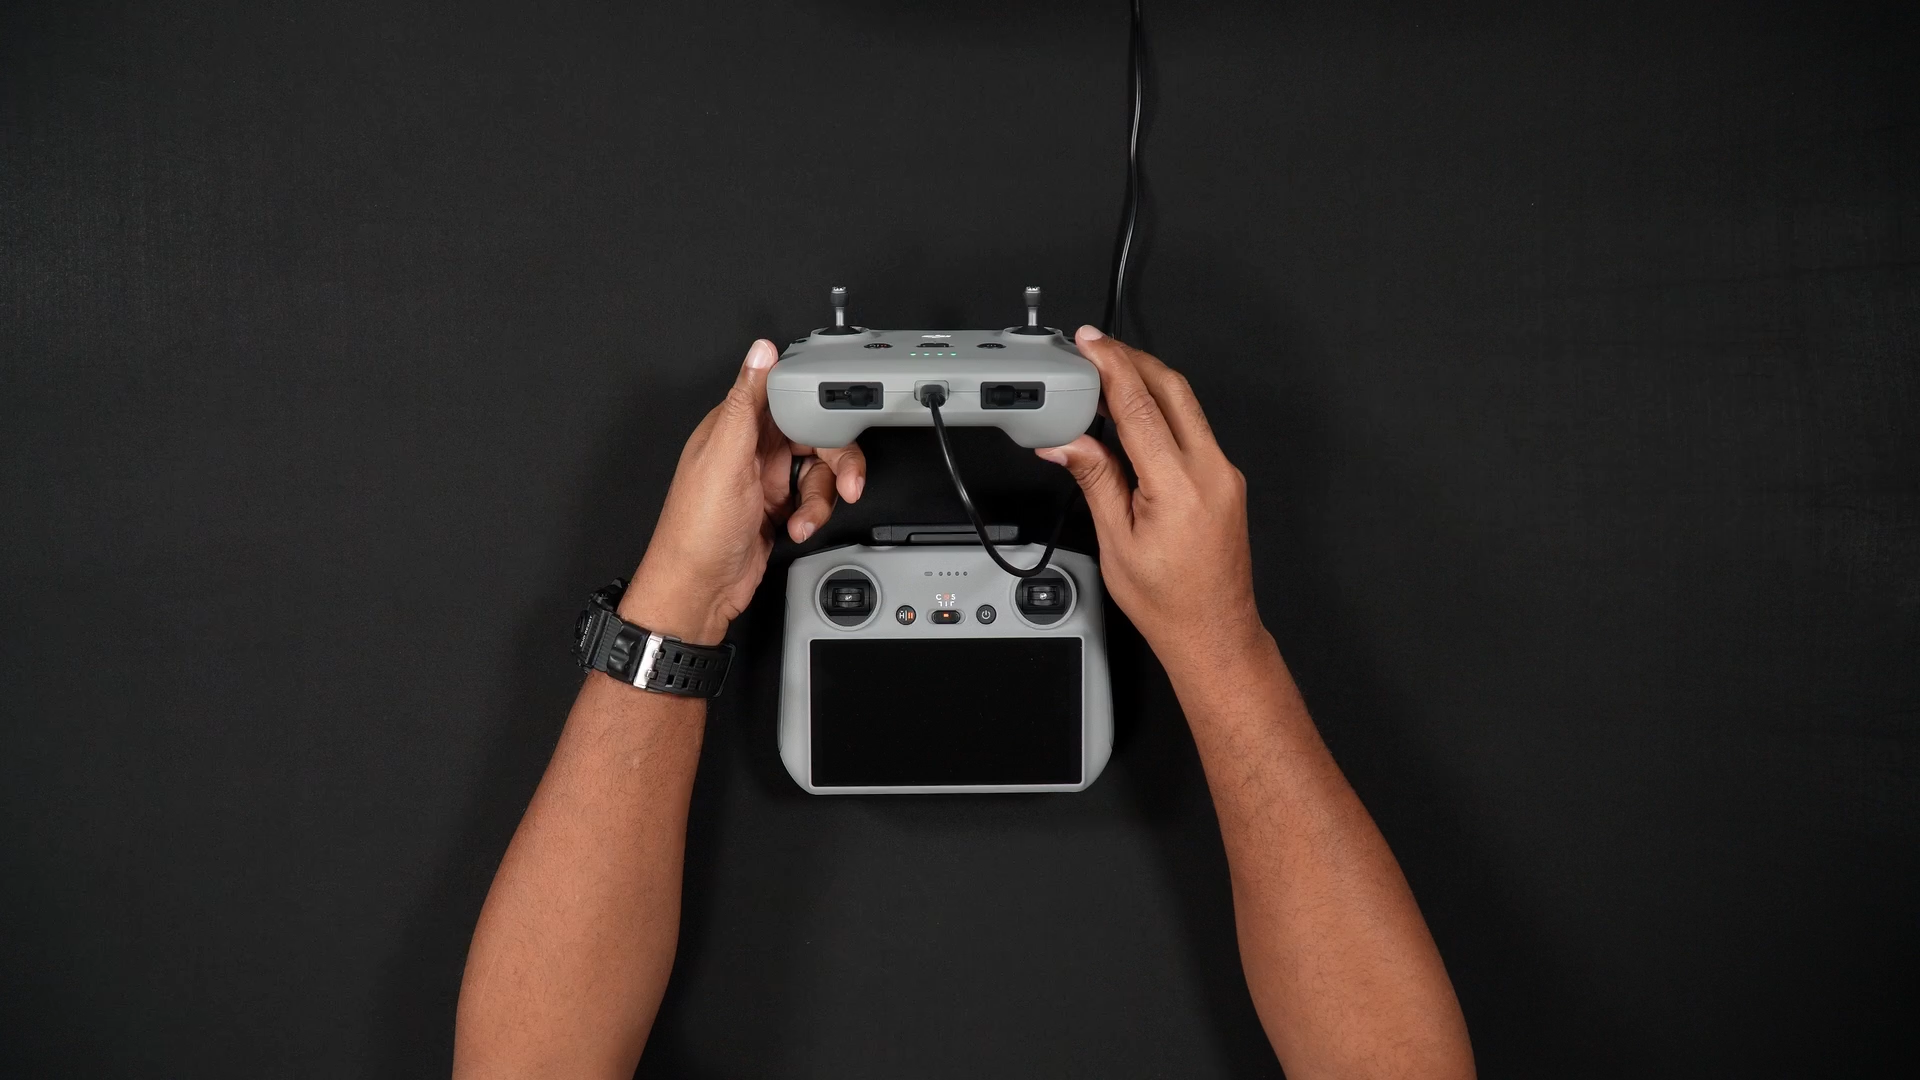
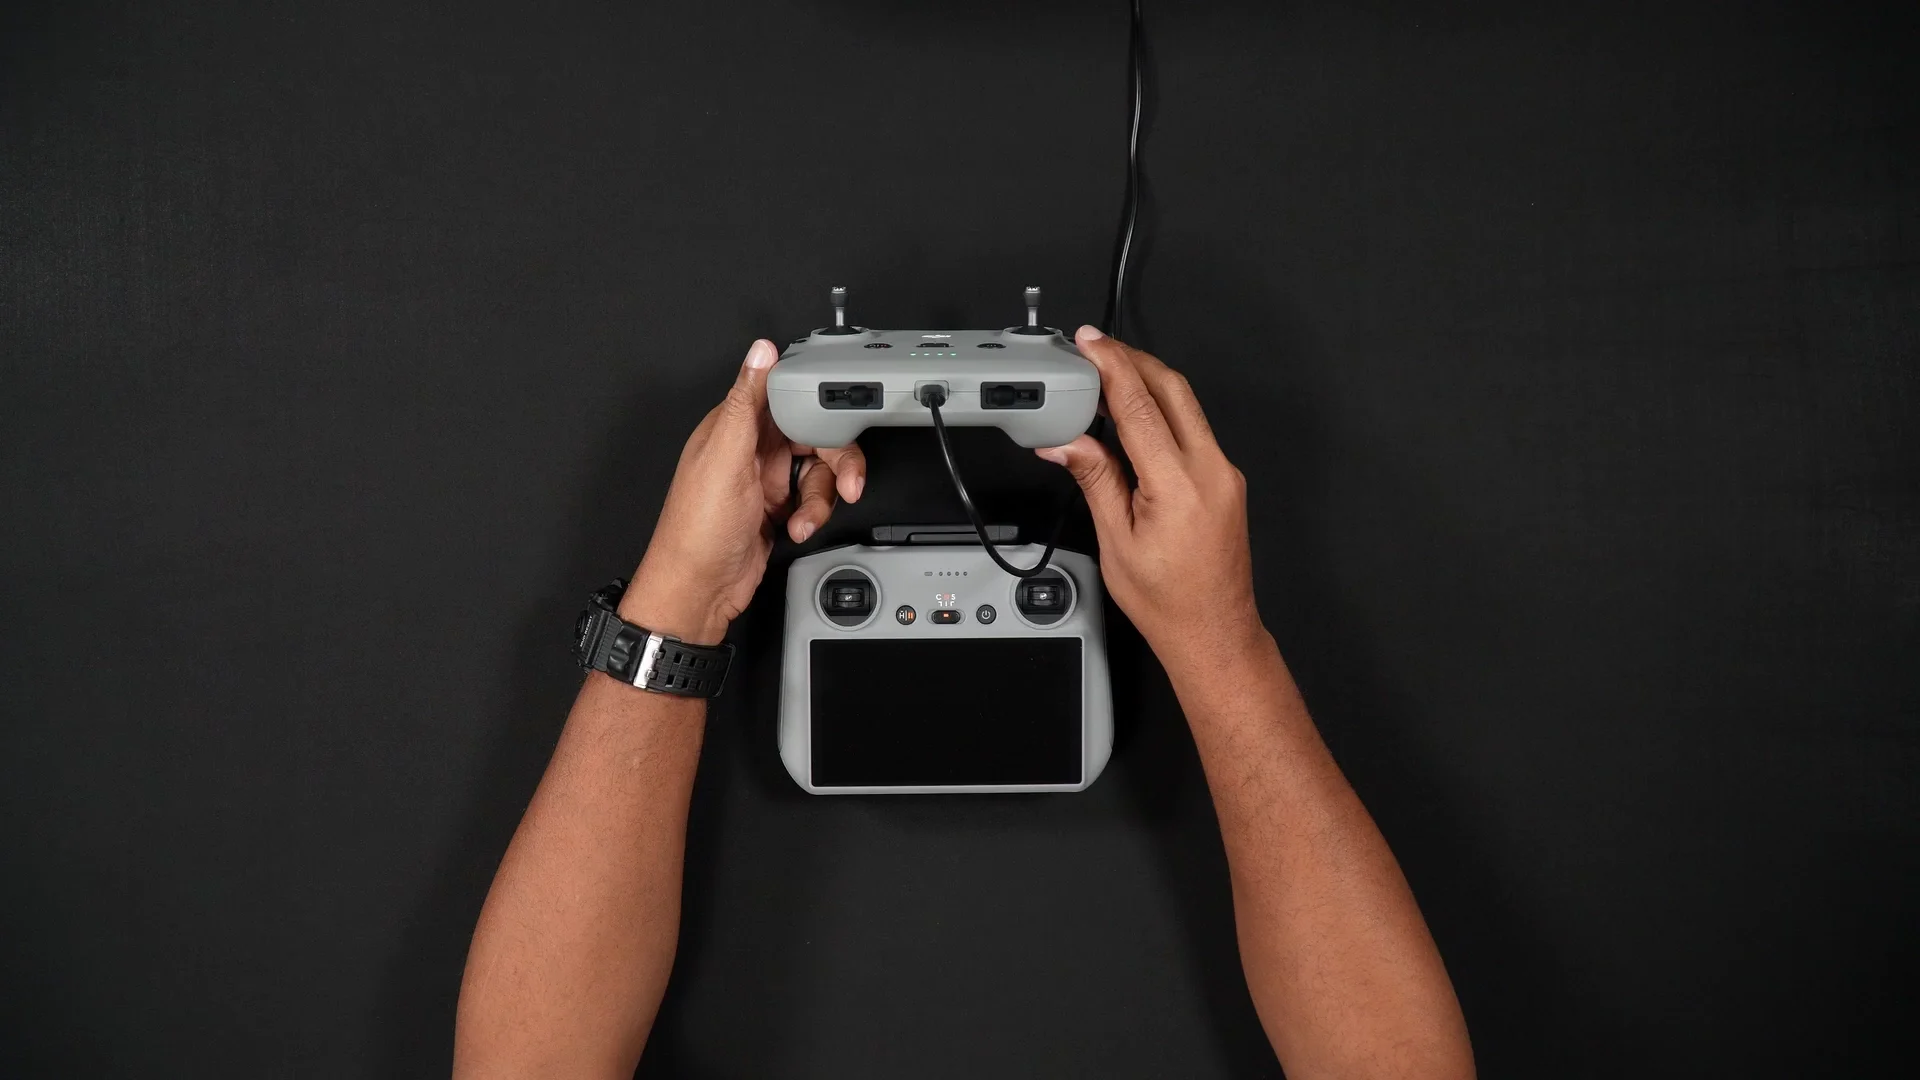
To charge the standard RC-N3 controller, plug the included USB-C cable into the bottom of the RC. The LED indicator lights will begin to blink, signifying the remote controller is charging.
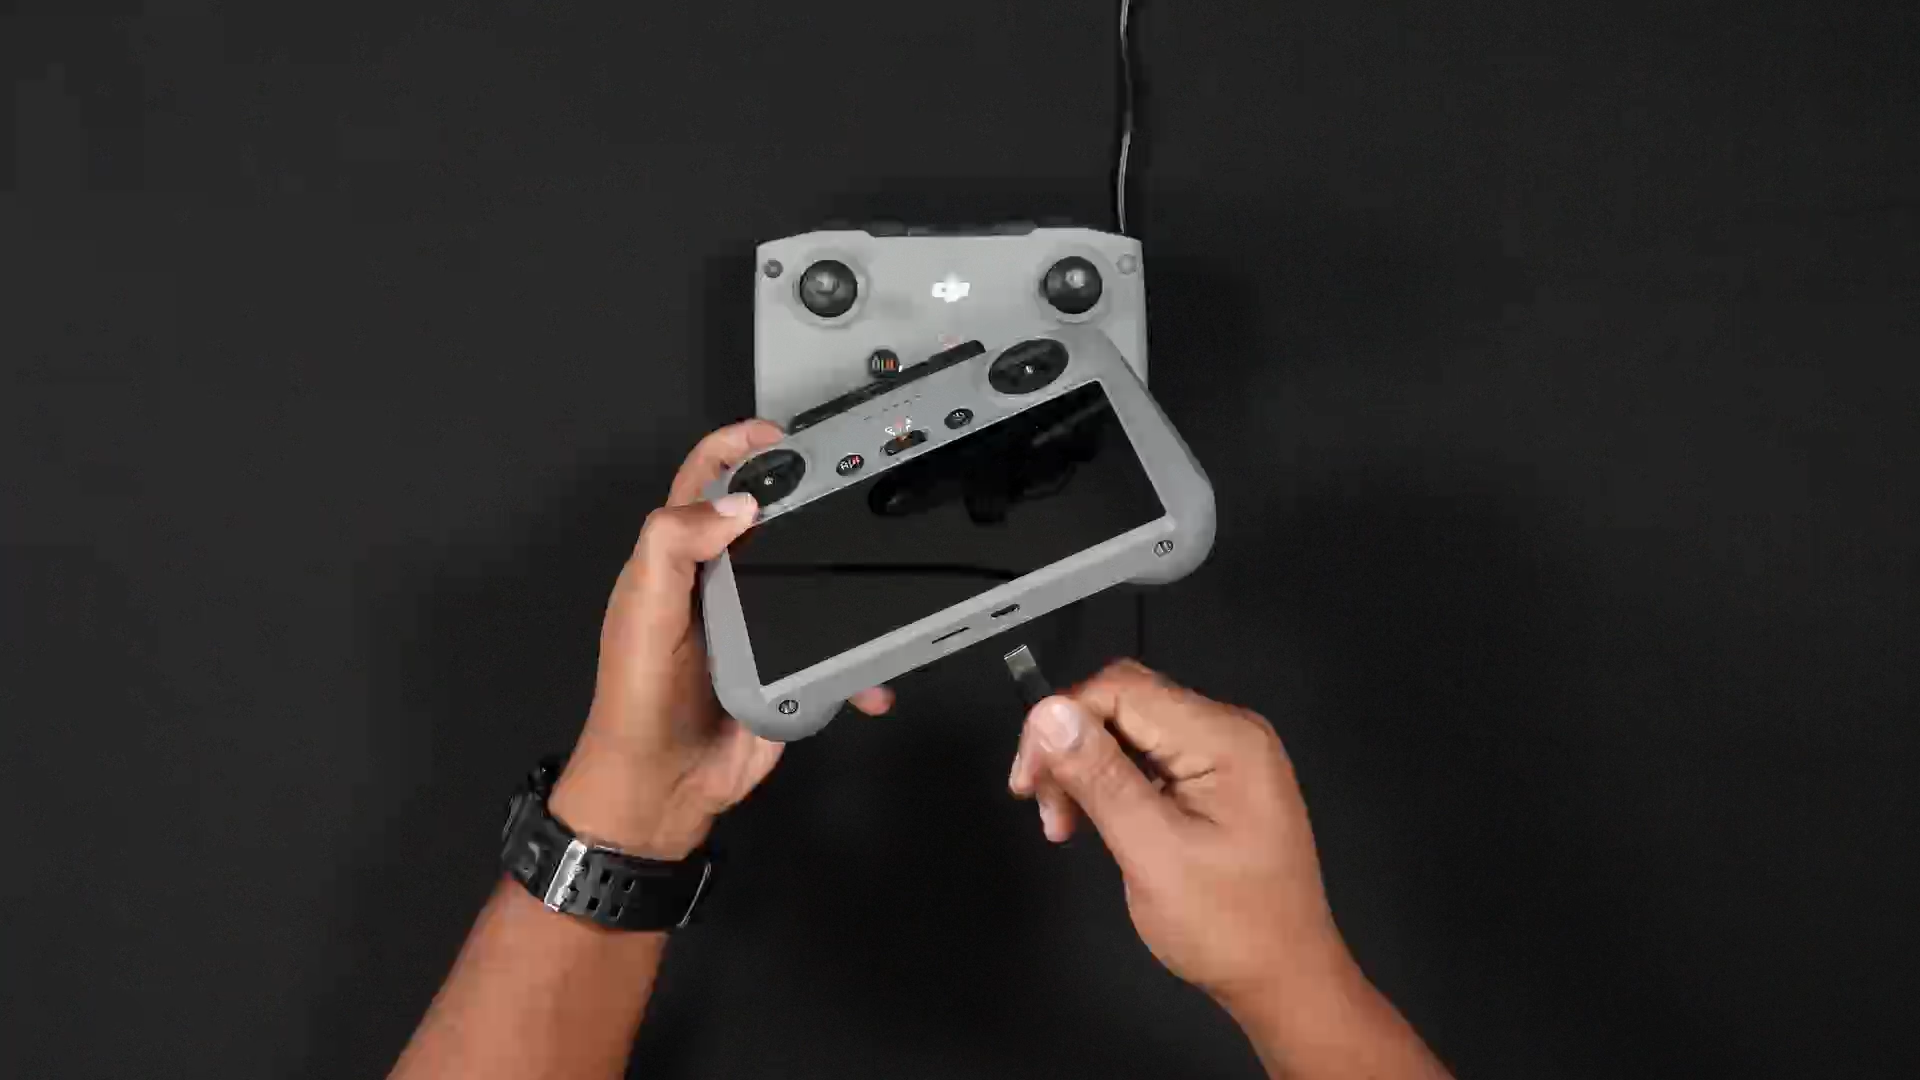
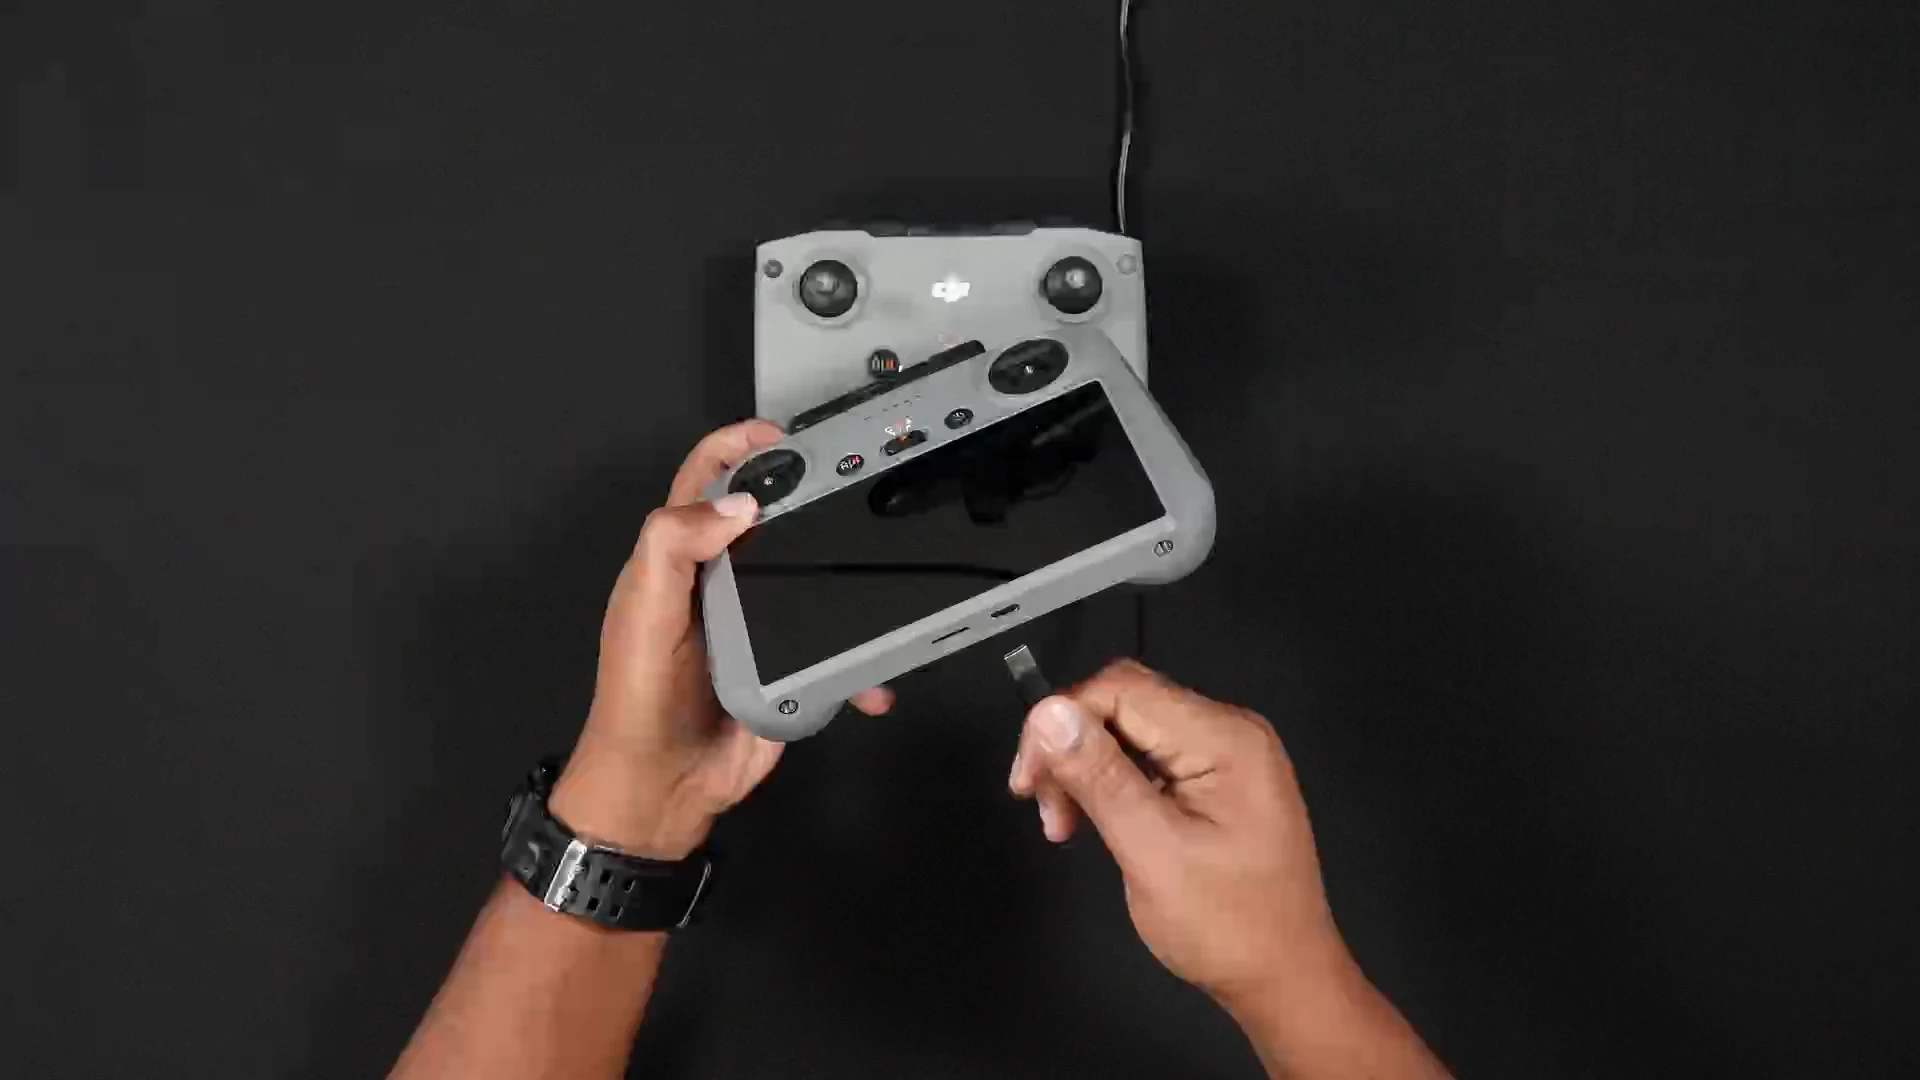
To charge the DJI RC 2, with the 5.5″ integrated screen, the USB-C charging port is located in the port to the right of the Micro SD card slot. Plug the USB-C cable in and the controller will begin charging.
Air 3S Batteries
Thankfully the Air 3S uses the same batteries as the Air 3. However, the Air 3S batteries have one minute less flight time than the Air 3. The Air 3S has 45 minutes of flight time, down from the 46 minutes found with the Air 3.
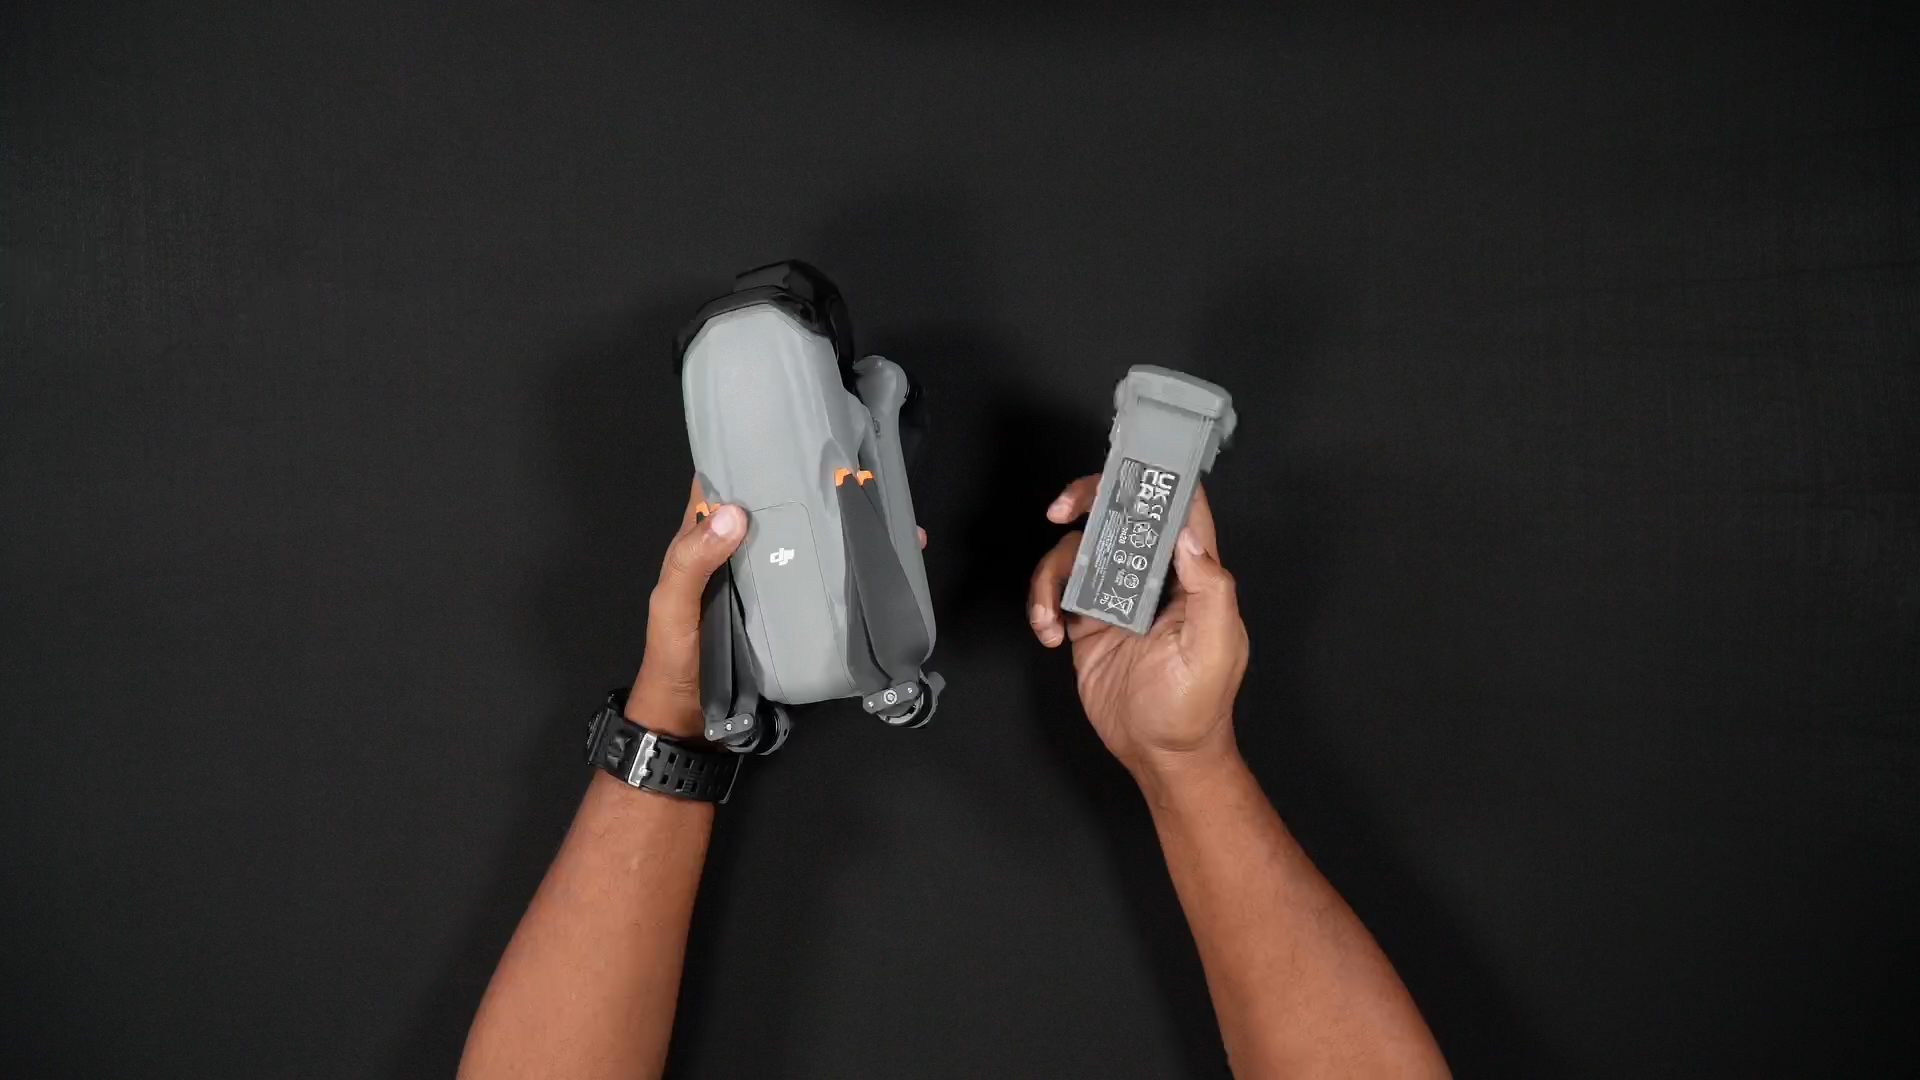
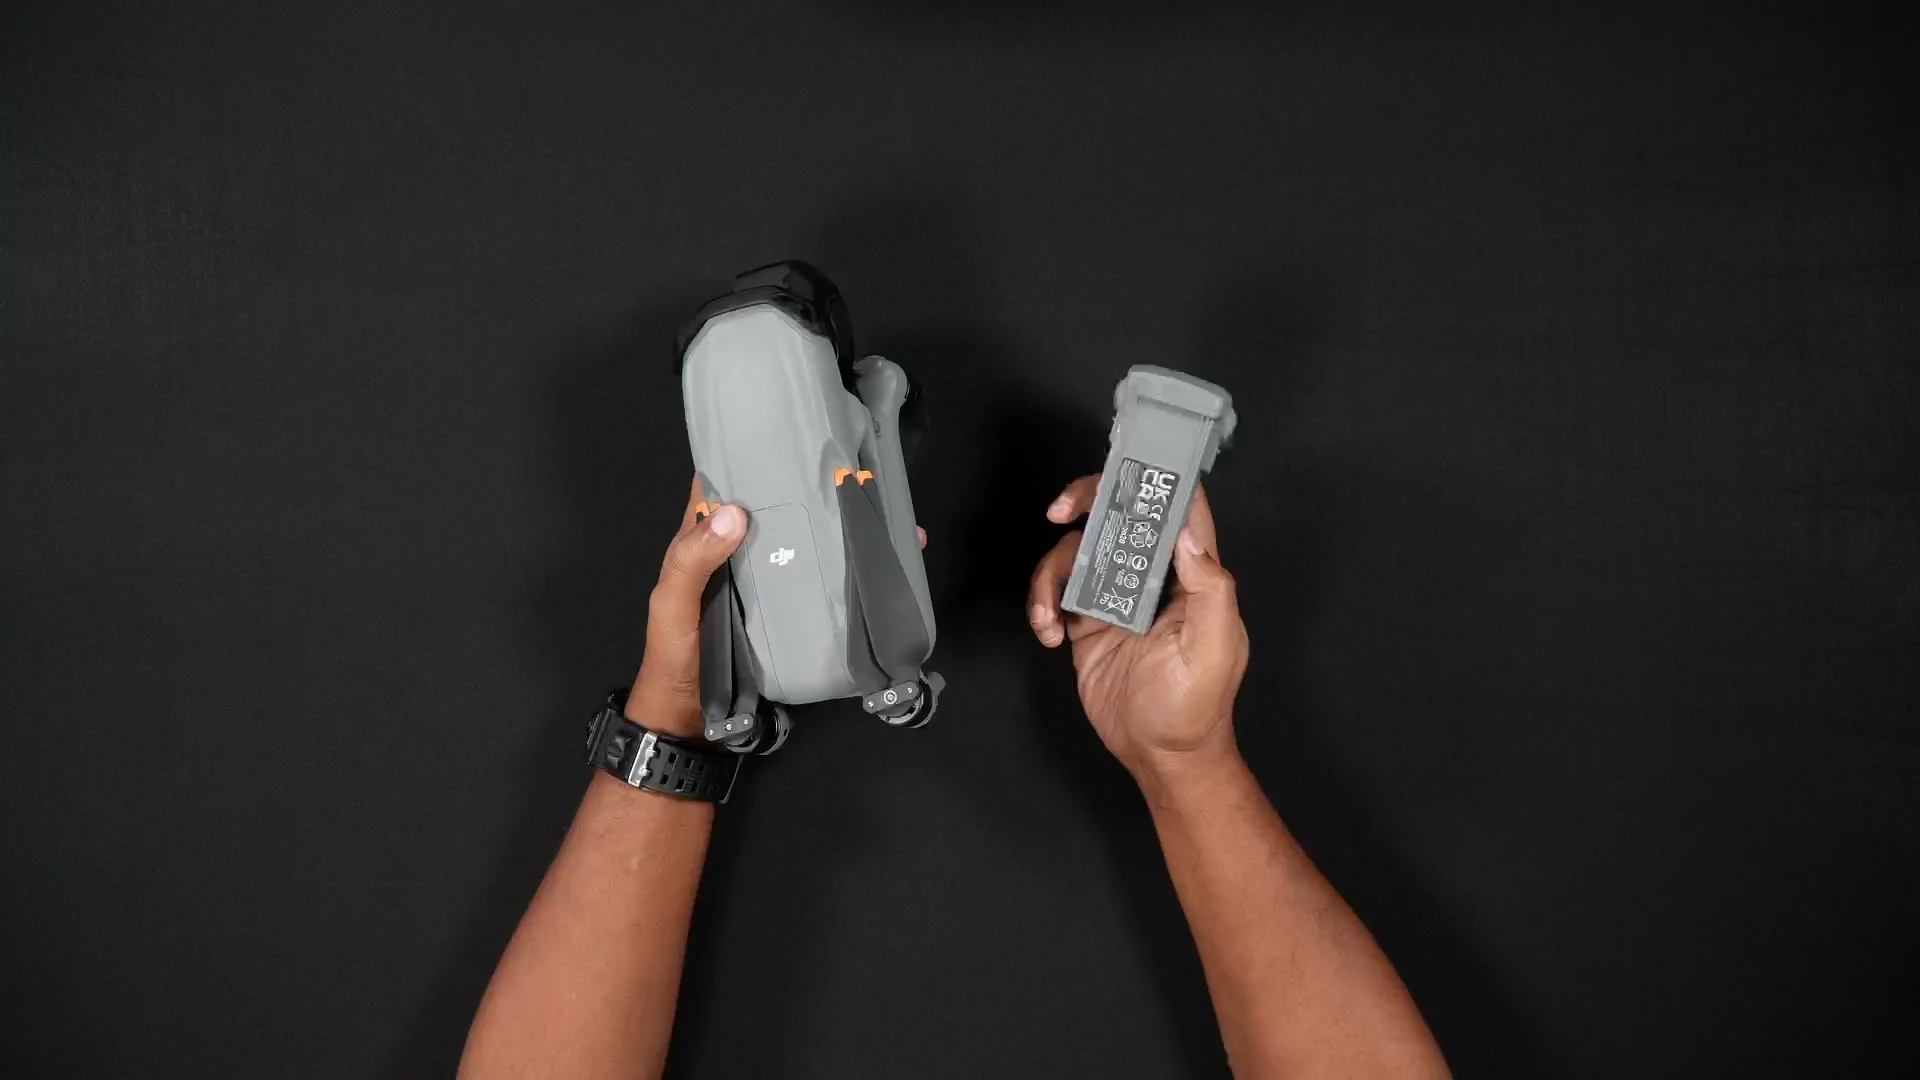
Of course, flight conditions and other factors will see results vary in overall maximum flight times.
With the Air 3S, as with the Air 3, there are 2 ways to charge the batteries.
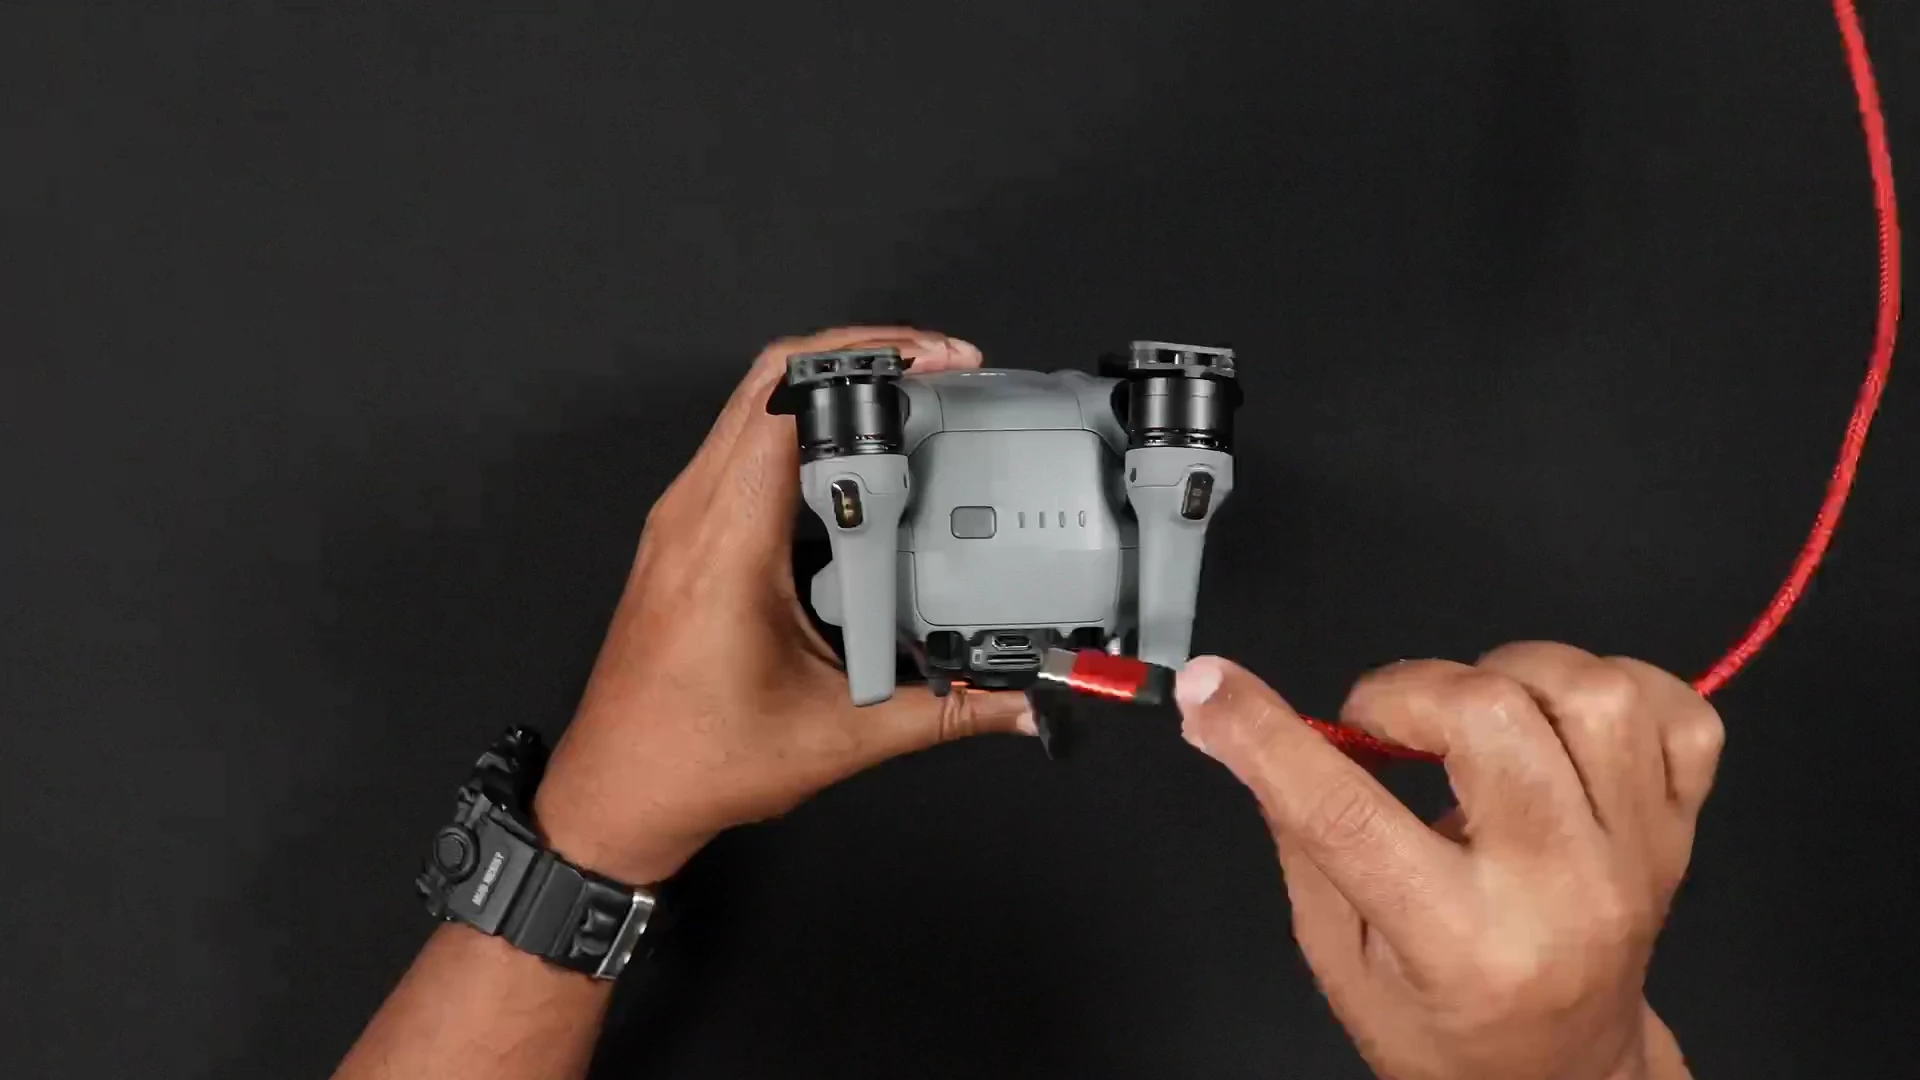
The 1st Method: This is for those who purchased the Air 3S with only one drone battery. The Air 3S battery can be charged while installed in the Air 3S.
Locate the USB-C charging port in the rear of the drone. Insert the provided UBS-C cable into the Air 3S and then into a 65-watt charger. The battery will begin charging.

The 2nd Method: If you purchased one of the Flymore combos, you will be able to charge all 3 batteries, in succession, not simultaneously.
To do this, insert the batteries into the Flymore combos charging hub and connect the included USB-C cable to either a 65-watt or 100-watt PD charger (not included). The batteries will then charge individually, one after another.
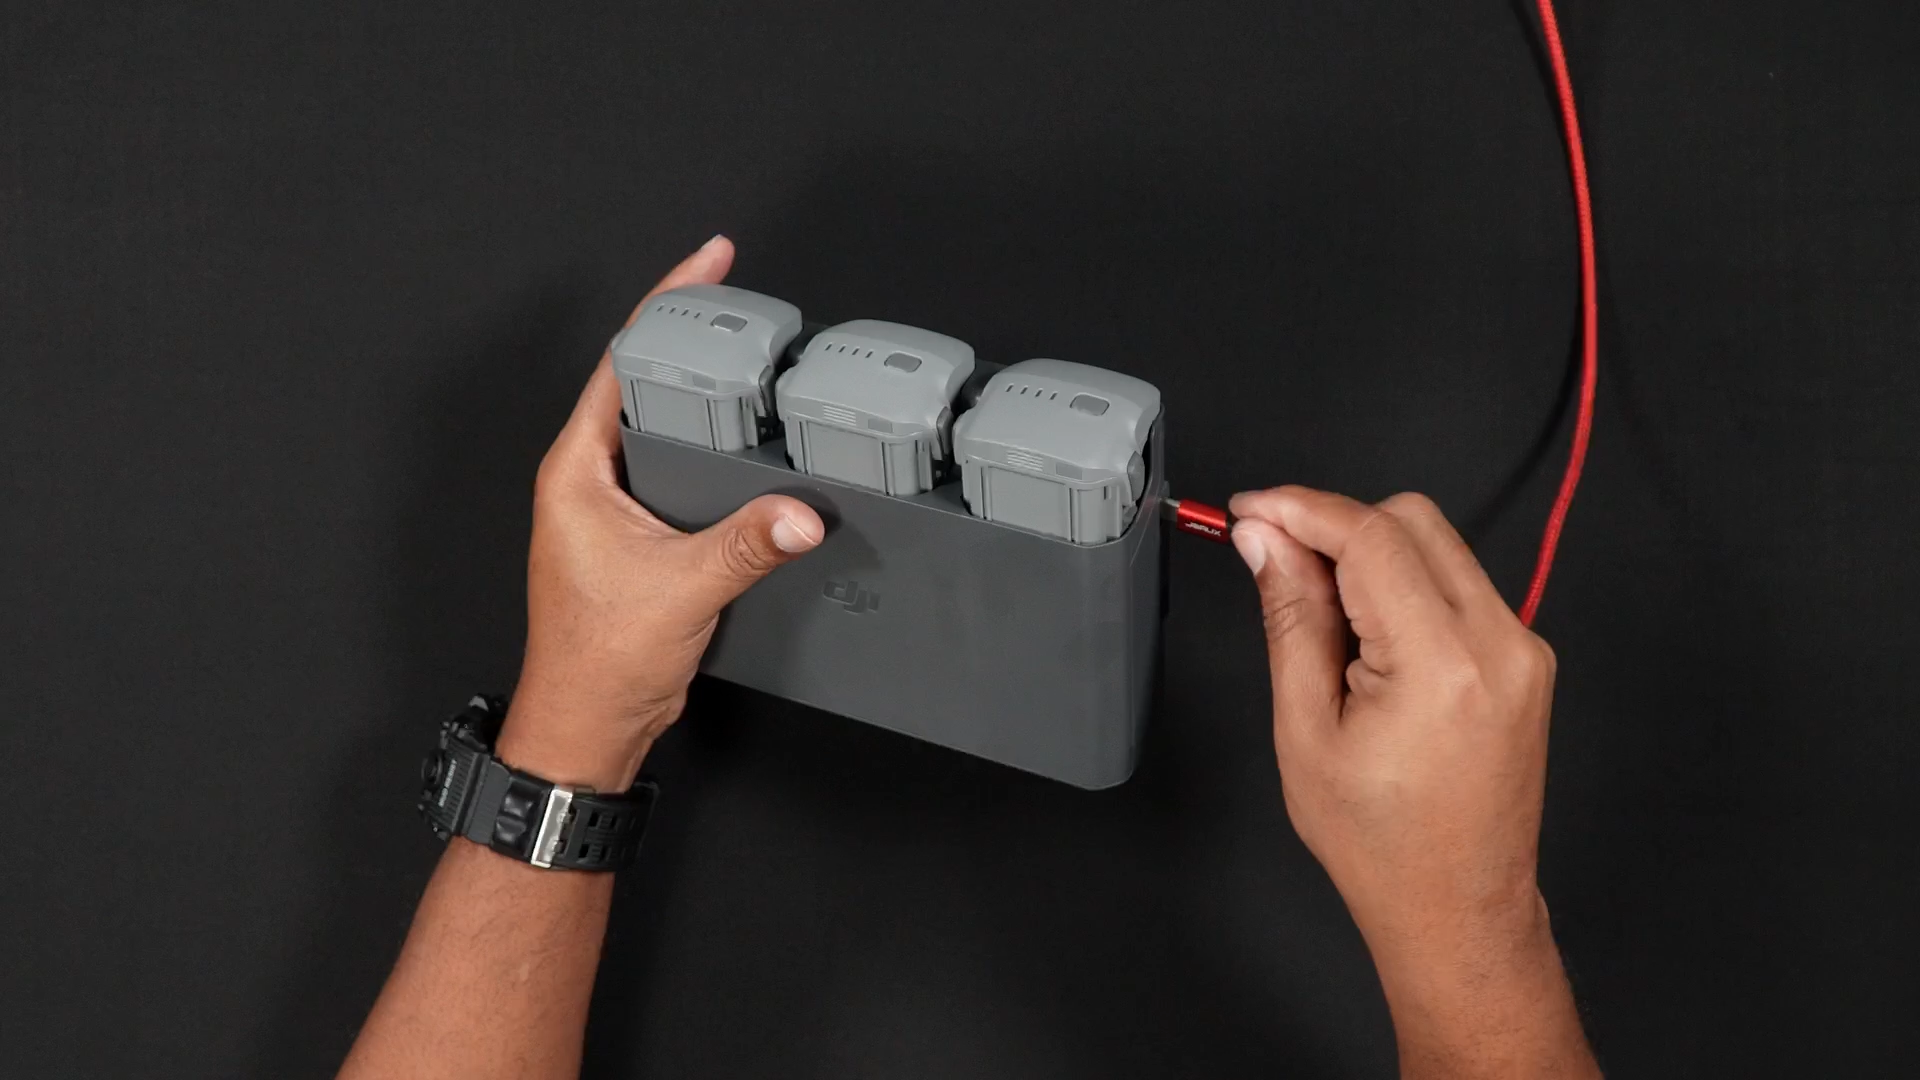

If you have a fly more combo and also purchased an additional battery, then you can charge 3 batteries in the charging hub and use a separate USB-C cable in a 100-watt PD charger to charge the additional battery in the Air 3S itself.
SD Cards
While the Air 3S does have 42GB of internal storage, you’ll want to purchase an SD card if you’d like to record lots of videos or photos.
If you purchased the DJI RC 2 kit, there is also an SD card slot in the remote controller. The SD card for the DJI RC2 is used for screen recording. If you don’t do screen recording, you can store an SD Card in the DJI RC 2 as a backup, just in case the Air 3S’s SD card is left in a computer at home.
To insert SD cards into the Air 3S:
STEP 1: Make sure the Air 3S is powered off.
While holding the Air 3S in one hand, open the USB-C and SD card port.
Carefully insert the SD card into the Air 3S’s SD card slot, with the gold pin set pointed up (towards you). Do not push the card in all the way just yet, as it can eject and fly away from you.
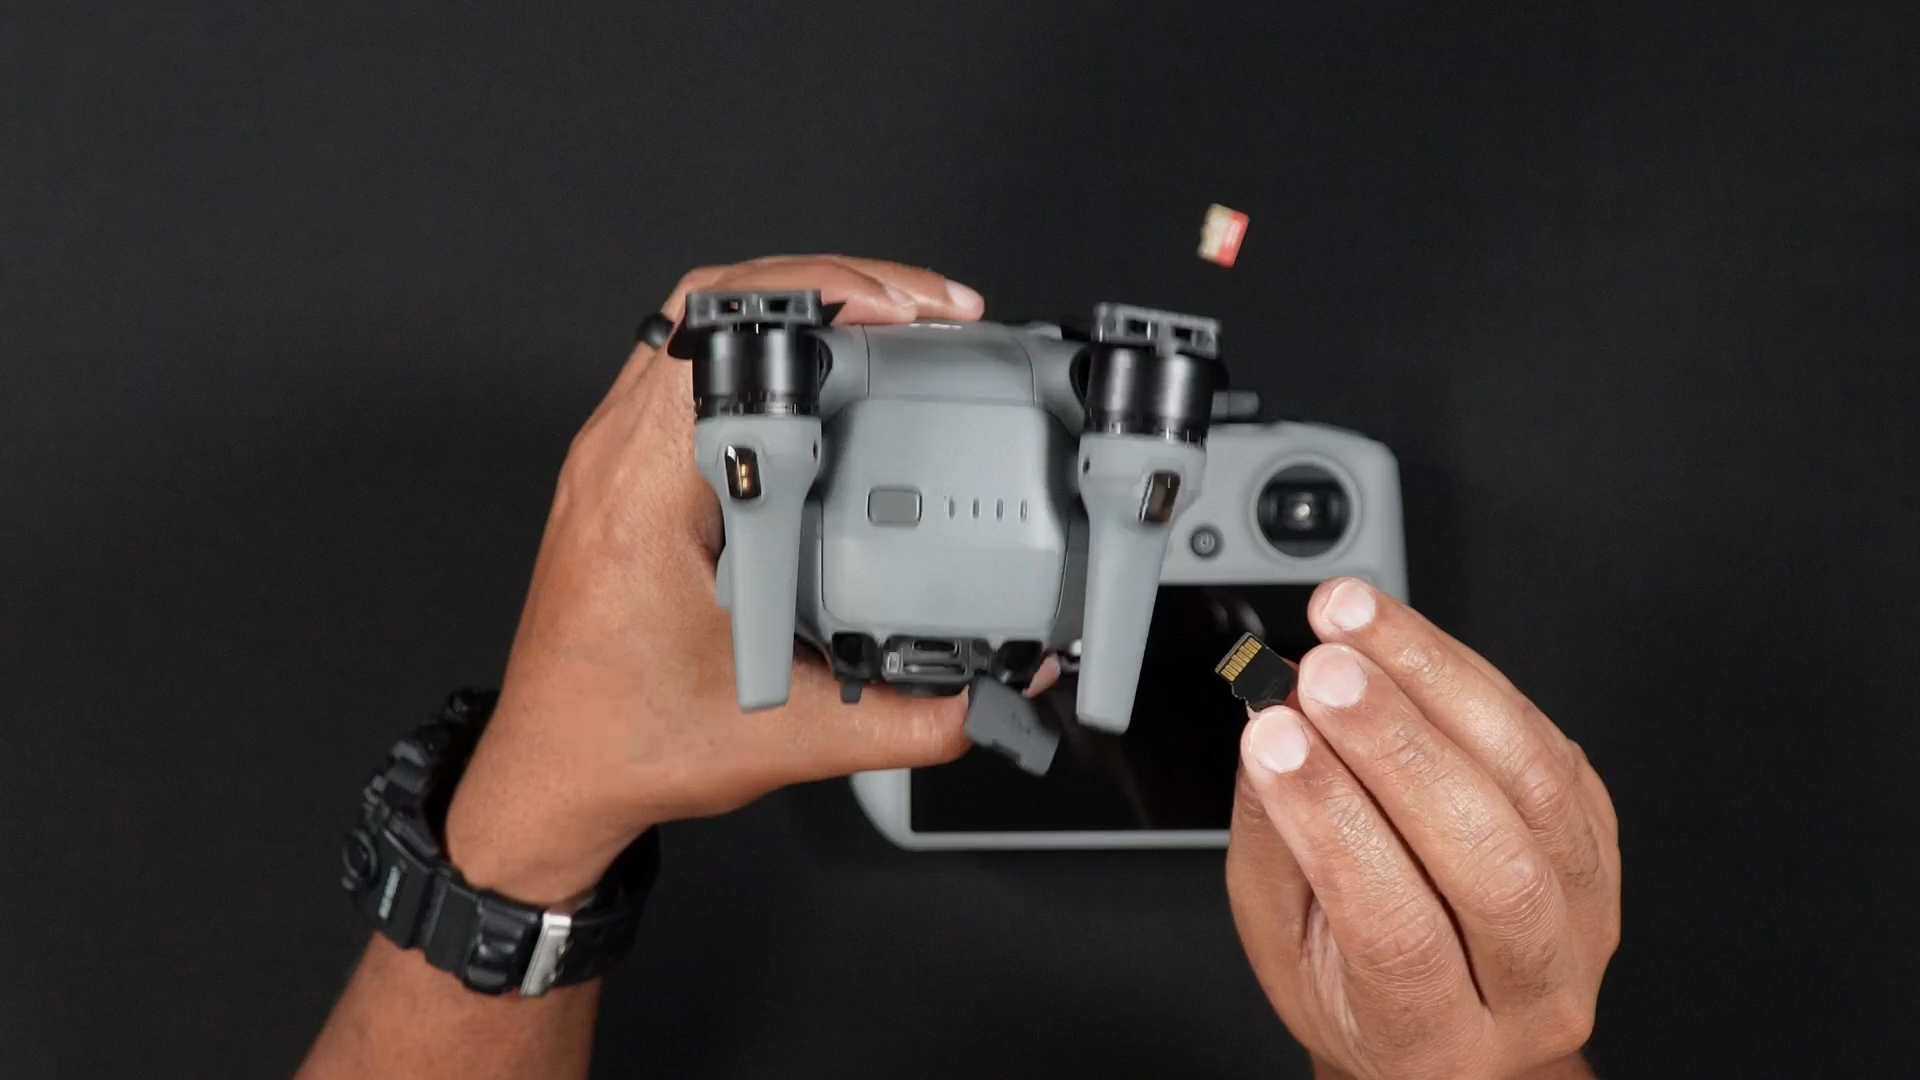

STEP 2: While the SD card is in the slot, using your fingernail at a slight angle, push the SD card in until it makes an audible “click”.
Because the SD card slot is spring loaded, if you don’t press the SD card in with a nail at a slight angle, your finger could slip, causing the card to force eject and be lost.
Inserting the Micro-SD Card (DJI RC 2)
To insert an SD card into the DJI RC 2:
STEP 1: With the DJI RC 2 powered off, partially insert the SD card into the DJI RC 2 SD card slot, this time with the gold pin set pointed down or away from you.


STEP 2: Push the SD card in until it makes an audible “click”.
Below is a list, direct from DJI, of recommended SD cards:
- SanDisk Extreme PRO 32GB V30 U3 A1 microSDHC
- Lexar 1066x 64GB V30 U3 A2 microSDXC
- Lexar 1066x 128GB V30 U3 A2 microSDXC
- Lexar 1066x 256GB V30 U3 A2 microSDXC
- Lexar 1066x 512GB V30 U3 A2 microSDXC
- Kingston Canvas GO! Plus 64GB V30 U3 A2 microSDXC
- Kingston Canvas GO! Plus 128GB V30 U3 A2 microSDXC
- Kingston Canvas React Plus 64GB V90 U3 A1 microSDXC
- Kingston Canvas React Plus 128GB V90 U3 A1 microSDXC
- Kingston Canvas React Plus 256GB V90 U3 A1 microSDXC
- Samsung EVO Plus 512GB V30 U3 A2 microSDXC
» MORE: How to Format SD Cards in DJI Drones (Quick Steps with Photos)
The Propellers
If you purchased the Air 3S Flymore Combo, the propellers are not installed on the Air 3S but are instead located packed in the carrying bag.
As is the case with all DJI drones, the propellers must be installed on the correct motors for the Air 3S to fly properly.
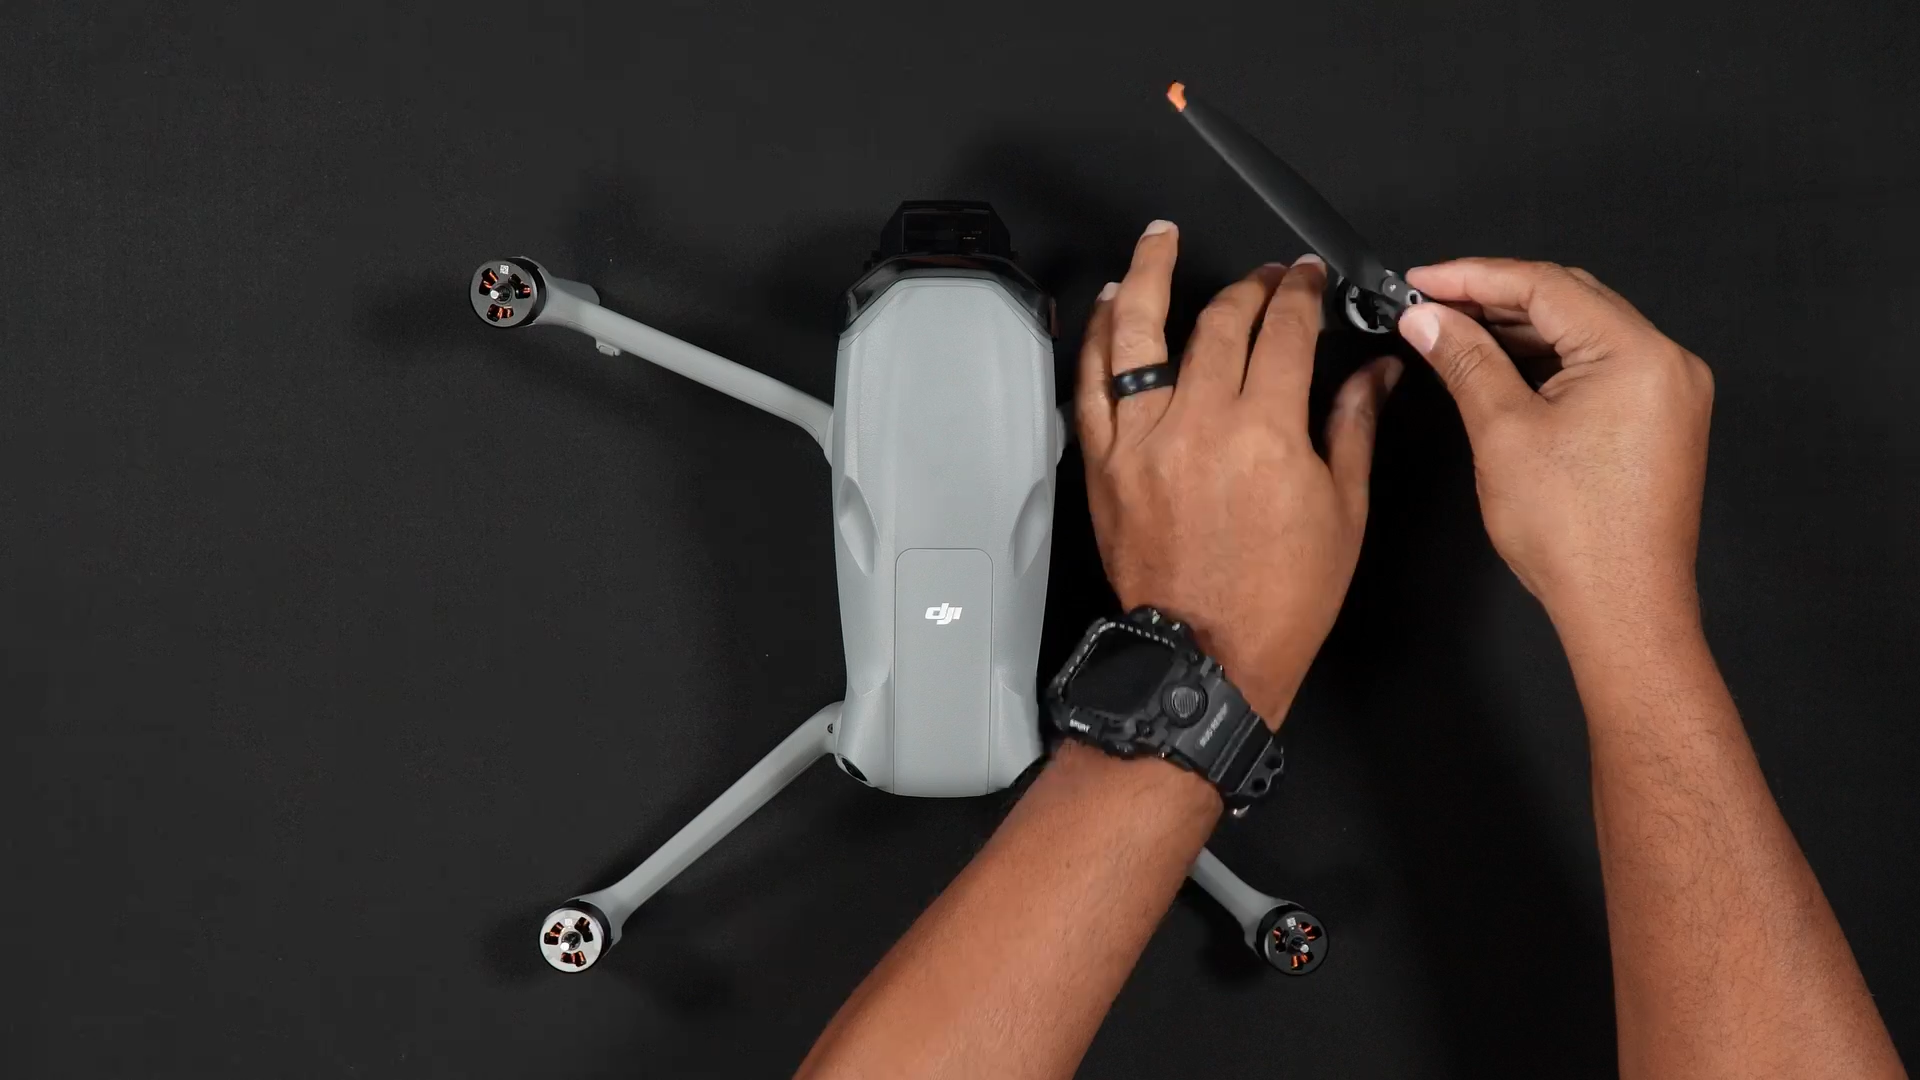
Two different sets of props must be installed on the Air 3S. The propellers have either black or gray markings, which match the corresponding motor with the same color.
- the front/left motor is colored BLACK
- the front/right motor is GRAY
- the rear/right leg is BLACK
- the rear/left leg is GRAY
With the correctly colored propeller for each arm and leg, push and twist the propeller onto the motor. You will feel when the propeller is seated on the motor correctly.

» MORE: Drone Propellers (Beginner’s Guide)
Control Sticks
Whether you purchased the RC-2 or RC-N3 combo, the control sticks are not pre-installed. You’ll find the two control sticks on the back of either remote controller, in the two control stick storage slots.
To install the Control sticks:
STEP 1: Remove the Control sticks from the control stick storage slots on the back of the remote controller.
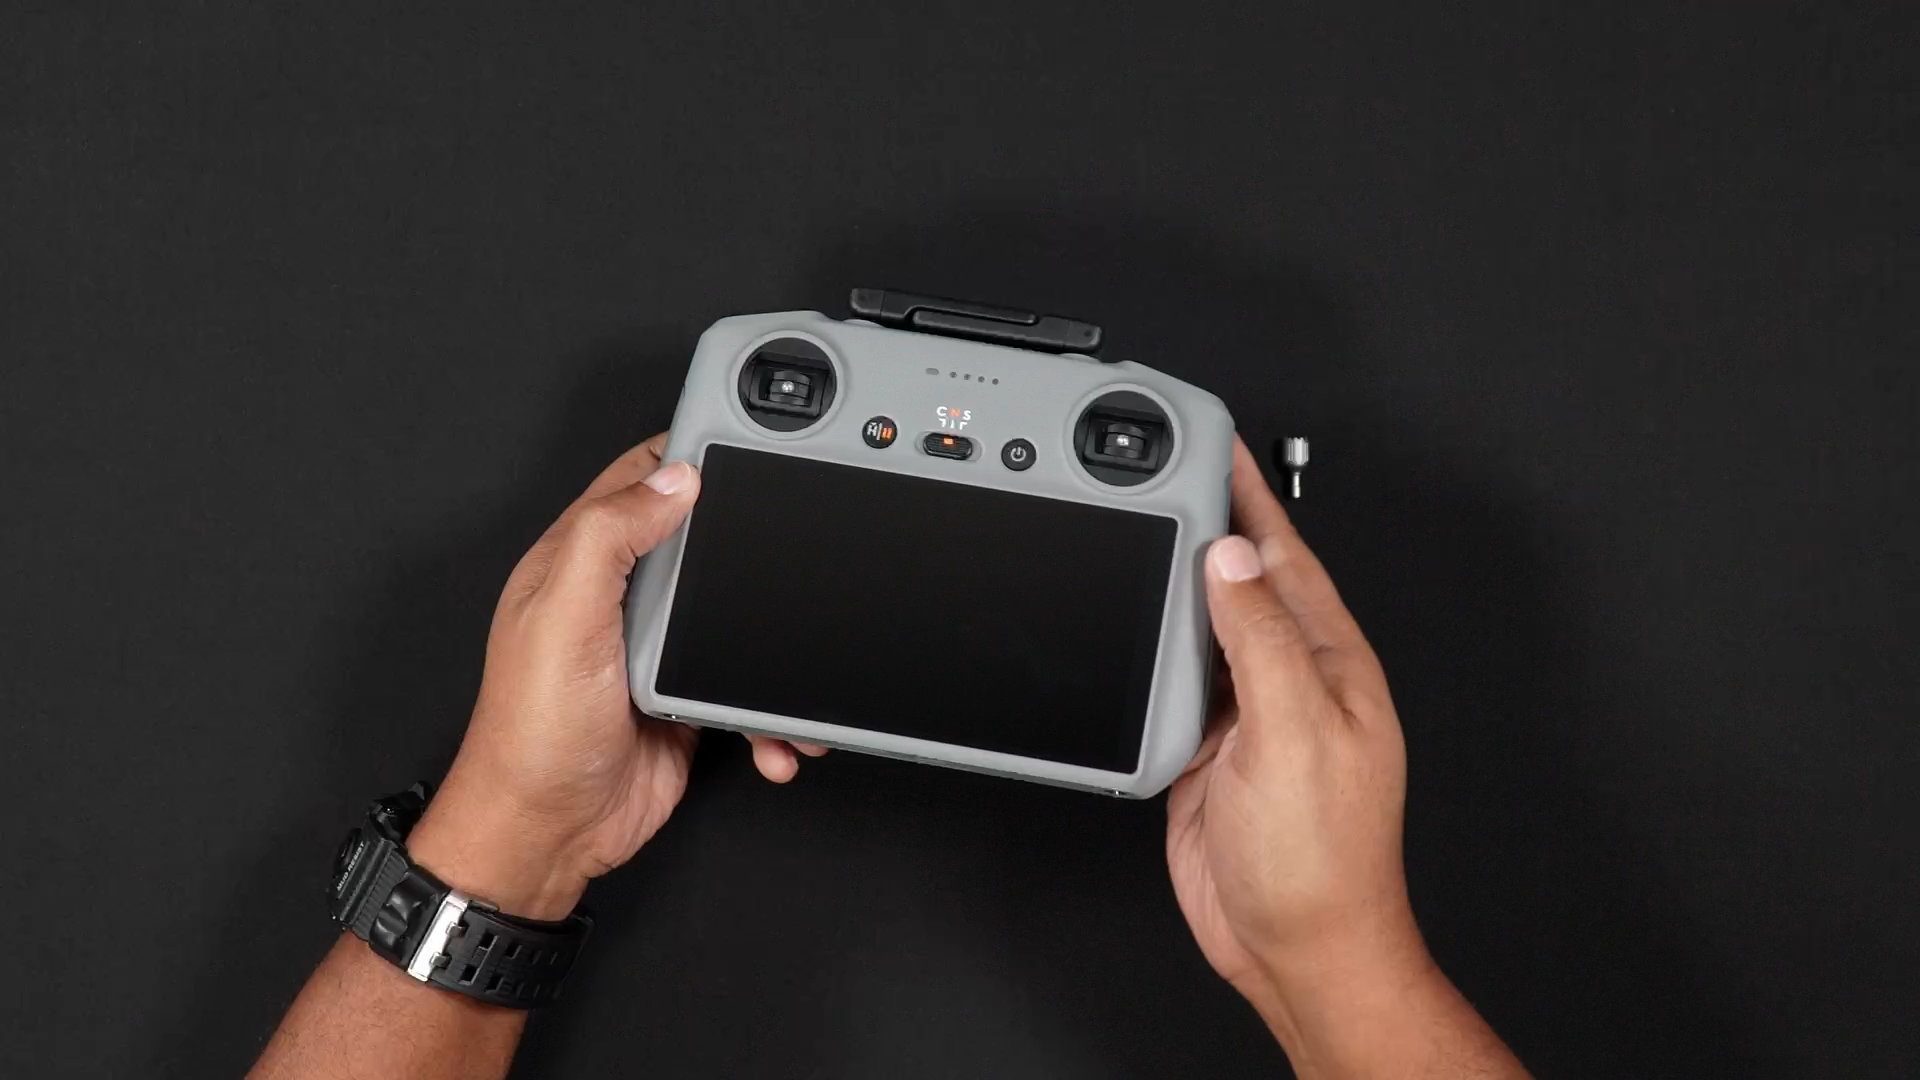

STEP 2: Locate the holes on the front of the remote controller and mount the control sticks on the front of the RC.
Installing the Flight Software – DJI Fly
To fly your Air 3S, you will need to use DJI’s flight software.
Flight software is an app used by either a smartphone or electronic device and connected to your remote controller, which enables the Air 3S and remote controller to communicate, essential for flight control.
The software that works for the Air 3S is the DJI Fly app. If you have a DJI RC 2 combo, the DJI Fly app is pre-loaded on the remote controller.
If you are using a separate electronic device with the RC-N3 controller, you’ll need to download the DJI Fly software.
Where to Download DJI Fly
If you are using either an Android or iOS phone or tablet, the links to download the DJI Fly app are as follows:
Additionally, from your smartphone or electronic device, you can do a Google Search for “DJI Download Center”.
In the results, choose DJI Fly and you will be brought to the software downloads page.
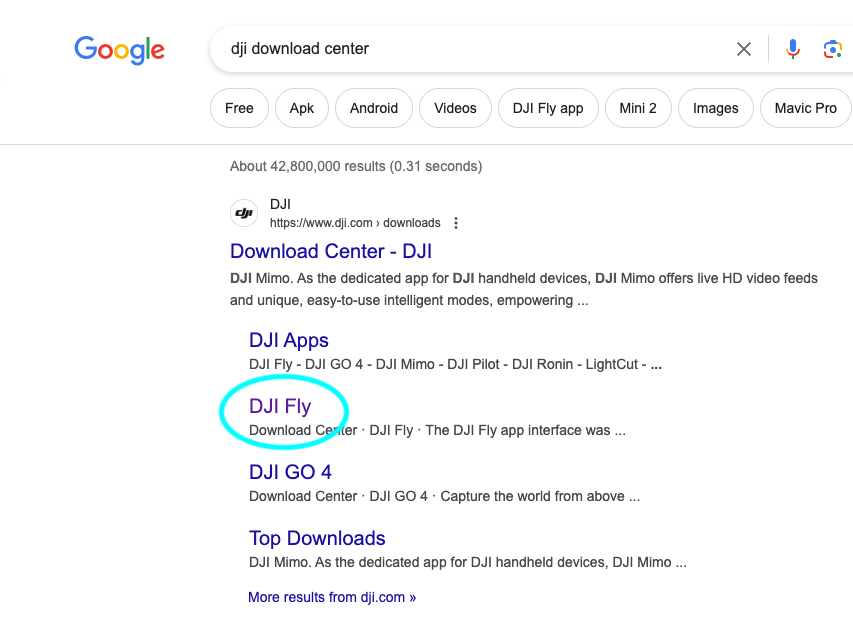
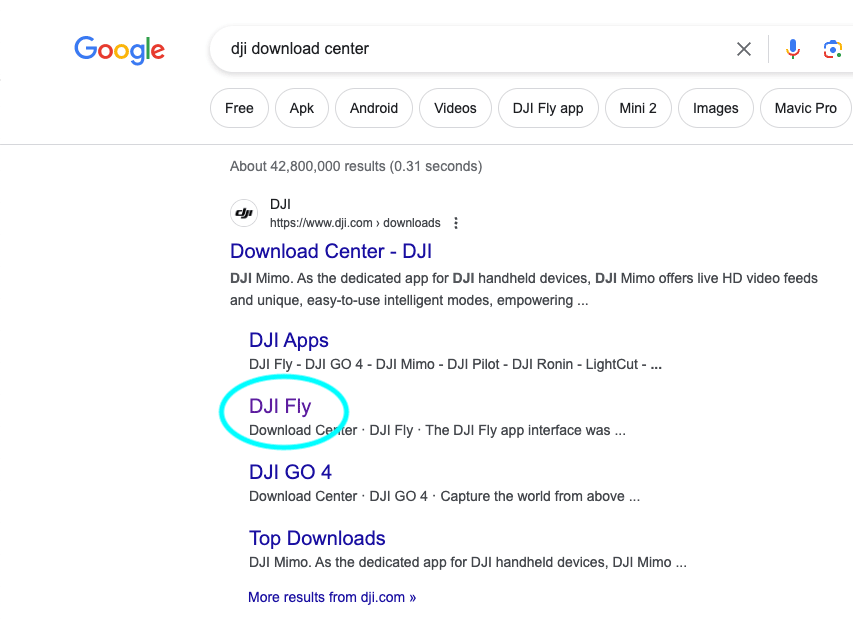
Note: the DJI Fly app for Android is only available online at the link above, and is no longer available in the Google Play store, whereas the iOS version for Apple devices is accessible via the App Store.
Setting up or logging into your DJI Account
Now that you have the DJI Fly app installed, it is time to set up your DJI Account. You can either do so from within the app on your cellphone, or using the DJI RC 2.
If you have a DJI RC 2:
It’s advised for the initial setup to connect to DJI RC2 while near your home WiFi. If you are not able to do so, you can connect to your phone’s hotspot.
STEP 1: Turn on the RC by pressing once on the power button, then immediately press and hold the power button.
After the DJI splash screen appears, you should be brought to the “Welcome to DJI RC-2” screen.
STEP 2: Scroll through the list and choose your language. After choosing your language hit NEXT.


STEP 3: Accept the terms and conditions and press AGREE.


STEP 4: Choose your Country/Region and press NEXT.


You’ll then be prompted to connect to Wifi (or your hotspot)
Note: You’ll need to connect to WiFi if setting up a DJI account through the DJI RC 2.
STEP 1: Choose your WiFi network from the list of active networks.


STEP 2: Enter your WiFi or hotspot password. After entering the password press the blue checkmark then press OK at the top right of the screen.
STEP 3: Select your Time Zone by tapping the current timezone on the screen (which might be Beijing). Then scroll through the list until you find your current timezone. Press NEXT.


STEP 4: Press confirm on the Note that pops up.
STEP 5: If you have a DJI account you can log in here or you can choose “Create account”.
If you have an RC-N3
STEP 1: Without being connected to the RC-N3, from a cellphone or smart device launch the DJI Fly app and go into Profile.


STEP 2: Once in the Profile Screen, go to Log In.
STEP 3: Input the phone or email you would like to register with and be sure to check off the “I have read” section at the bottom.
If you already have a DJI Login, input that information here.
STEP 4: If you are looking to create your DJI Account, enter the password you would like to use.
STEP 5: Enter the Captcha info and submit.
You’ll now be brought to the main profile page. You will see you have been set up as a generic DJI User.
STEP 6: To change your name and profile picture, tap your current djiuser_ name (this will bring you to the Profile details page, and you can change your DJI username to whatever you’d like, as well as upload a profile picture.


