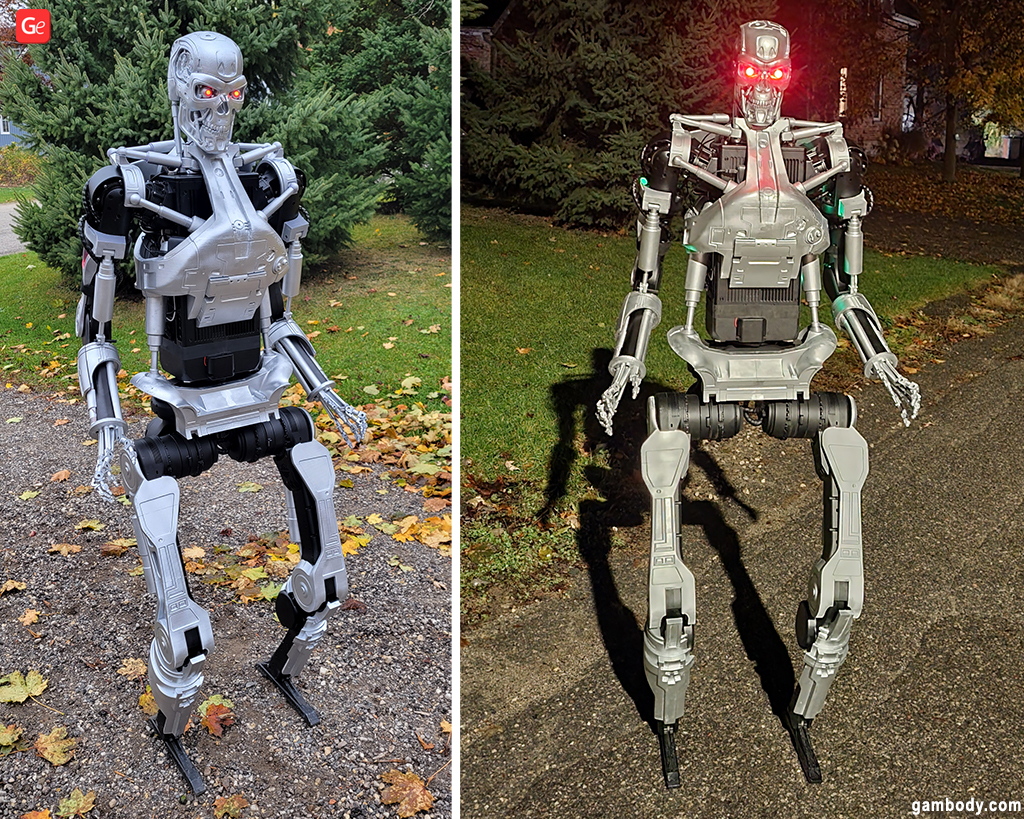
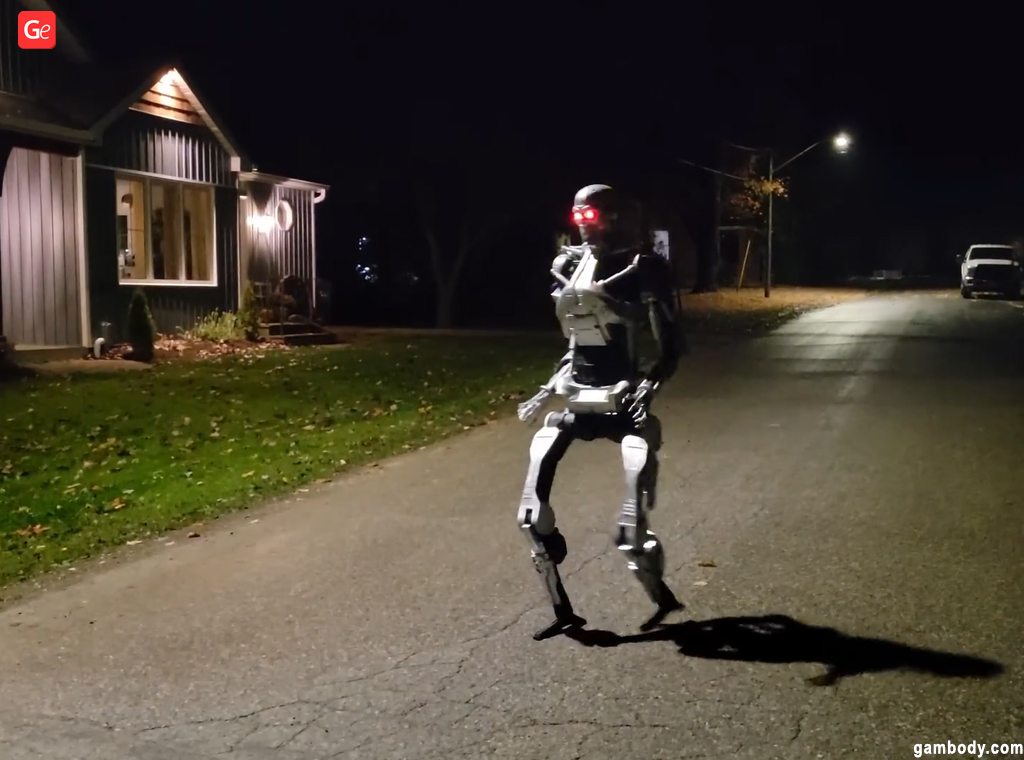
Imagine a 3D printed Terminator Endoskeleton walking around your neighborhood and peering through your evening windows! Robotics engineer and 3D printing enthusiast Dave Niewinski from Dave’s Armoury YouTube channel created the most impressive nightmare animatronic using his humanoid robot Unitree H1 and T-800 Endoskeleton STL files from Gambody marketplace.
The project looks epic! Not only did it surprise Dave’s neighbors, but it also proved how incredible a 3D printer and its possibilities are. Possessing astonishing engineering skills and vivid imagination, you can 3D print a character from plastic, creating a one-of-a-kind experience for the whole world to witness.
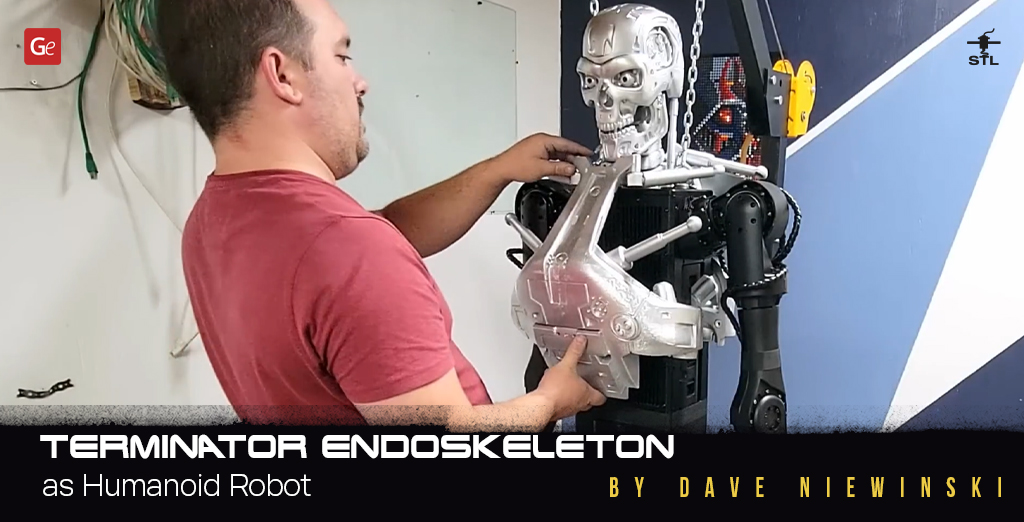
Luckily, Dave Niewinski agreed to share more details about his real-life Endoskeleton experiment with Gambody readers (and you are welcome to watch the original video of how this T-800 was built to fit the humanoid robot).
1. Dave, can you please introduce yourself and share some background on how you began 3D printing?
I’m Dave Niewinski, a robotics engineer from Canada. I started with industrial robotics integration and am now in AI and more cutting-edge development. 3D printing is an essential part of that process. It allows me to prototype and iterate on solutions quickly.
2. How big is Dave’s Armoury team? Who helps you build your unique projects and make videos?
Dave’s Armoury is just me. I wear all the hats for now, but I probably should look into expanding the team.
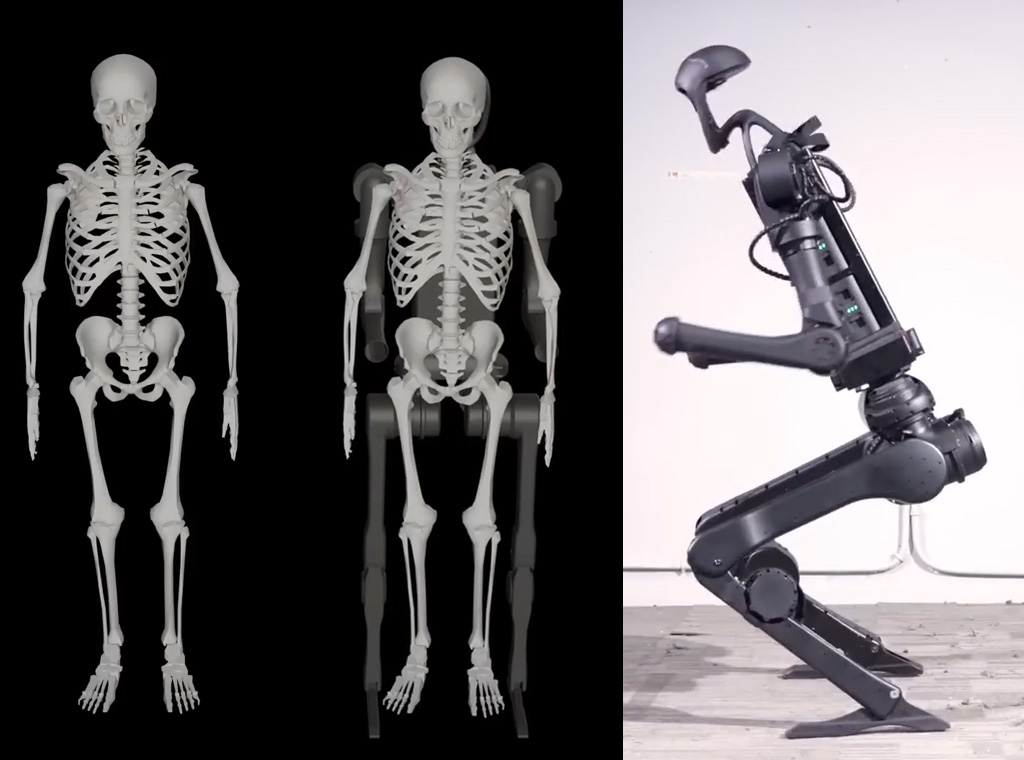
3. How and when did Unitree H1 Robot move to your place? Does it stay with your family and entertain your neighborhood?
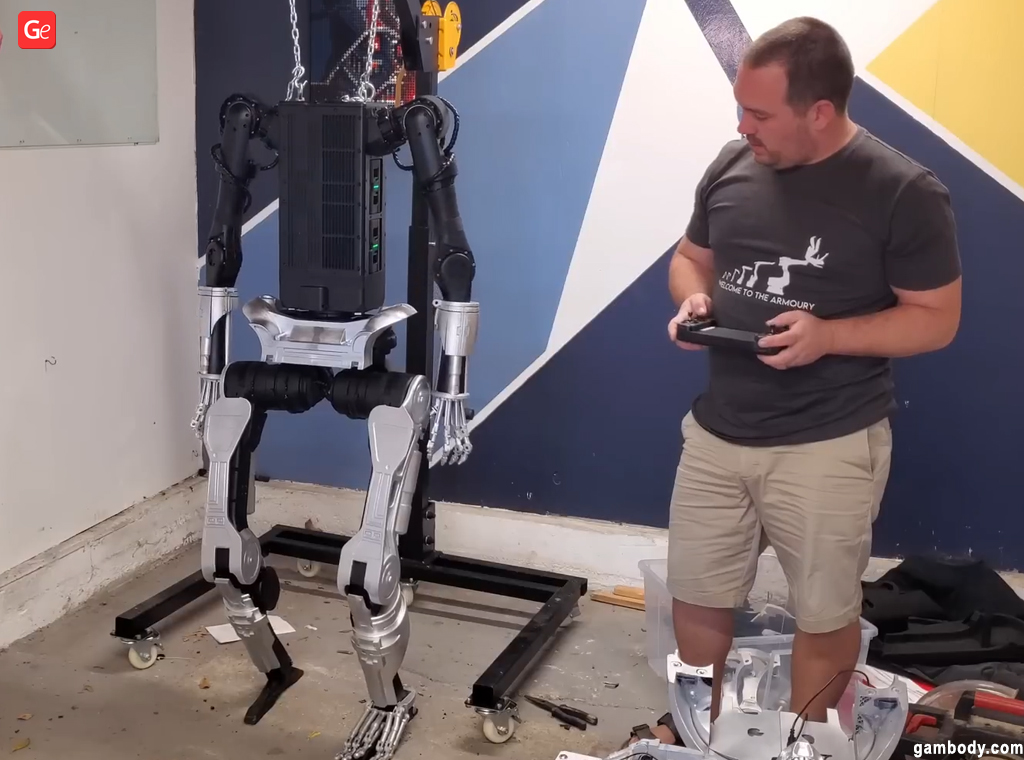
I’ve only had Stanley (the name of Dave’s humanoid robot) for about a month. It lives in the lab and regularly walks around my town to visit the neighbors.
4. Whose idea was to name the Unitree Humanoid Stanley before you turn him into Terminator T-800 Endoskeleton?
I think it was actually my mom’s idea. I wasn’t sold on the name, but I mentioned it in a meeting, and the name just stuck.
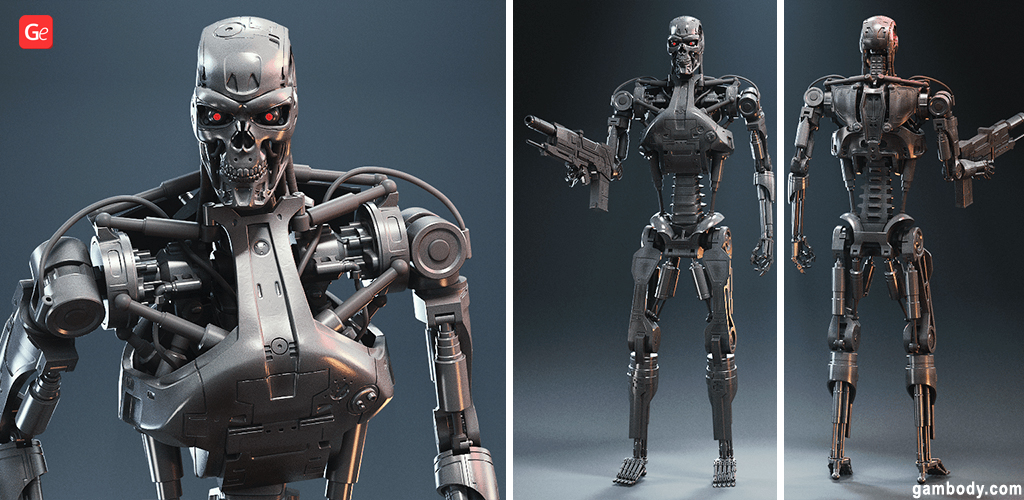

David downloaded T-800 Endoskeleton STL files from gambody.com and spent a lot of time redesigning them to fit the humanoid robot body and create one of the most impressive Terminator models. You won’t find such a fantastic animatronic Endoskeleton for sale on regular marketplaces. However, you can also use Terminator T-800 Endoskeleton files for 3D printing to make your unique project. You may even build your version of a nightmare animatronic to scare your neighborhood the next Halloween!
5. How did you like upscaling and applying the boolean tool to Gambody STL files of the Terminator Endoskeleton?
This 3D printing model is very detailed, so the files scaled well. Most of them were manifold meshes, so boolean worked efficiently. Some needed a little cleanup, though. Not a problem for 3D printing, but a bit of work for something like this.
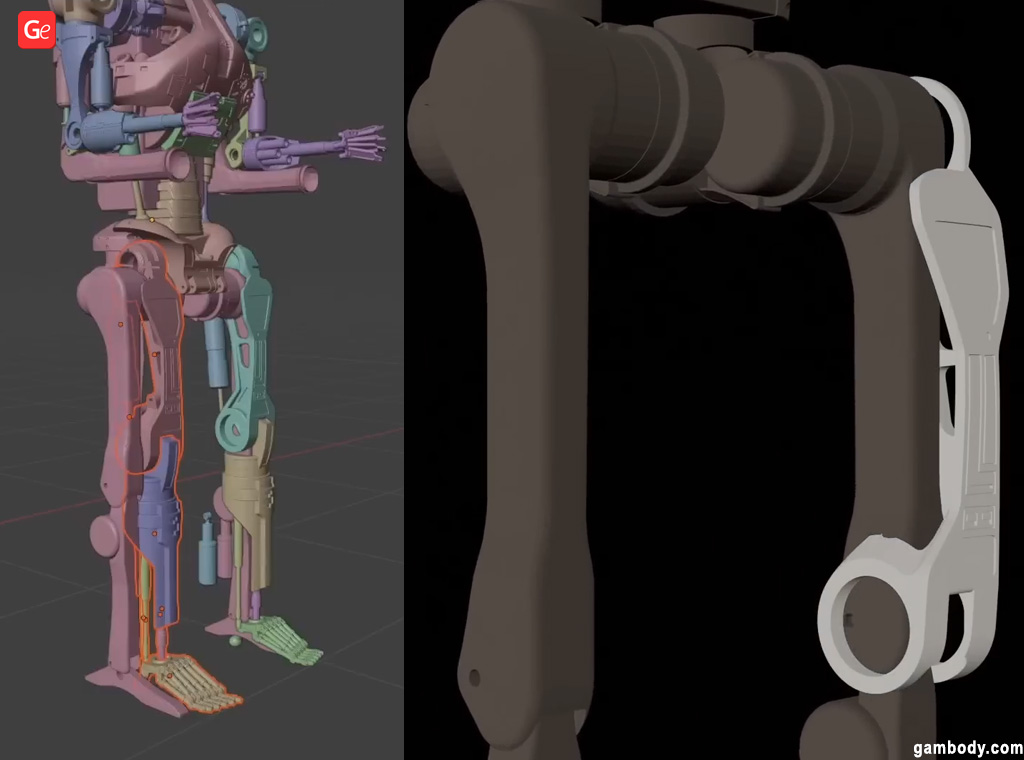

6. Do you remember how many days you spent working in Blender to adjust every T-800 Endoskeleton STL file according to the life-size Unitree Robot?
Too many. Probably close to a week. A lot of the challenge came from making the pieces fit as the humanoid robot moved them around. Cutting out a static model is easy, but cutting out something that is going through a range of motions is much trickier.
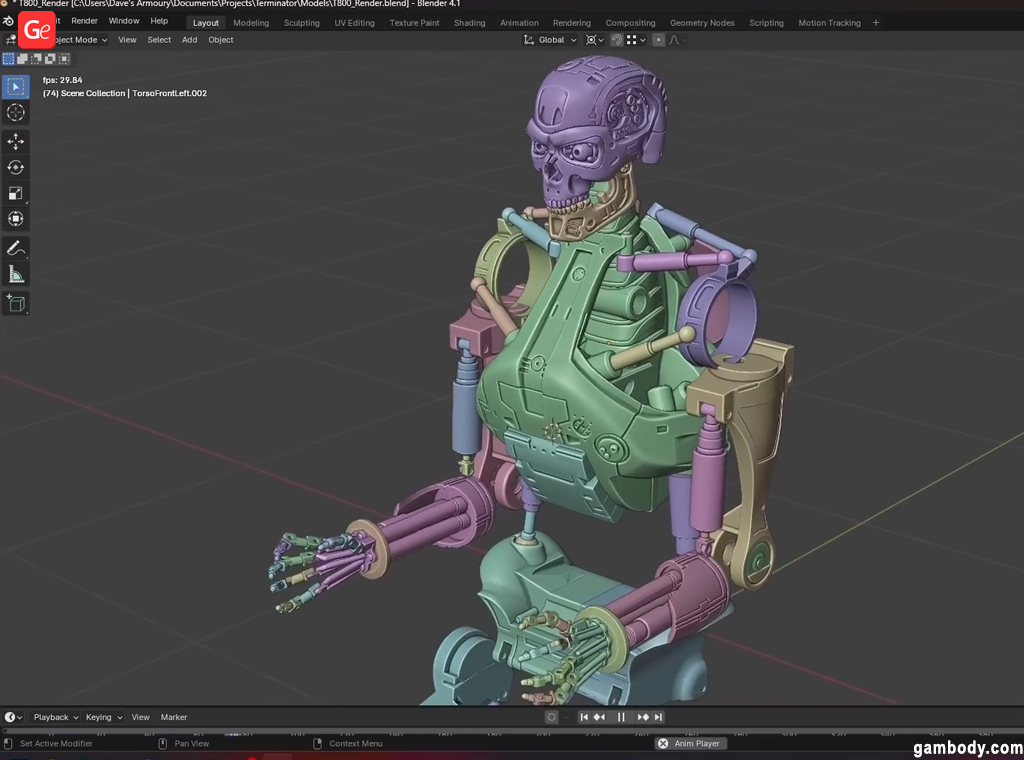

7. How hard is the adjusting process in reality? What skill level does a hobbyist need to repeat something similar?
The process is fairly simple. It just takes a lot of manual work. Being comfortable in Blender would be essential. There really isn’t much “robotics” in this project.
Read also: Free STL Editor: How to Edit and Repair STL Files (3D Models).
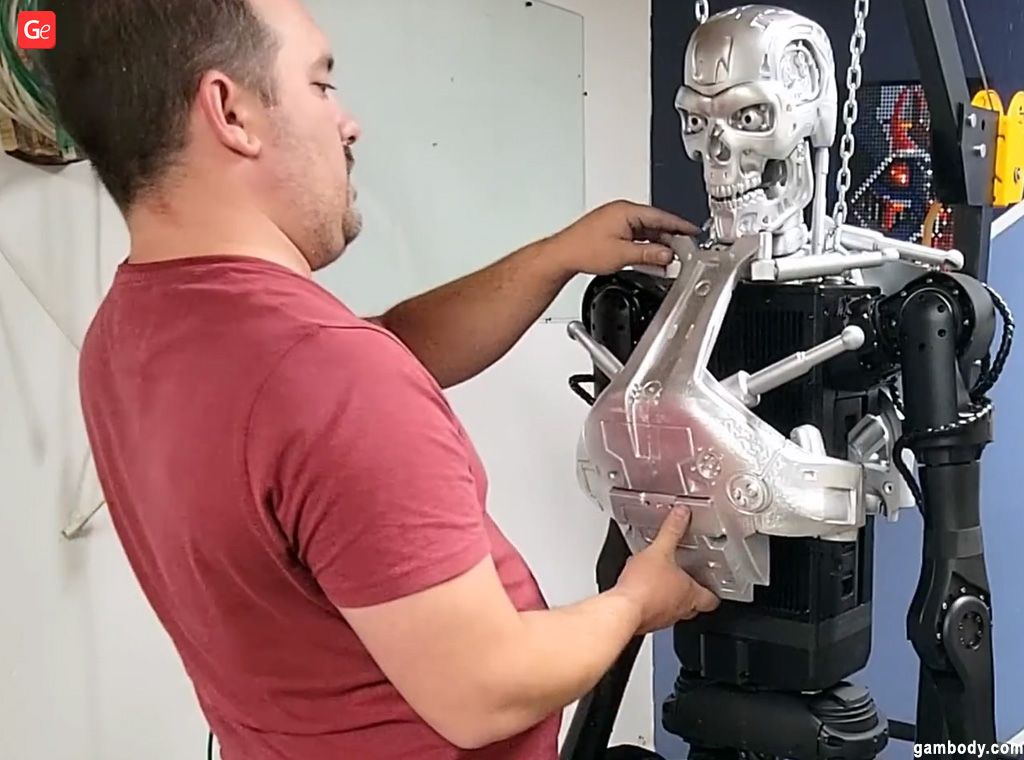
T-800 Endoskeleton 3D print consists of 129 parts if you have an FDM/FFF 3D printer. The original model has ratchet mechanisms for knee and elbow bending, ball-and-claw joints for wrist and head rotations, space for LED lights to light up the eyes, and other incredible action-ready parts. Thus, if you don’t have a humanoid robot like Unitree H1, you can still make this Terminator project and end up with a fantastic piece for display.
8. Was T-800 Endoskeleton 3D print the first model you printed with Bambu Lab A1 and Bambu Lab A1 mini 3D printers, or did you run some tests beforehand?
I got the two Bambu 3D printers right at the start of the project, so I jumped straight into production.
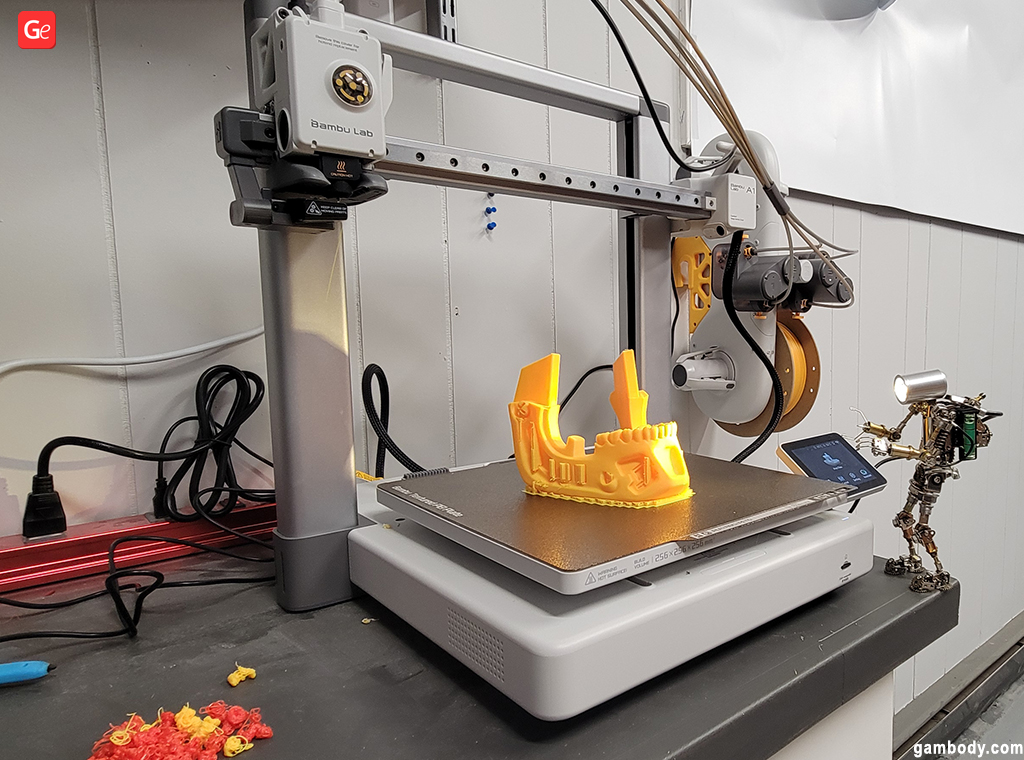

9. How many 3D printers did you end up using to build the T-800 Endoskeleton?
I used my three printers (2 x Bambu and 1 x Lulzbot). I think James used 8 Bambu printers at his shop.
10. How many filament spools did you use for this Terminator model?
I think the whole project only used six rolls. The prints use very light in-fill since they aren’t structural.
11. What was the most challenging part between 3D printing, removing the supports, sanding, painting, and fitting the pieces on your H1 Robot?
Sanding is super easy, but takes FOREVER. I liked putting all the 3D printed pieces on the humanoid robot. It felt like I was giving it an upgrade, even though it was just cosmetic. Removing the supports was a bit of a pain if I forgot to change the support type.
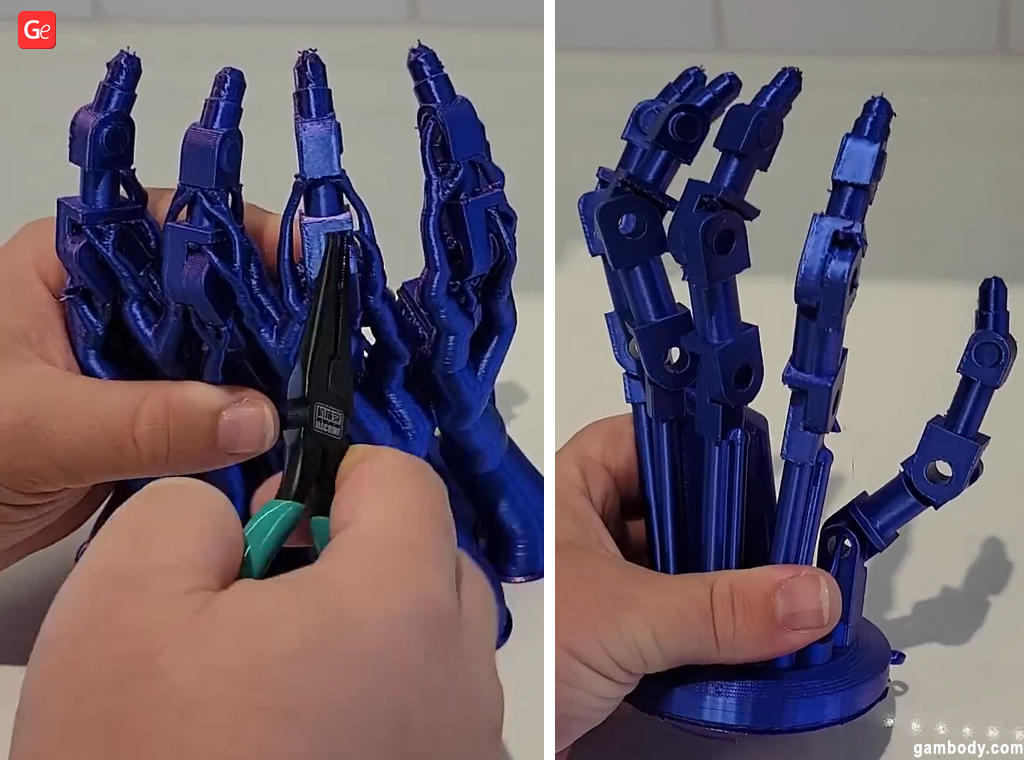

12. Did you count all the pieces that were 3D printed or know their weight?
I didn’t. There were so many 3D printed parts that were being test-fit or updated that the count was always changing.
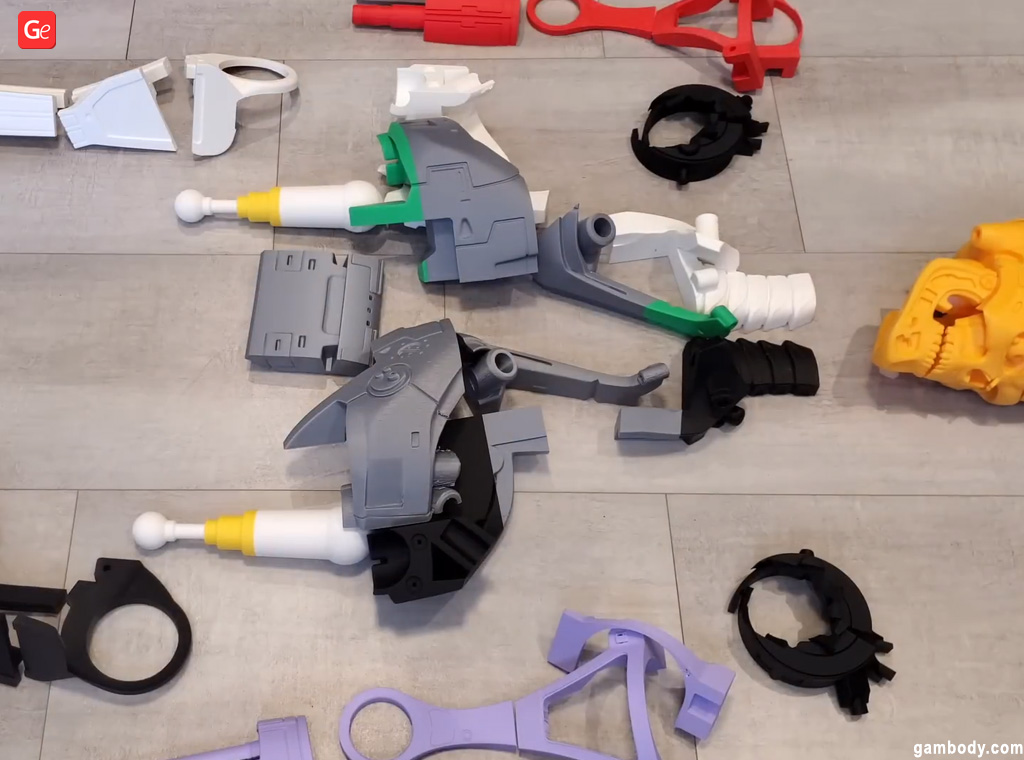

13. Were you upset when you figured out that your robot prototype and the real robot didn’t match as planned once you prepared all the 3D prints?
I was expecting something like that to come up. It’s really common with 3D models like that because manufacturers don’t release their full CAD, just a subset that they think users will need. Polycam made it really easy to fill in the gaps, though.
14. How challenging was it to 3D scan the robot and start the work all over again in adjusting the prototype and 3D printed parts? What apps did you use for this?
Super simple. The scan took a couple of minutes. Then it was just importing and aligning everything in Blender. Definitely, it’s becoming part of my workflow for projects like this in the future.
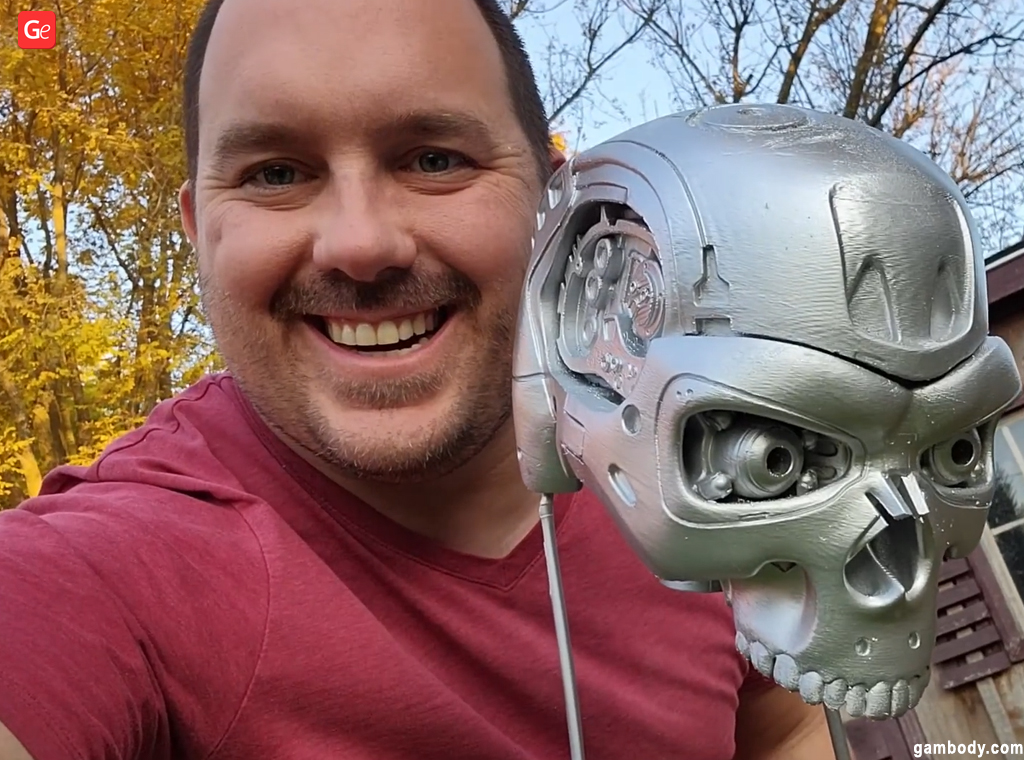
15. What primer and spray paints (brand, colors) did you use? How many cans did this Terminator model need?
The primer is grey Painter’s Touch. The paint is Aluminum from Premier. Nothing special, just what the local hardware store had in stock.
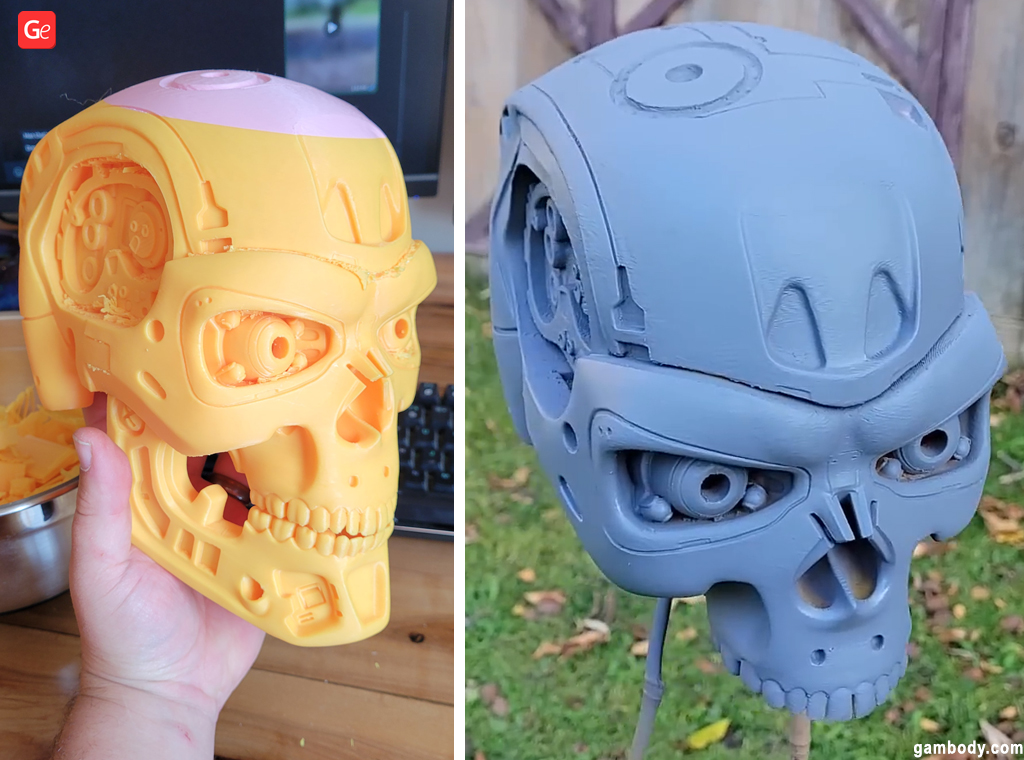

16. How long did it take to paint the parts and allow them to dry?
The weather was beautiful for that week, so I could do it all outside. Maybe an hour between the coats.

Read also: Sanding and Painting 3D Prints: Easy Steps.
17. Whose idea was to use magnets to clip the front and back parts of the 3D printed Endoskeleton to Stanley?
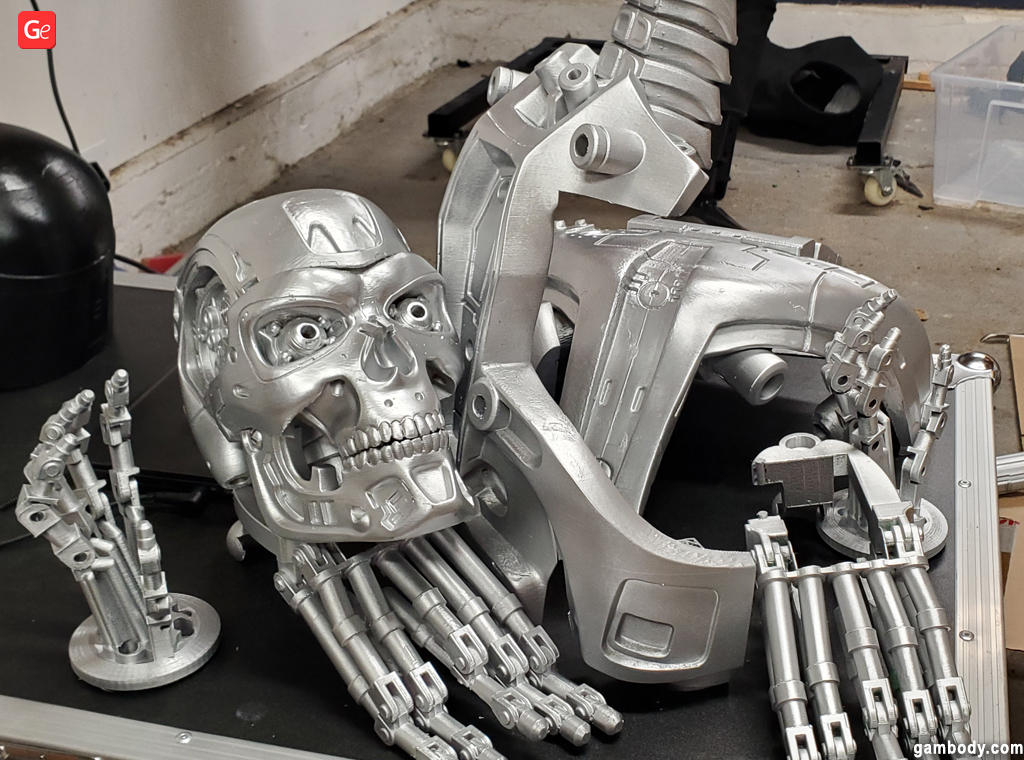
Mine. If I’m taking it apart and reassembling it multiple times, I don’t want to use something like bolts because I’ll need extra tools and can easily strip a hole. Magnets are super simple and cheap.

18. How many magnets did the project require? How did you find the correct sizes to fit into holes?
There were only about 20 magnets in the whole project. Many of the 3D printed pieces were friction-fit onto the humanoid robot, so they were the only ones that needed to touch each other and be removed. I picked the size based on the largest magnets that could fit onto the faces that were also on sale on Amazon.

19. Can you share more details on how you modeled and 3D printed pupils and added LEDs to the Terminator’s eyes to make them glow?
The pupils were just cylinders with cylinders cut out of them to fit the LEDs. They were printed with transparent PLA filament so the light would shine through but also diffuse so they were easier to see.
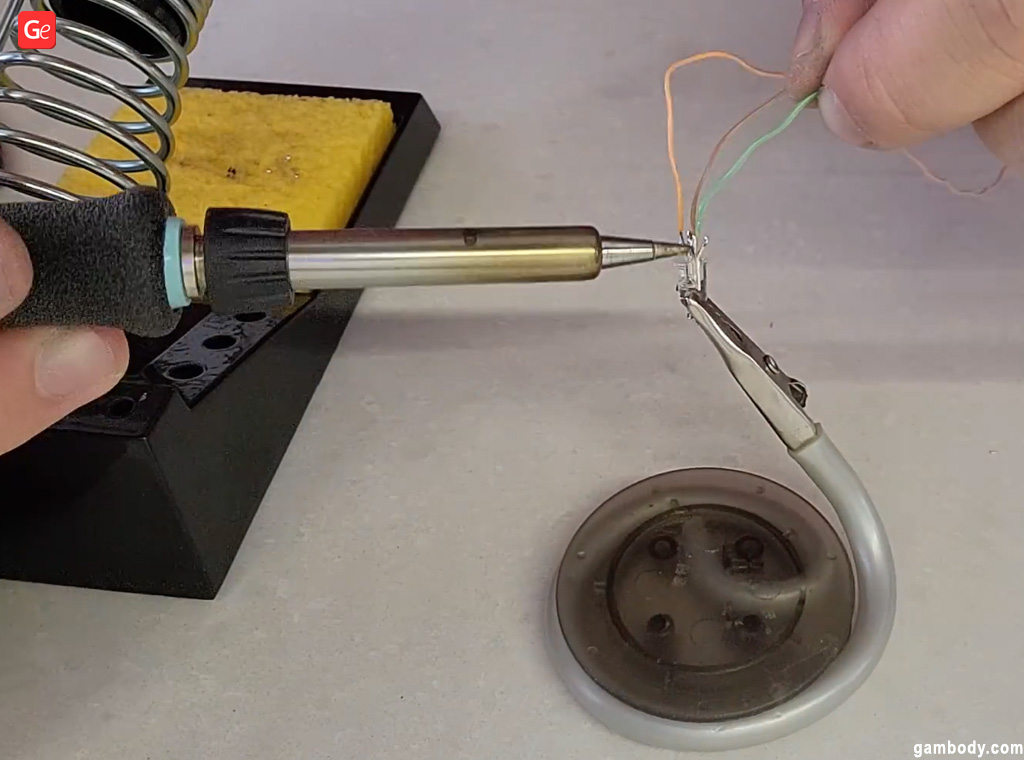

20. What transparent filament did you use for the pupils?
Transparent PLA. I think it was from an online store with filaments in Canada.
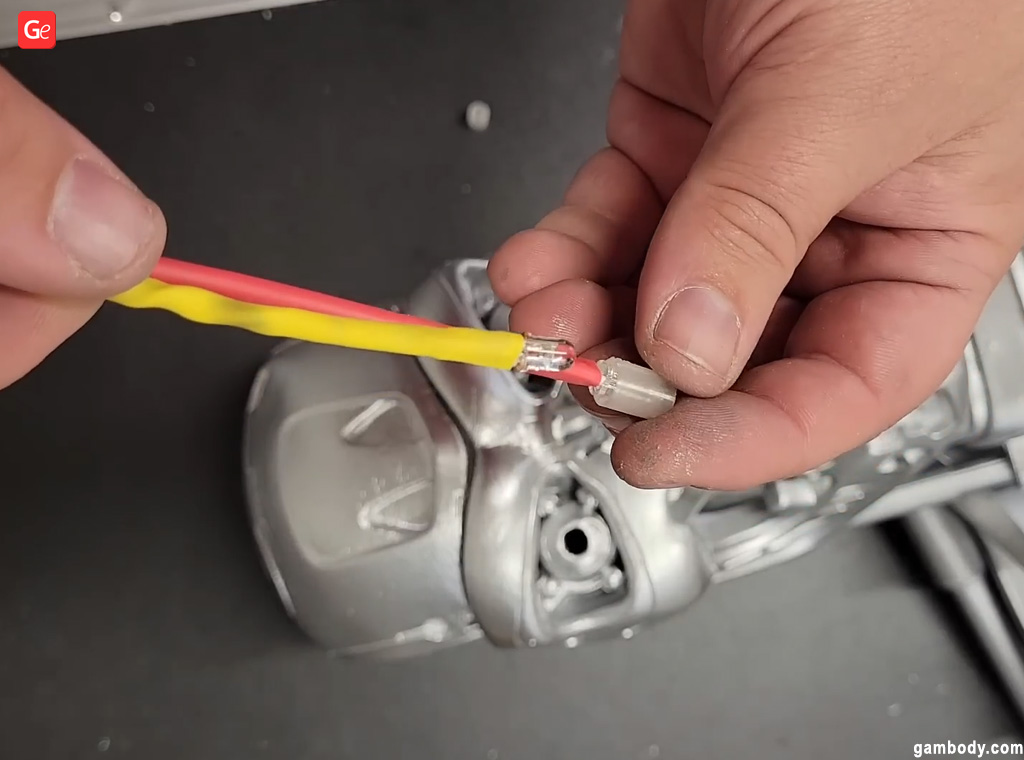

21. How difficult was it to work with all-color-disco-mode LEDs compared to regular LEDs? How fun was that?
Pretty easy. You just have 3 inputs for each LED, one for each primary color. I haven’t used them extensively, mostly just directly wired to make them red all the time. I plan on reviving the whole project and adding some extra control/AI to it, which will benefit from the multicolor eyes.
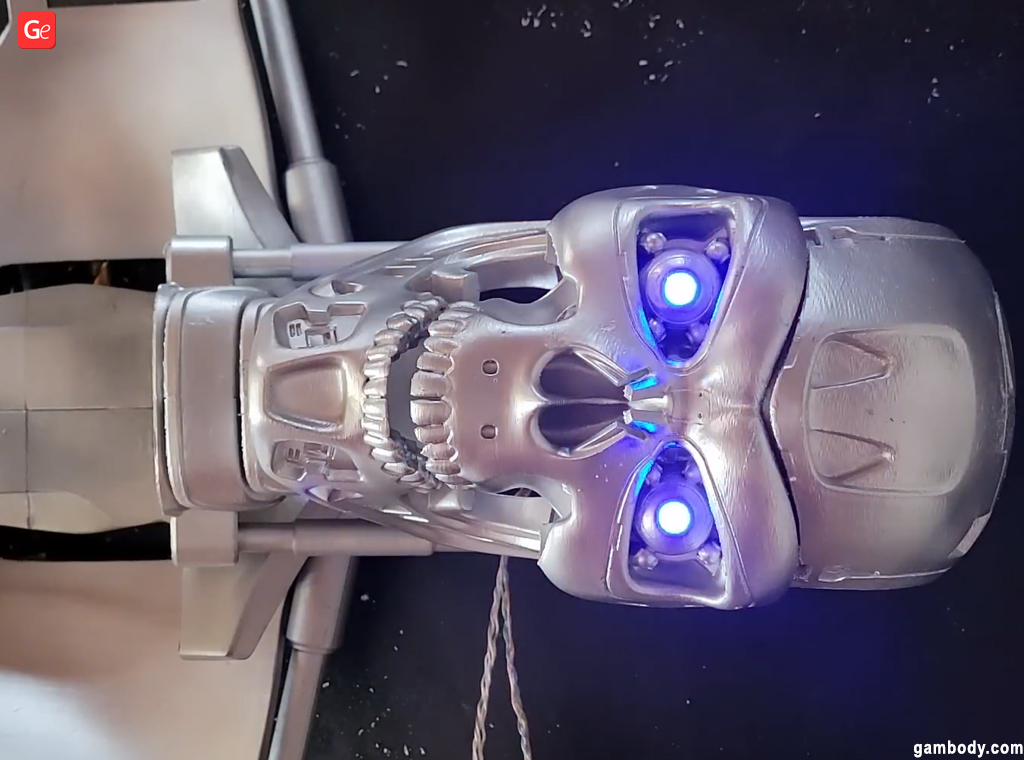

Hobbyists choose to install one-color or multicolored LED strip lights in their 3D prints to make them look more professional and fantastic. Learn how you can turn nearly every model into a masterpiece with LEDs. Read our post titled How to Put Up LED Lights in a 3D Printed Model.
22. You knew that the Real Robot walk test would fail the 3D printed feet and break them (because the H1 walks very hard). How many attempts did you make before eliminating this feature?
Not many. I did need a lot of super glue to repair some of the “hydraulic” pieces. With the light infill, they ended up being reasonably fragile, and I’m clumsy.

Read also: Popular 3D Printing Infills: Your Guide to Best Results.
24. How hard was the final assembly of all 3D printed parts?
Very easy. All of the pieces that were cut down to fit on the print beds were glued. Once they were whole again, they were either friction-fit or magneted onto the robot. Stanley needs a chain hoist to be turned on, which means transporting and starting it somewhere else is hard, and it would need to be completely disassembled so it didn’t break anything in transit. Ease of assembly was essential.
25. How did people react when Stanley, aka T-800 or a nightmare animatronic, went for a real walk?
It was funny, it depended on who saw it. Anyone who watched the movie and knew what it was supposed to be was initially scared. If they had never seen the movie before, they weren’t scared and were very interested.

26. Your video on turning the H1 Robot into a T-800 Terminator Endoskeleton is approximately 13 minutes, giving viewers a feeling that it’s a relatively fast project. How many months did it really take?
This project was fairly rushed. I only had a month to design, 3D print, paint, assemble, record, and edit the whole thing. I feel that hurt the project a bit, but the next version will get more love.
27. In the final scenes of your video, Stanley falls, and the 3D printed parts break. Where are all those parts now? How is Stanley doing today?
Stanley is still working well. All 3D printed pieces were collected and stored so I can fix them in the new year.

28. What is your next 3D printing project?
I’m working on the next phase of the GlaDOS project, which uses some 3D printing. I also just bought a Groot 3D model from Gambody for a large, non-3D printed project :).
We would like to thank Dave for his time and fantastic T-800 animatronic idea! 3D printing enthusiasts can watch and rewatch the video about the adventures of a humanoid robot dressed in a Terminator Endoskeleton cosplay. It might inspire more hobbyists to use their 3D printer and Gambody’s STL files for one-of-a-kind projects! Please share the images and/or videos of your new projects in our 3D Printing Community on Facebook.
(Visited 41 times, 1 visits today)


