51.4K
Choosing a radio transmitter for FPV drones can be overwhelming for beginners with so many options available. A radio transmitter is critical to controlling your drone in flight. This guide explains factors beyond price, such as supported frequency and protocols, channels, functionality, reliability, comfort, and software.
Some of the links on this page are affiliate links. I receive a commission (at no extra cost to you) if you make a purchase after clicking on one of these affiliate links. This helps support the free content for the community on this website. Please read our Affiliate Link Policy for more information.
What Is A Radio Transmitter
A radio transmitter is a handheld device that pilots use to control their FPV drone in flight. It sends signals to the drone’s receiver, then the flight controller which translates those signals into drone movement.
The transmitter is a crucial piece of equipment for flying FPV drones because it allows the pilot to control the drone’s movements with precision and accuracy. A high-quality transmitter with a reliable connection is essential for ensuring that the drone responds quickly and accurately to the pilot’s inputs. A comfortable grip and responsive sticks are important for a good piloting experience.
Some transmitters offer advanced features like customizable settings, telemetry data, and support for different protocols and receivers, allowing pilots to tailor their flying experience to their preferences and needs.
When you start flying FPV, buying a radio transmitter should be one of your first purchases. With it, you can practice flying in a simulator even before owning a drone. A good transmitter will last you a long time, unlike other accessories that may break or become outdated quickly. So, it’s worth investing a bit more in a high-quality transmitter.
New to FPV? Make sure to check out my beginner guide to FPV drones.
Radio Transmitter Round-up
Here is a list of all the popular radio transmitters currently on the market.
Too many choices? Well, these are my recommendations below.
Radio Recommendations
Cheapest worth having
Radiomaster Pocket
Product Page:
Looking for a budget-friendly radio transmitter that doesn’t skimp on features? Check out the Radiomaster Pocket, available for just $65. This compact and lightweight radio comes with cutting-edge EdgeTX and ExpressLRS built-in, making it a great value for beginners and experienced pilots alike.
Although the Pocket isn’t perfect, with some drawbacks to its gimbal size, it still has plenty of features, switches and support for FPV simulators, making it an excellent choice for those just starting out in the hobby. And with a battery life of 8+ hours, you won’t have to worry about running out of juice mid-flight.
Interested in learning more? Check out our detailed review of the Radiomaster Pocket to see if it’s the right radio for you.
If you are looking for alternatives, the Jumper T-Lite V2 is also a great budget compact radio that’s packed with features.You can find out more in my review: https://oscarliang.com/jumper-t-lite-v2/
Best Value and Versatility
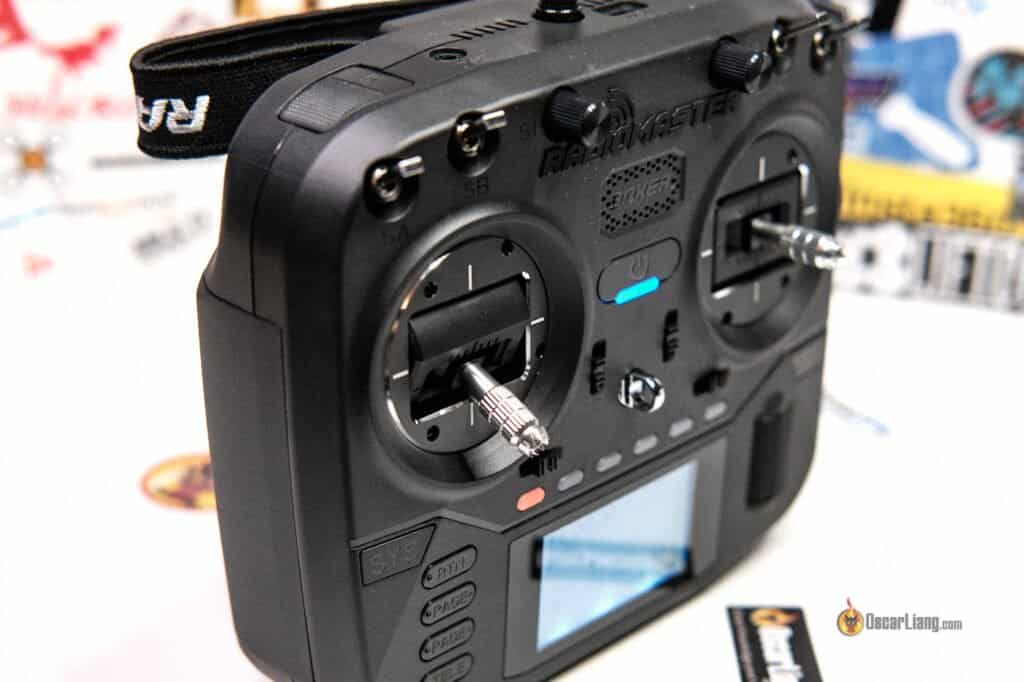
Radiomaster Boxer
Product pages:
The Radiomaster Boxer is perhaps one of the best value and versatile radios on the market.
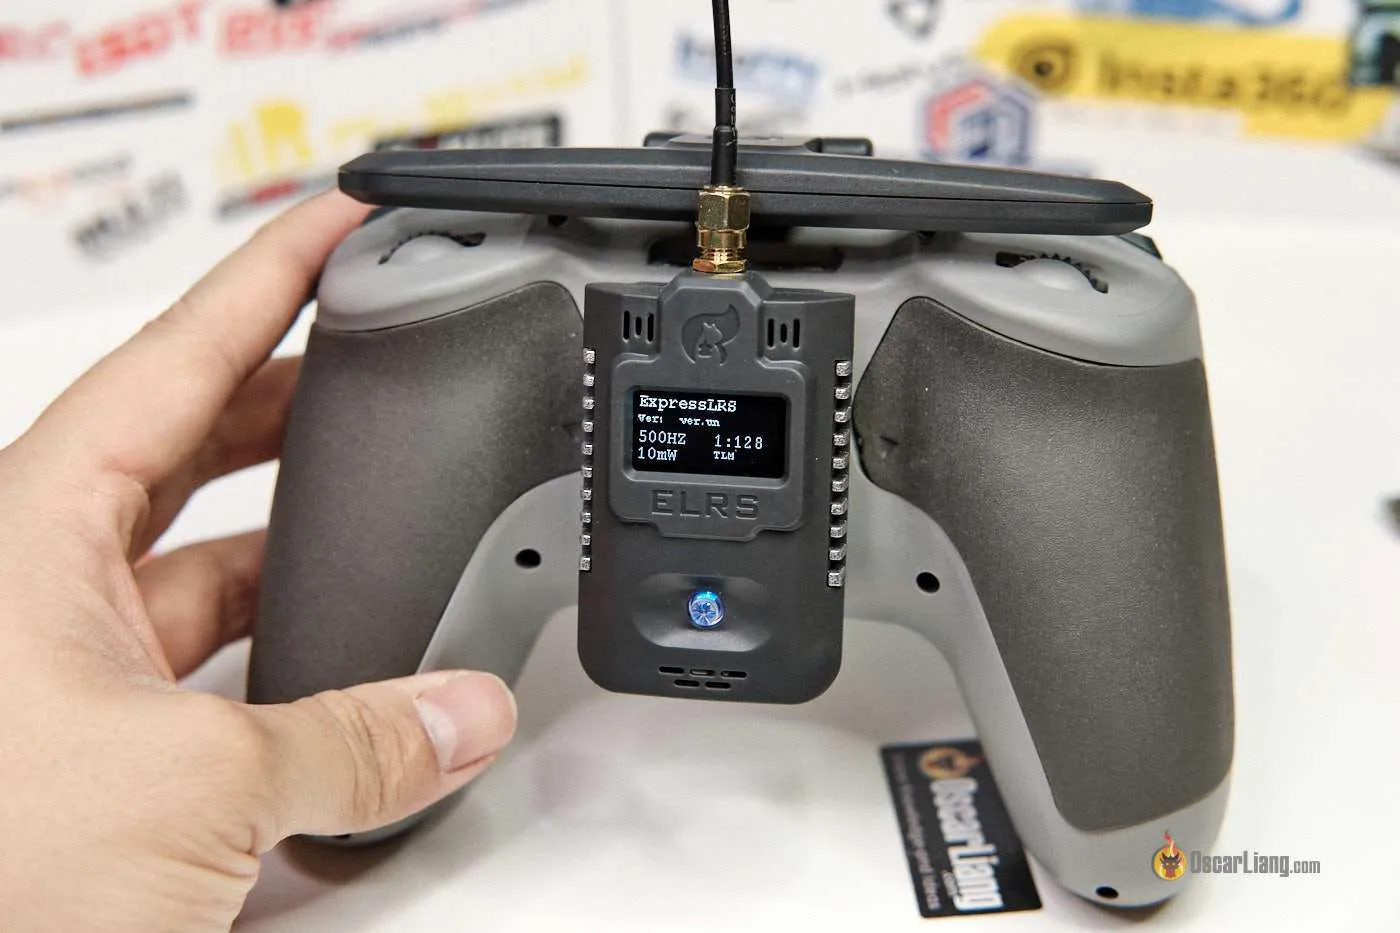
With a powerful built-in 1W ExpressLRS 2.4GHz module, it offers basically everything the TX16S does except the color touch screen, but at a much more affordable price point. Check out my detailed review of the Boxer if you’re interested.
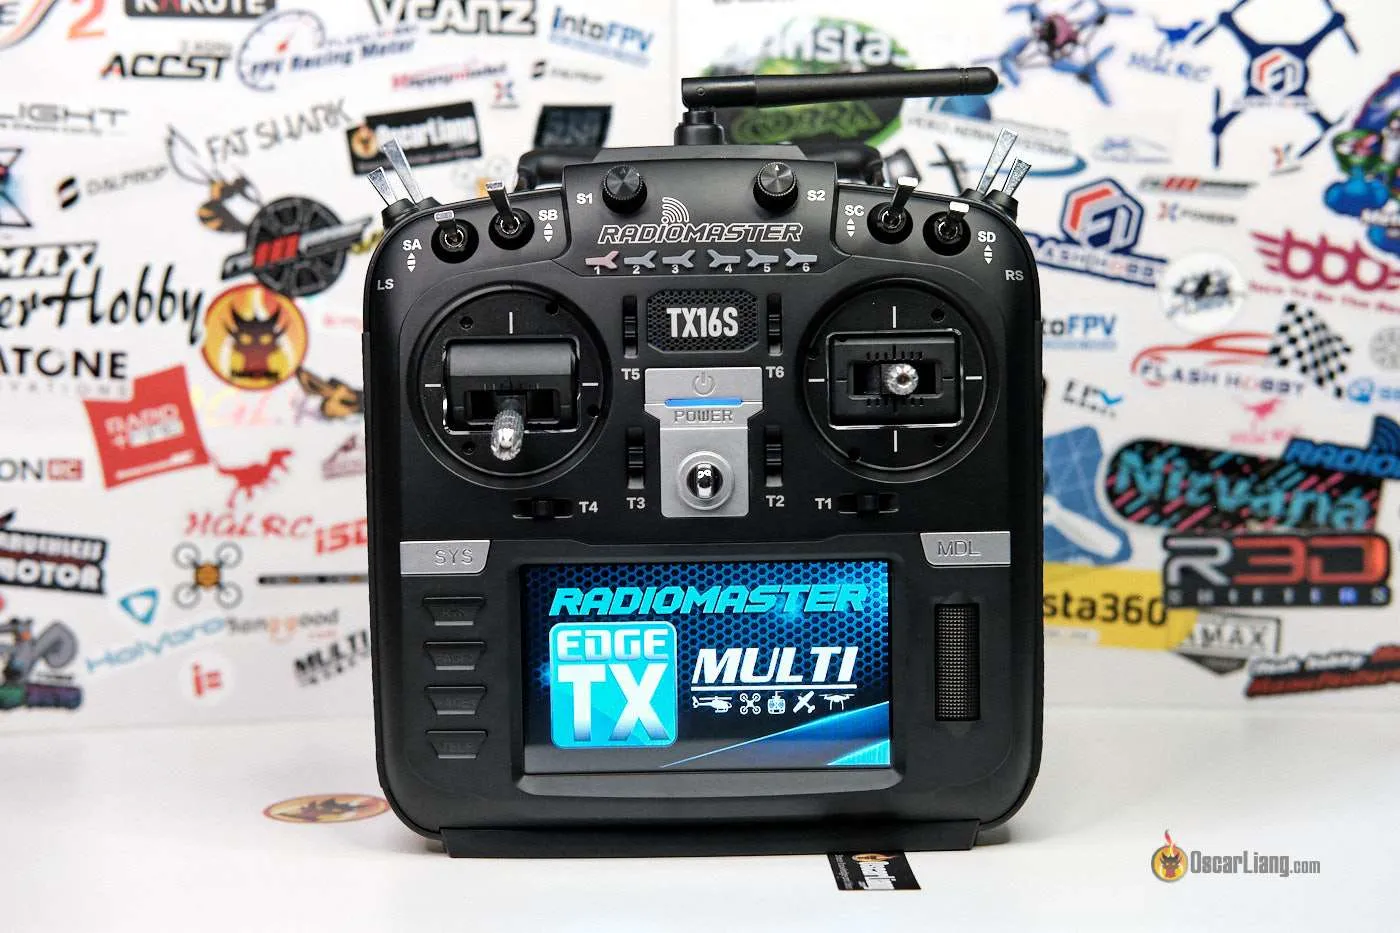
Radiomaster TX16S MKII
If you prefer a radio with a large color touch screen, for example, for displaying telemetry data, the TX16S is definitely worth considering. It was my go-to radio before the Boxer arrived, and offers excellent performance and quality for the money.
Product pages:
The Radiomaster TX16S MKII stands out for its great combination of features, performance and price. With a traditional layout and form factor, this radio provides excellent ergonomics and versatility. The built-in ELRS and Multi-protocol module supports almost every protocol in the hobby, and it’s also fully compatible with Crossfire. The full-size hall sensor gimbals provide a full range of stick travel and excellent precision. The large color screen is probably the highlight of this radio making it super easy to use. At $130, this radio offers a lot of value for the price. Check out our review of the Radiomaster TX16S MKII for more details.
Portability and Performance
Jumper T20S
Product Page:
The Jumper T20S radio transmitter offers the functionality of a full-sized radio in an impressively compact form. This is my daily driver in 2024 mainly because of its portability.
It offers a blend of best features cherry-picked from Jumper’s previous models. It sports advanced technology, including an internal ExpressLRS module, and comes pre-installed with the popular EdgeTX firmware.
What sets the T20S apart is its versatility. It has full-sized gimbals along with an array of 10 switches, 6 sliders, and 6 flight mode buttons. This ensures it suits both multirotor pilots and those flying planes. Its ergonomic design provides a comfortable grip, and its weight is more manageable than full-sized competitors.
Battery life is also impressive, with up to 14 hours of runtime. Despite a few minor shortcomings like slow charging and absence of a gimbal protector, the T20S offers exceptional value, making it highly recommendable for both beginners and seasoned pilots. Build quality and gimbal quality might not be the best, but for $110 it still makes a great deal.
If you want ELRS Gemini feature, there’s a Gemini Version of the T20S as well: https://oscarliang.com/jumper-t20s-gemini/
Radio Firmware
The radio firmware is like the operating system of the radio – like Windows for computers. It serves as the interface that allows you to interact with the radio and control your drone.
Currently, EdgeTX is the go-to firmware. As long as the radio comes with EdgeTX, you are good to go. It’s open source and has a large user base. Most radio transmitters on the market support EdgeTX and come with it pre-installed, making it easy to transfer your settings to a new radio when you upgrade. EdgeTX is highly configurable and offers support for many different types of aircraft. While it may have a steep learning curve for beginners, the knowledge gained from using it will be invaluable in the long run.
While OpenTX used to be a popular firmware, it has fallen behind EdgeTX in terms of features and capabilities. Other firmware options include FreedomTX, which is based on OpenTX and is used in TBS Tango 2 and Mambo, as well as Frsky’s latest radios which use ETHOS. But these firmware are specific to certain radios.
Radio Link Protocols
Before picking up a radio, it’s important to consider which radio link you want to use. The most popular systems used in FPV drones today include:
It’s recommended to stick with a popular radio link to ensure you have access to online help and better resale value.
ExpressLRS and Crossfire are undoubtedly the most popular radio links at the moment, and these are the two I would recommend in 2024. ExpressLRS is known for its affordability, high performance, open source nature, and cutting-edge features. On the other hand, Crossfire is known for its reliability and user-friendly configuration. It’s worth noting that ExpressLRS hardware is usually a lot more affordable and feature-rich compared to other proprietary radio systems because it is open source and the development is driven by the community. Personally I prefer ExpressLRS, see this post for all the reasons why I like it.
Some radios come with the radio link built-in, while others have an external module bay that can be used to install an external module. Having an external module bay gives you more flexibility when choosing a radio link.
Once you’ve decided on which radio link you want to use, your radio choices will be narrowed down significantly.
Form Factor
When it comes to radio transmitters, there are two main styles: full size and gamepad style. Gamepad style radios are very compact but tend to have fewer features, such as less battery capacity, smaller gimbals, fewer switches, and smaller screens. This can make them less comfortable to hold, especially for those with larger hands or who prefer “pinching” the sticks.
On the other hand, if size is not an issue, a full size radio may be the more versatile option. Full size radios generally have ergonomics that works for a wider range of people, and the standard size gimbals provide better resolution and precision. Ultimately, the choice comes down to personal preference and what feels most comfortable for the individual pilot.
Ergonomics
It’s true that evaluating the ergonomics of a radio transmitter can be challenging when buying online. However, it’s still an important factor to consider as comfort and control are crucial for flying FPV drones.
Apart from radio size, the design of the radio is also important, and factors such as hand grip, the presence of a lanyard loop, and the location and types of switches should be considered. The weight of the transmitter is another factor to take into account, as a heavier radio may cause fatigue over time, while a lighter one may feel less substantial to control the drone accurately.
While reputable manufacturers are likely to consider ergonomics when designing their transmitters, there’s still a wide range of variation in terms of grip, switch placement, and weight distribution etc.
Attending local meetups and trying different radios from other pilots can be a great way to get a feel for what works for you. Alternatively, you can also read reviews and watch videos from trusted sources to get an idea of the ergonomics of different radio models before making a purchase.
Gimbals
The two sticks on a radio are called gimbals, and they are responsible for controlling the movement of your drone. As a pilot, you use the gimbals to give commands to your drone, such as:
- Throttle: You control the speed of the motors, which affects the drone’s overall speed.
- Pitch (Elevator): This command makes the drone rotate along its lateral axis, moving it forward or backward.
- Roll (Aileron): This command makes the drone rotate along its longitudinal axis, moving it left or right.
- Yaw (Rudder): This command makes the drone rotate along its vertical axis, turning it left or right.
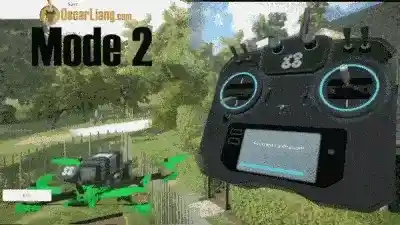
Here’s is an animated demonstration of how the drone react to each stick movement:
Gimbal Types
When it comes to gimbals, there are two main types to consider: Potentiometer and Hall Sensor.
Potentiometer based gimbals are less expensive, but they wear out faster due to physical contacts in brush joints causing friction. On the other hand, Hall Sensor gimbals use magnets to determine the stick position and therefore are more durable.
Apart from increased longevity, Hall Sensor gimbals also offer better accuracy and resolution with reduced jittering. Some even claim hall gimbals are smoother but that sometimes can be subjective. While beginners may not notice a huge difference in gimbal quality, it becomes an important consideration as you grow as a pilot.
Regardless of the type of gimbals, you can usually adjust the spring tension to achieve a preferred stick feel. This is often a matter of personal preference, and it can have a significant impact on your control precision.
There are two gimbal sizes: full size gimbals and mini gimbals. Full size gimbals are larger and give you better precision due to the longer stick travel while mini gimbals are more compact. You tend to find full size gimbals in full size radios, and mini gimbals in gamepad style radios.
Modes
Radio mode refers to the configuration of the throttle, yaw, pitch and roll controls, so there are four modes to choose from: Mode 1, Mode 2, Mode 3, and Mode 4. Most modern radios allow you to switch between these modes in the software, so normally you are not locked into a specific mode when purchasing your radio, be sure to check though if the radio you are buying support mode switching.
There is no right or wrong choice when it comes to radio modes, and it’s just a matter of personal preference. However, if you’re unsure which mode to choose, just go with Mode 2, as it’s the most commonly used mode among FPV pilots. Most radios also ships with Mode 2 out of the box.
Mode 2 has the pitch and roll controls on the right joystick and the throttle and yaw on the left. The right joystick self-centers in both axes, while the left joystick only self-centers in the yaw axis and the throttle stays wherever you leave it to allow for constant throttle.
Some people might have trouble flying with mode 2, but when they tried mode1, mode 3 or mode 4 it just clicked for them. So don’t be afraid to try other modes. Most modern radios allow you to switch between all four modes by simply adjusting the hardware and software, so you can try out each mode without needing to buy a new radio.
How to Hold Sticks
The way you hold your gimbals is an important factor to consider when choosing a radio transmitter. If you prefer pinching the gimbal sticks with two fingers, longer sticks might be more suitable for you. However, if you prefer using only your thumbs to move the gimbals with the rest of your fingers wrap around the back of the radio, you will need shorter sticks.
I have a whole post explaining the different ways of holding the sticks and benefits. There is no right or wrong way, it’s purely personal preference.
Stick-ends
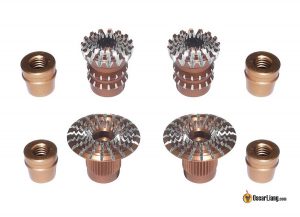
The tip of a gimbal stick is called “stick end” and they are usually replaceable. You can try different types of stick ends and find which ones work best for you as it’s mostly just a personal preference. Here are the stickends I am currently using and would recommend: Radiomaster Sticky360 Stickends.
Not all gimbal sticks are compatible with all radios, the main difference is in the thread size. Gimbal sticks are normally either M3 (3mm diameter) or M4 (4mm diameter) threads, so it’s important to check the compatibility before purchasing stick ends.
- FRSKY Taranis Standard Gimbals – M3
- FRSKY Taranis Hall Effect Gimbals – M4
- FRSKY X-LITE – M2.5
- TBS TANGO 2 – M3
- TBS Mambo – M3
- Jumper T-Lite v1/v2 – M3
- Jumper T-Pro
- Jumper T12 Pro – M3
- Jumper T16 – M3
- Jumper T18 – M3
- Jumper T20S – M3
- Jumper T15 – M3
- Radiomaster TX16S – M4
- Radiomaster Boxer – M4
- Radiomaster AG01 Gimbals – M4
- Radiomaster Mini AG01 Gimbals – M3
- Radiomaster Zorro – M3
- Radiomaster TX12 – M3
- Radiomaster Pocket – M3
Some gimbals and stickends allow you to adjust the length of the stick. Generally longer sticks allows more precise control while shorter sticks are more responsive.
Switches
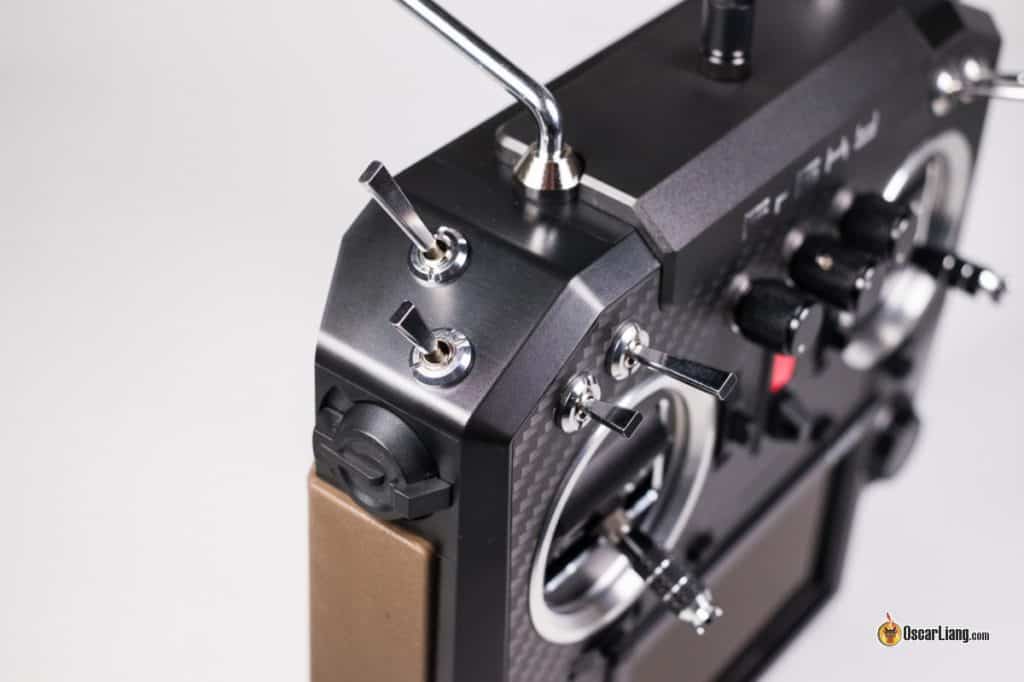
Radio transmitters come equipped with an array of switches that you can use to arm your drone, activate flight modes, and perform other functions.
These switches can come in two-position or three-position forms, as well as sliders and rotary knobs. However, as FPV drone pilots, we don’t typically need as many switches as fixed wing flyers do.
Typically, you only need one switch for arming, another switch for the beeper, and a third switch for flight modes. While having more switches can certainly be helpful, they are by no means necessary if you’re primarily flying freestyle and racing.
Radio Transmitter Frequency
Radio transmitter frequency is an important factor to consider when selecting a transmitter for your FPV drone. Two of the most commonly used frequencies in the FPV drone community are 2.4GHz and 900MHz.
2.4GHz is the current standard for radio control and is legal for hobbyist use in most countries. Its smaller antenna size makes it a popular choice among pilots.
On the other hand, 900MHz is often used for long-range flying due to its better signal penetration and reliability. While it has narrower bandwidth and requires much larger antennas than 2.4GHz, it is still preferred by some pilots because of its lower frequency. It’s worth noting that the exact operational frequency for 900MHz band differs depending on the region, with most of the world using 915MHz while the EU uses 868MHz.
While there are other less common frequencies used in RC, such as 27MHz, 72MHz, 433MHz, and 1.3GHz, they are either obsolete or used in other specific applications. For FPV drones, it is best to consider 2.4GHz or 900MHz.
External Module Support
Additionally, having an external module bay on the back of the radio can be useful in case you want to upgrade to a different radio system in the future. Instead of buying a whole new radio, you can simply purchase an external module that is compatible with the new system.
It’s important to note that not all radios have an external module bay, so if you think you may need one in the future, be sure to look for a radio that has this feature.
There are two sizes of external module bay: JR module and Lite module (also known as nano or micro size). Take note of this if you are buying an external radio module.
This is JR module bay:
This is Lite module bay:
Radio Receivers
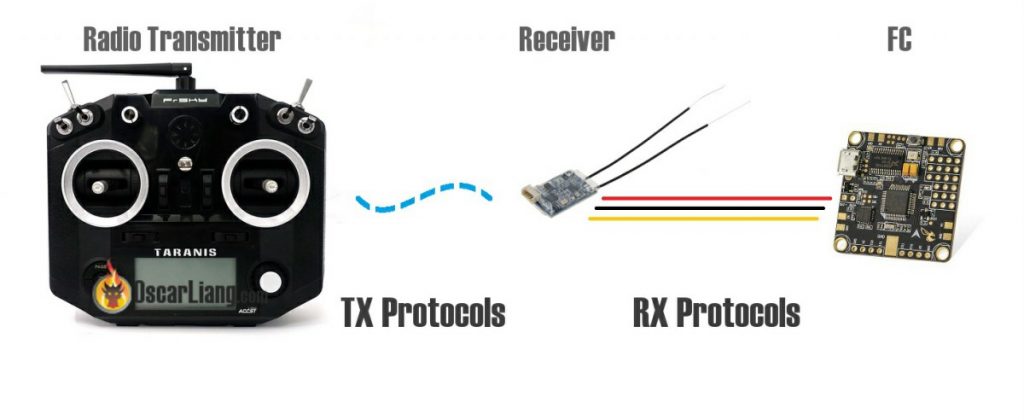
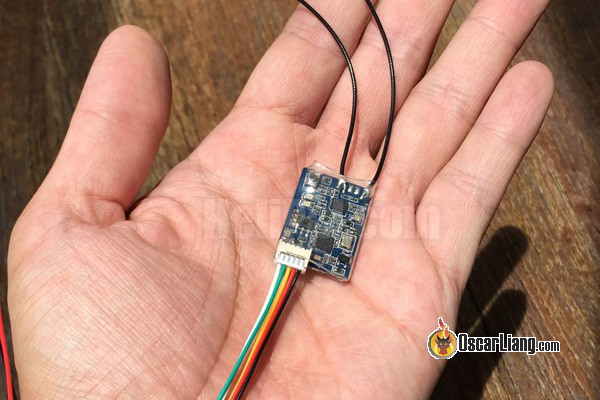
The receiver is responsible for receiving the user’s commands from the transmitter and passing that data to the flight controller. However, you can only use receivers that are compatible with the RF link you use, as they need to use the same protocol as the transmitter. Here is an overview of all the TX protocols and RX protocols.
A protocol is like the language spoken between the transmitter and receiver. When you buy a radio transmitter, you are also committing yourself to specific receivers and ecosystem, which has an impact on your budget and feature options. Some brands may have more expensive receivers, while others may have better options for lightweight receivers for smaller drones. Additionally, some brands may not offer certain features like telemetry.
It’s important to remember that you’ll need to purchase a receiver for every quad you build, so the cost can add up quickly if you have multiple drones in your fleet. Take the time to consider which receiver brand and protocol will work best for you and your specific needs.
Binding TX and RX
Binding is the process of establishing communication between a radio transmitter and receiver, which only needs to be done once unless there’s a firmware update or the bind is lost for some reason.
The process of binding is typically straightforward, but the steps can vary depending on the brand.
Keep in mind that while you can bind multiple receivers to the same transmitter, a receiver can only bind to one transmitter at a time. That means if you bind the receiver to a different transmitter, it will lose its bind to the previous transmitter.
Receiver Compatibility
When you purchase a radio controller, you’re not just buying a single device – you’re investing in a system that you’ll continue to build on in the future. It’s crucial that each receiver you purchase is compatible with your radio, and you’ll need a new receiver for every drone you own.
As mentioned earlier, both radio transmitter and receiver must use the same protocol. To avoid surprises, you can pick your receivers from my receiver round-up based on the RC link you are using:
Range
Not all radio control links are created equal when it comes to range. Three main factors that affects the range of a radio:
- Frequency
- Radio Link Technology
- RF output power
- Antenna
As a general rule, lower frequency systems tend to be better at long range. However, newer RC link technology like 2.4GHz ExpressLRS with LoRa modulation have been known to perform exceptionally well at long range. Personally I switched from 868/915MHz TBS Crossfire to 2.4GHz ExpressLRS in 2022 because it’s cheaper, antenna is smaller and it meets my range requirements.
But not all 2.4GHz systems are created equal. As an example, older Frsky 2.4GHz radio systems like ACCST V1 and V2 typically provide a range of around 1km-1.5km. However, the latest ExpressLRS 2.4GHz system, you can expect tens of kilometers of range at just 100mW of RF power.
Increasing the RF output power of the transmitter module in the radio can improve range. Some radio/module allows up to 1W of output power. But for ExpressLRS, most users should find 100mW-250mW adequate, in fact high radio power may sometimes cause interference to your video link, and it uses more battery.
In addition, receiver sensitivity and diversity can also impact range. Some receivers come equipped with two antennas for diversity, which can help to mitigate any signal loss due to obstructions or interference. Antenna placement can also make a big difference, as positioning your antennas at a 90-degree angle from one another can improve signal reception.
It’s worth noting that line of sight is always ideal for achieving the best possible signal, as obstacles between your transmitter and receiver can significantly reduce range.
Battery Life
Most radios come with swappable batteries, supporting both LiPo and Li-ion options, and can be conveniently recharged using the USB-C port on the radio. This flexibility ensures you’re less likely to run out of battery in the field, which could cut your flying sessions short. However, some radios feature built-in LiPo batteries that are not designed to be replaced, typically providing enough battery life for a few hours of flying. It’s essential to consider whether this duration is sufficient for your needs.
There are ways to extend battery life, such as reducing the output power level (if the option is available) and adjusting the screen backlight settings by either lowering the brightness or turning it off completely.
Channel Count
Radio manufacturers advertise the number of channels their radios can support, which refers to the maximum number of individual controls and switches that can be used. Each control or switch on the radio requires a separate channel to transmit data to the receiver.
Channel count is another consideration when choosing a radio, but it’s not as important as it used to be. In the early days of RC, adding new channels was a difficult and costly process. But today, with digital radios and advanced technology, adding channels is much easier. Today, the number of channels you can use is limited by what the radio link allows, and how many switches there are on the radio.
The two gimbals on a radio take up four channels because they have four inputs: throttle, yaw, pitch, and roll. Additional channels, called “AUX channels,” are assigned to switches on the radio for arming the drone and activating other features.
For FPV drone flying, you typically only need 5 channels as a minimum (the 4 control channels – throttle, yaw, pitch and roll for controlling the movement of the drone and an additional channel to arm the drone). Ideally, you will also need one or two more for selecting flight modes, and activating beeper, though these are not mandatory.
Most popular radio links, like Crossfire and ExpressLRS, can support up to 12 channels, and most radios have around 4 to 8 switches, which is more than enough for flying FPV drones. If you follow my radio recommendations in this guide, channel count is usually not something to worry about.
Telemetry Support
Telemetry is one of the most important features that you can have in your radio system. It allows you to receive crucial information about your drone in real-time, such as signal strength, battery voltage, current draw, and more. This information can be incredibly valuable when flying, as it helps you to make informed decisions and avoid potential problems.
Most modern radio links support telemetry out of the box, including popular options like ExpressLRS and Crossfire. With telemetry, you can display data directly on your radio screen or receive audio warnings when certain thresholds are reached.
FPV Simulator Support
If you’re new to FPV flying, training in FPV simulators can be a great way to build up muscle memory and practice flying without risking damage to your expensive components. And the good news is, many modern radios with EdgeTX or OpenTX have the ability to connect to FPV simulators via USB and show up as a joystick controller.
So if you’re looking to improve your flying skills, be sure to check if the radio you’re considering supports FPV simulator. It could make all the difference in your training and progress as an FPV pilot.
Trainer Port
A trainer port is a connector on your radio that allows you to connect two radios together, allowing them to control the same drone. It’s a useful tool for training, allowing an experienced pilot to fly a drone to a safe height and location, then transfer control to a student who can then practice flying without the risk of crashing (and allows the trainer to take over when needed). Radios with built-in trainer ports are highly recommended for this type of training.
Trainer ports typically exists in 4-pin 3.5mm audio jack.
Using a trainer port to train with friends and family can be a fun and rewarding experience, and it’s a great way to share your love of flying with others.
In general, radios of the same brand and model should work together without issue, but it’s important to double check to avoid any headaches down the line.
Radiomaster makes a wireless trainer dongle: https://oscarliang.com/radiomaster-wt01/
Flying with Other People
Unlike your video system, you don’t need to worry about managing the channel of your radio when flying with others. This is because your radio automatically manages the channel for you. After you’ve bound your radio receiver with the transmitter, the transmitter will only communicate with that specific receiver. This means that other pilots in the air usually don’t interfere with your radio link. Additionally, the radio signal will hop across different frequencies within the 2.4 GHz band to ensure a strong and uninterrupted connection between the transmitter and receiver. This makes flying with a radio transmitter a stress-free experience!
Edit History
- Oct 2013 – Article created
- Jun 2016 – Updated with popular TX options
- Jun 2017 – Article updated, added receiver info
- July 2018 – Added info about gimbals, switches, OS, and Range
- Oct 2019 – Updated product listing
- Jun 2020 – Updated products, and my recommendations
- Mar 2021 – replaced BetaFPV Lite Radio 2 with Jumper T-Lite
- Mar 2023 – updated guide and product list
- Sep 2023 – added T20S and Pocket
- Mar 2024 – added T14
- Sep 2024 – added T15, updated guide


